Microsoft Office has come up with its latest version known as Office 15. Microsoft Word 2013 has come up with a brand new logo and a new landing page along with new themes and templates. You can share documents using your Microsoft Office account and download & upload documents as well. Get ready for the Word 2013 overview.
In this tutorial, you will learn about Word 2013 and its new features.
Step # 1-View the landing page
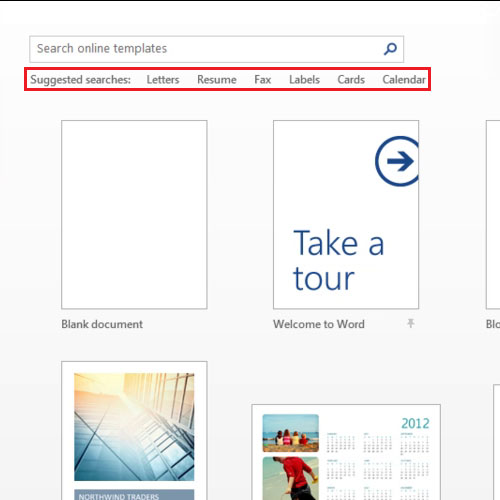
The new word comes with a comprehensive template directory which can be accessed from the “new” tab. Few suggested searches are lined up at the top of the page or you can simply scroll down and see all the templates.
Step # 2 – Show/Hide paragraphs
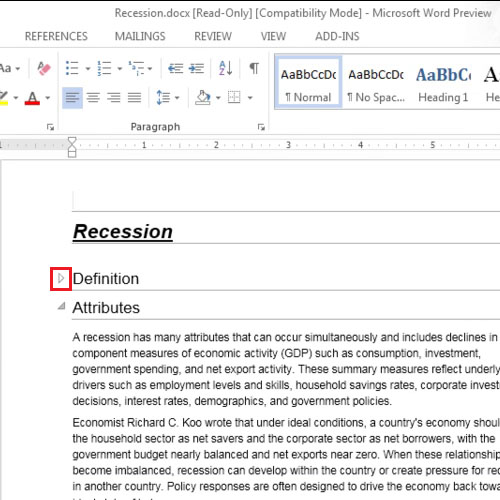
Once you have opened a document, the first thing you will notice is that there is a button right before each paragraph. Through this button, you can show or hide the paragraphs.
The smoothness with which you can zoom in or out has been increased very much.
Step # 3 – Check the new Reading mode
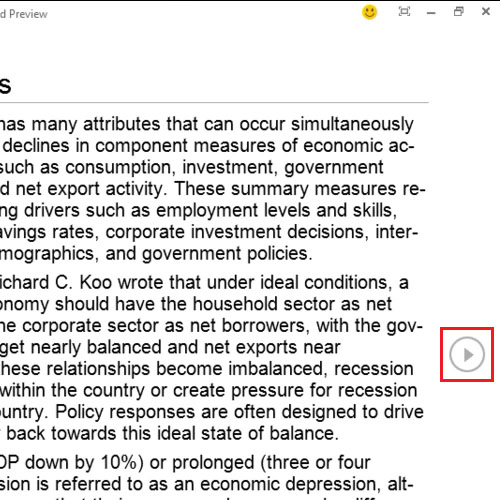
Another new feature is the reading mode. Go to the “view” tab and click on the “read mode” button to activate it. Use the right and left arrow keys or buttons to navigate through your document. Special focus has been given to it so that unnecessary utilities like the toolbar, ribbon and scrollbar do not appear while reading, unless they are required. To exit from the reading mode, simply press the “escape” key.
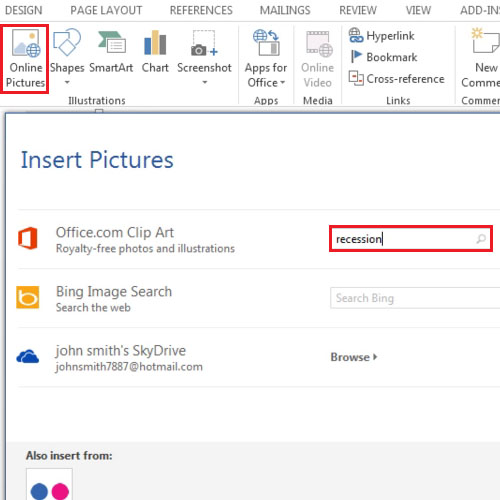
Step # 4 – Search for online pictures
By going to the “insert” tab you can insert pictures directly from the web. Go the “illustrations” group and select the “insert online pictures” button. A new box will open from which you can search for images. After the search is complete, double click on any image to insert it in the document. The downloading time depends on your internet speed and it may take a few moments to insert it.
Once the picture has been inserted, you can drag your image wherever you want and the text will be adapted accordingly in real-time. A simple click on the image will show you the layout options and re-sizing buttons.
Step # 5: Increase rows and columns from within the table
First insert a table by going to the “insert” tab and once it has been done, increase the number of rows or columns for your table. Even after the table has been inserted, take your mouse to the divider of the row or column and when the “plus” sign appears, click on it.
Adding new rows or columns to the already inserted table allows you more flexibility while working on tables.

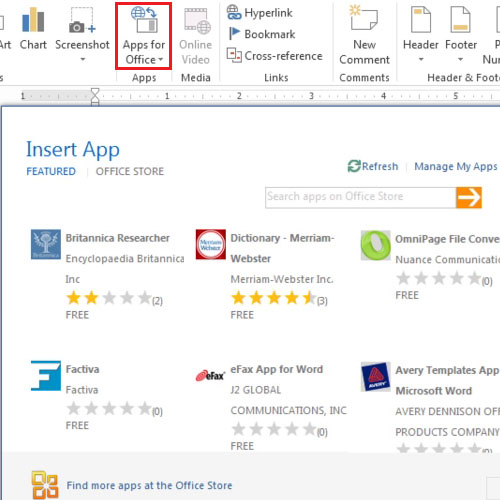
Step # 6 – Insert Applications
You can now add Office applications to your Microsoft word 2013 suite. In this Word 2013 overview, you will learn how to insert applications. Go to the “Insert” tab and click on the “apps for office” button. The “insert app” box will appear from where you can select and search for different applications. If you want to install an application, click on it and your internet browser will open displaying you details about the application. To download the application, click on the “Add” button.
Step # 7 – Click on the Define button
The “review” tab comes with a new “define” feature. Select the text and click on the “define” button. Once the dictionary has been installed, you will be shown the definition of words or phrases on the right sidebar.

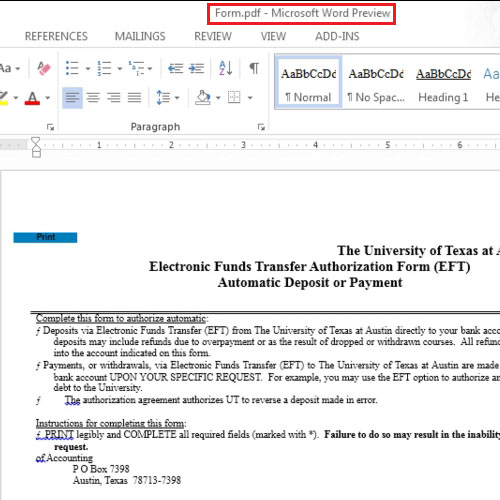
Step # 8 – Edit PDF documents
Gone are the days when you had to use third party tools to select pictures or texts from PDF documents. Now you can simply open the PDF document and edit text and tables, resize the pictures and add or remove information from the document.
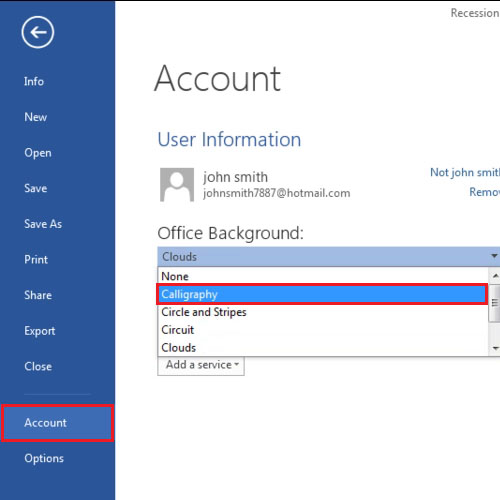
Step # 9: Manage your account
You can manage your account settings by going to the backstage view. Your office background theme can be changed from here. So, these were the Word 2013 new features.