In this tutorial you are going to learn how to increase the size of breasts in Photoshop which can be a useful tool for photographers.
Step # 1 – Duplicating the Background Layer
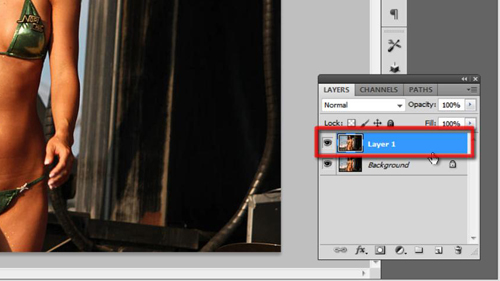
Start Photoshop and make sure you have open the image that you want to change the breast size on – here you can see we have an image of a swimsuit model. Make sure that the background layer is selected and the press “Control” and “J” on the keyboard to duplicate it.

Step # 2 – Using the Freeze Mask Tool
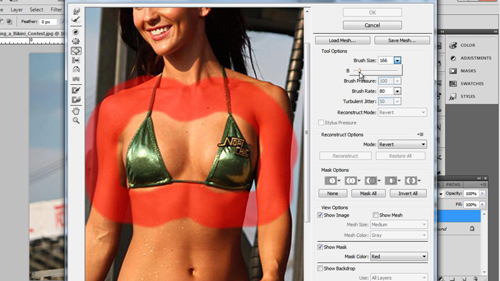
In the main menu you need to click “Filter” and then “Liquify”. This will open a window that will allow you to make changes to the sizes of items within your image. Use the zoom tool from the options on the left to zoom in on the chest. Now select the “Freeze mask tool” from the toolbar and use this to draw around the breasts (you can adjust the size of this brush using the drop down box on the right). Cover the area that you do not want to change the size on.

Step # 3 – Completing the Changes
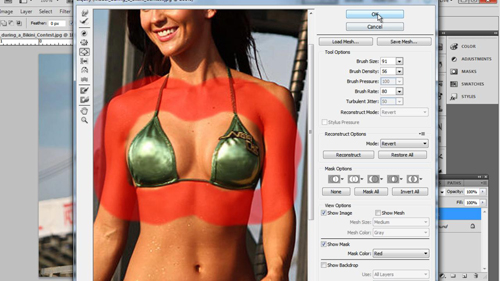
Once done, click on the “Bloat tool” and adjust the size of this brush to be slightly larger than the current breast size. Now click onto the breasts and keep doing this until you get them to the size you want – make sure that you keep everything even or you picture will look very unnatural. When you have the desired result click “OK”. The image will update. To compare the before and after lets press “Control” and “Z” and you can see that the breasts are significantly larger after the change and that is how to increase the size of breasts in Photoshop.

 Home
Home