In this tutorial you will learn how to make a Dispersion Effect (Pixel Explosion) in Adobe Photoshop.
Go to the tool bar, and select the quick selection tool, or press ‘W’. Make sure the addition mode of tool is selected. Check in the upper sub-menu bar.
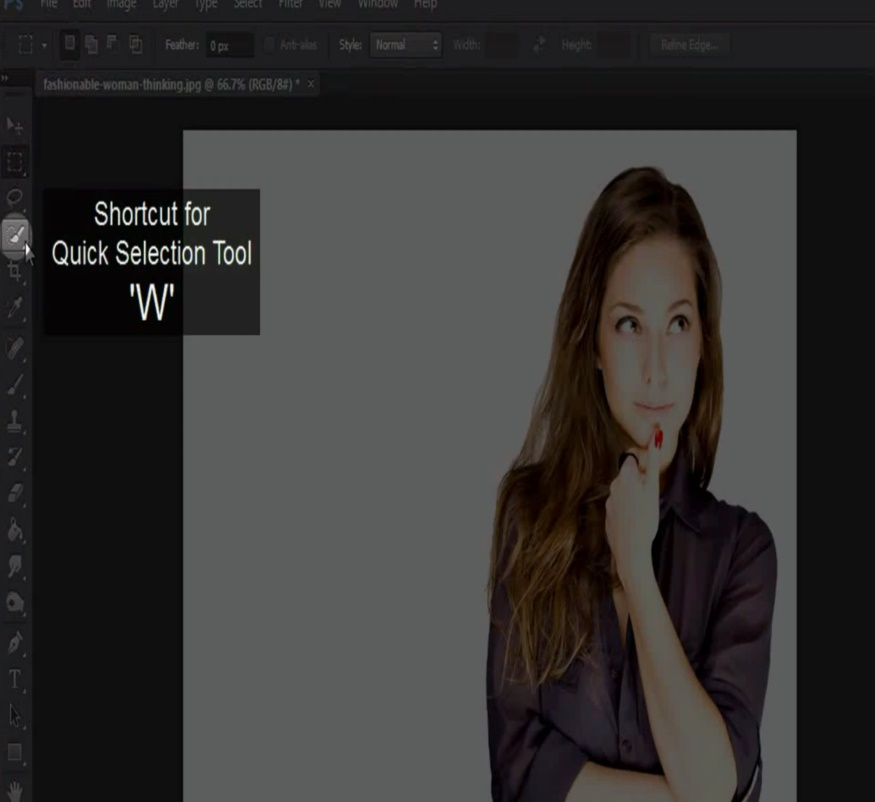
Now click and drag over the image to select. If you want deselect unwanted parts, change the mode from addition to subtraction.
Now, right click and select Layer via copy. Select the background layer.
Go to the tool bar and select the marquee tool, or press ‘M’.
Select the portion of the image.
Right click and select fill. In properties panel, select content aware and press okay.
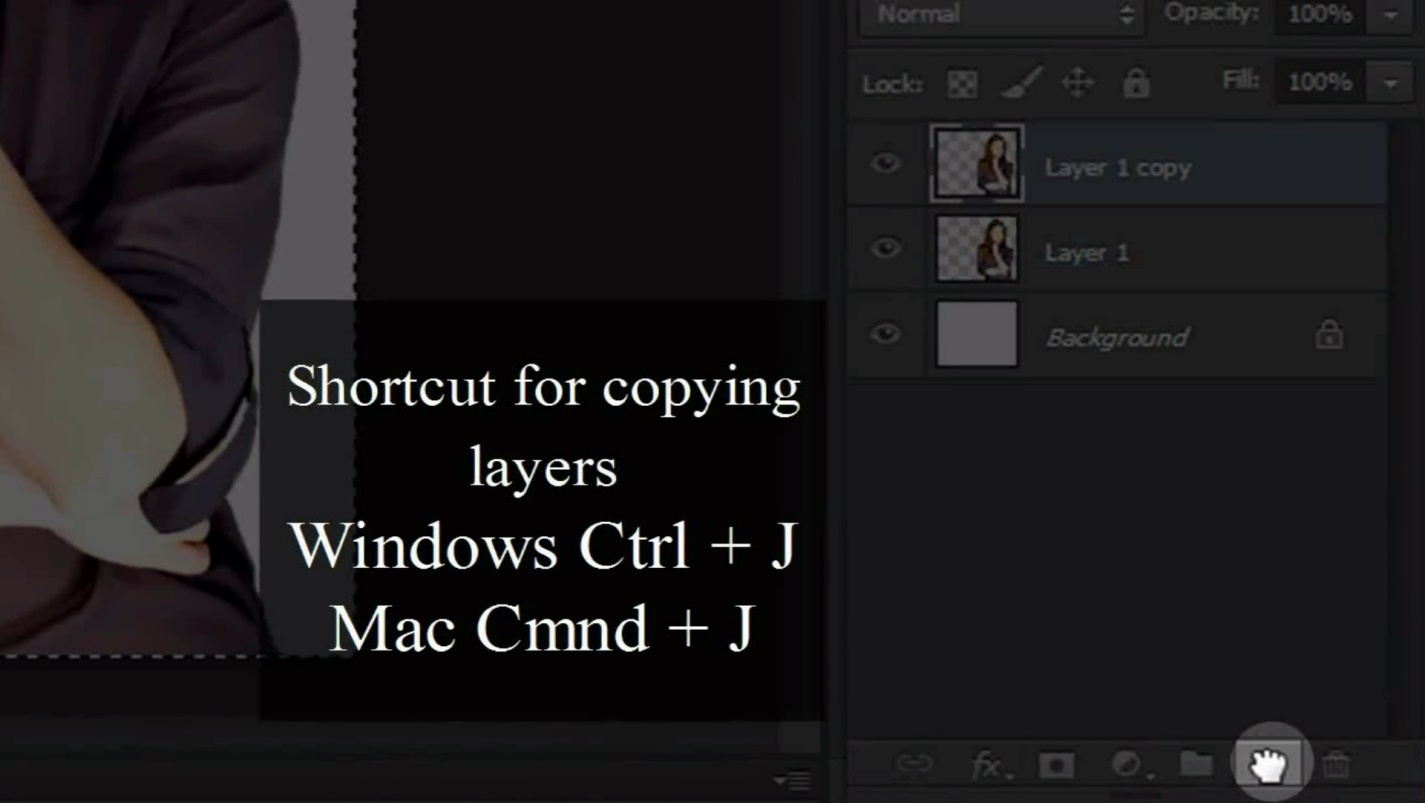
Next, make a copy of layer one, by dragging it below to the copy option. Or press control ‘J’ on a windows, or command ‘J’ on a Mac.
Now, select layer one, right click, and select free transform, or press control ‘T’.
Then drag the image from one side to distort.
Next, go to the layer window, and click on add a mask. Then, select the layer one copy and do the same.
Now select mask layer one, go to tool bar, and select paint bucket, or press ‘G’. Make sure the foreground color, for mask layer one is black. Click on the image and the background image will disappear.
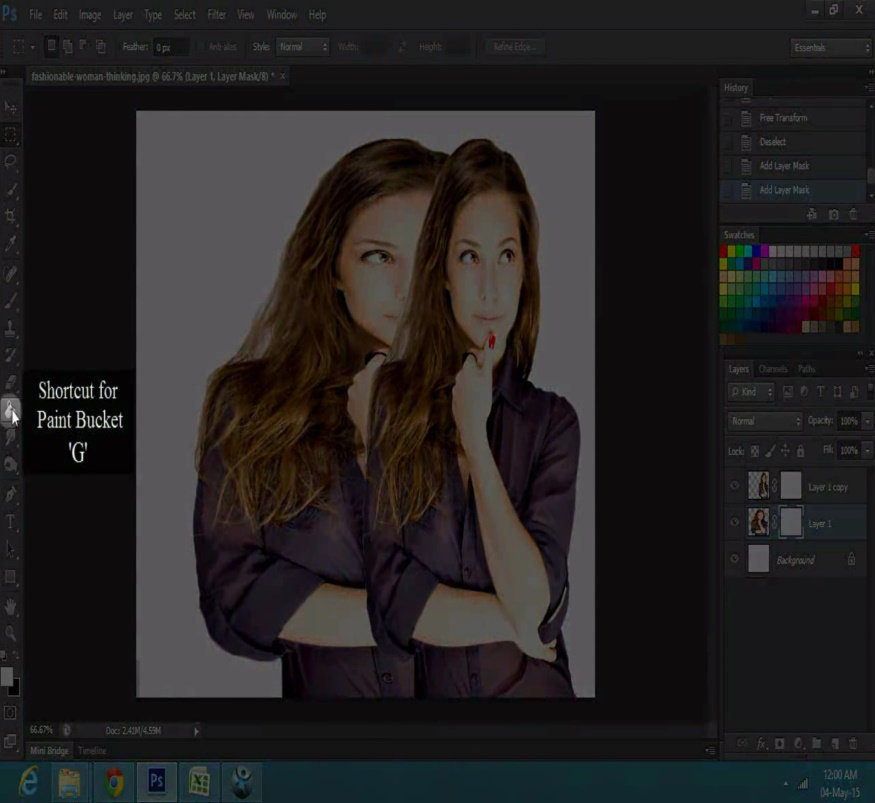
Now select the copy layer mask, select white color, and click on the image.
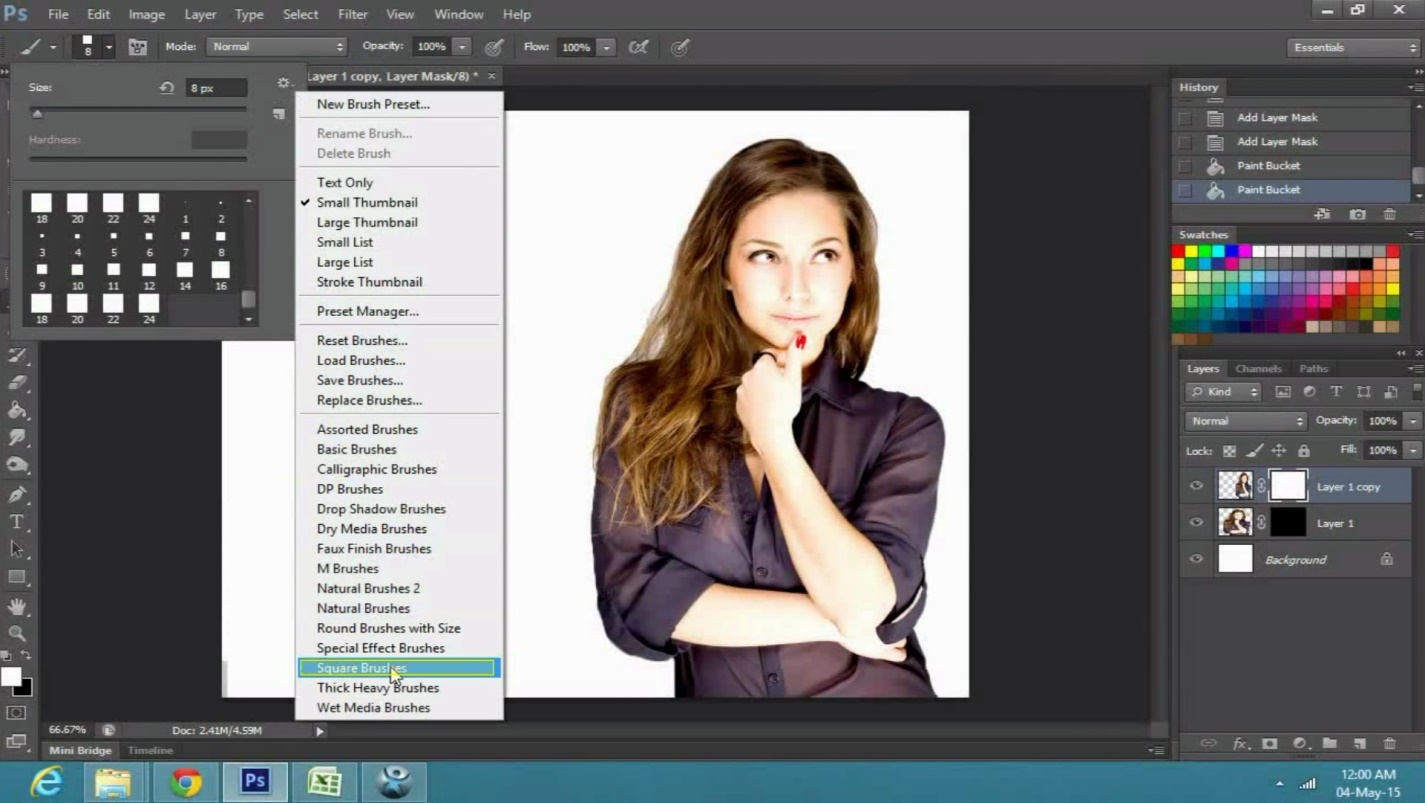
Next, select the brush tool or press ‘B’. Click the brush preset picker.
Then go to its options, and select square brushes. Now select the brush panel.
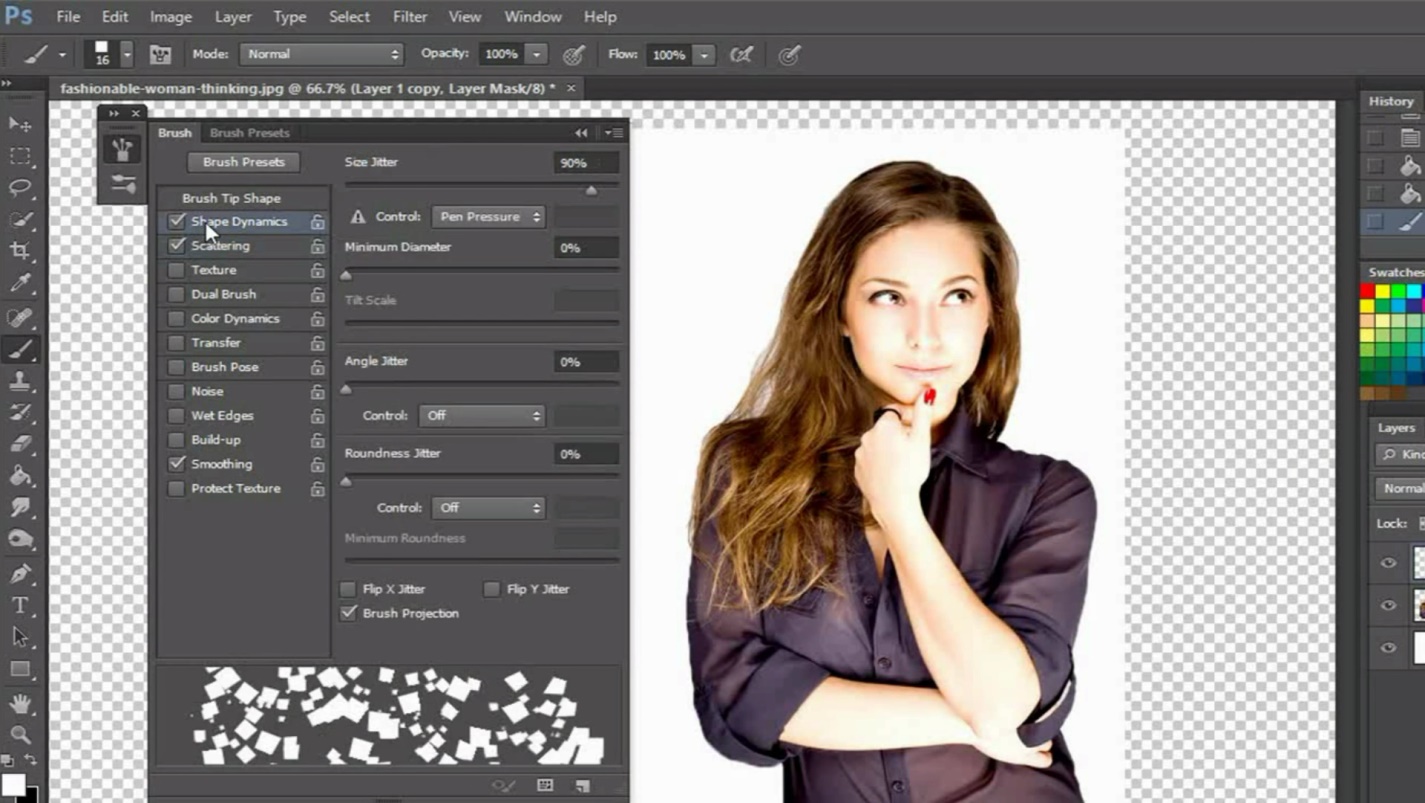
Then click on scattering to open its options.
For this image I will keep scatter to one thousand percent. And count to one. You can change the settings according to your liking.
Then check and click on shape dynamics.
I will keep the size jitter to ninety percent, and the rest to zero. Then check on brush projection. This is optional.
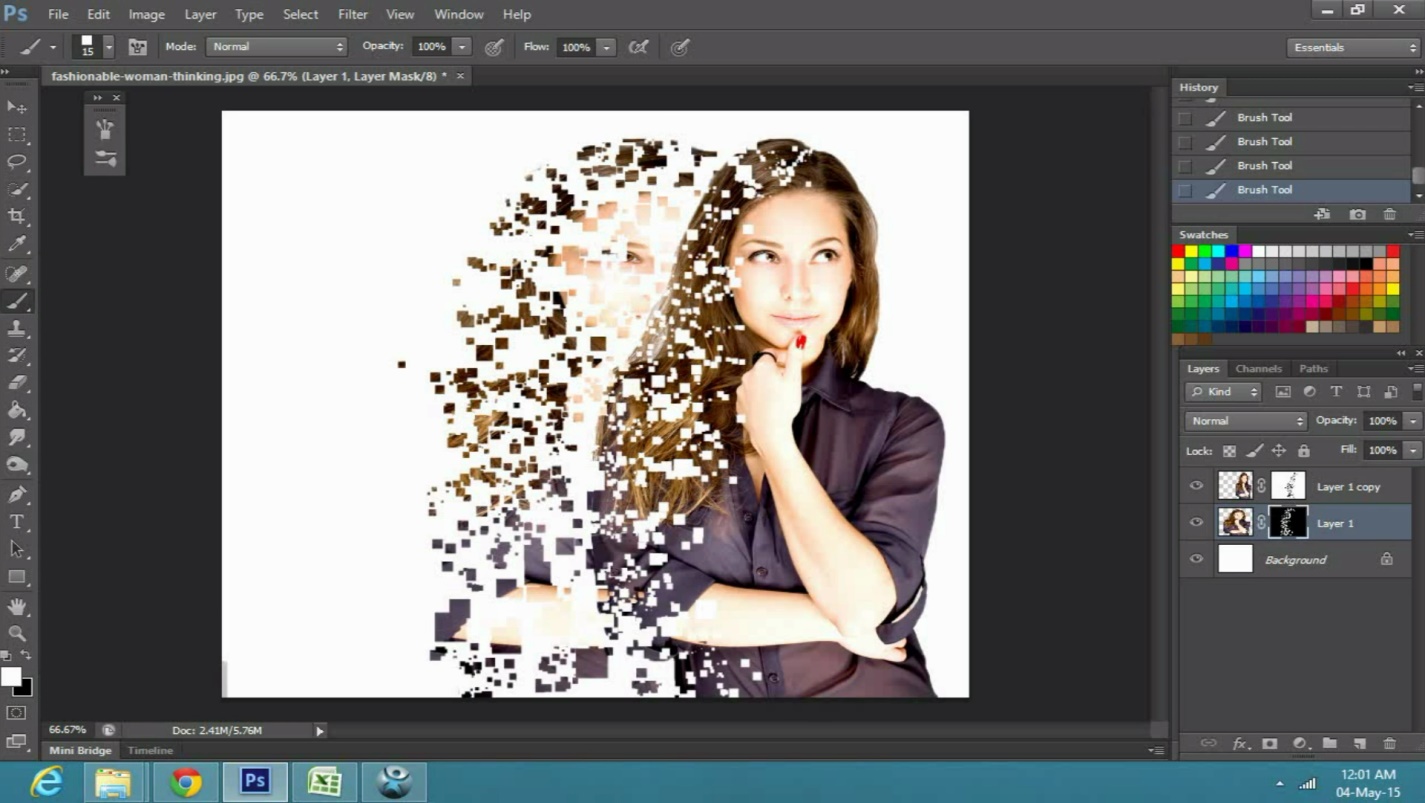
Once done with this, select the copy mask layer, change the foreground color to black, from the tool bar, and spray or click one by one.
Now select the mask layer one, change the foreground color to white, and spray over the image. You can increase or decrease the brush size, by pressing the square bracket keys on your keyboard.
The technique is to keep increasing and decreasing the brush size, to have a more artistic pixel or dispersion effect.
 Home
Home