In this tutorial you will learn how to make a Vintage Retro Effect in Adobe Photoshop.
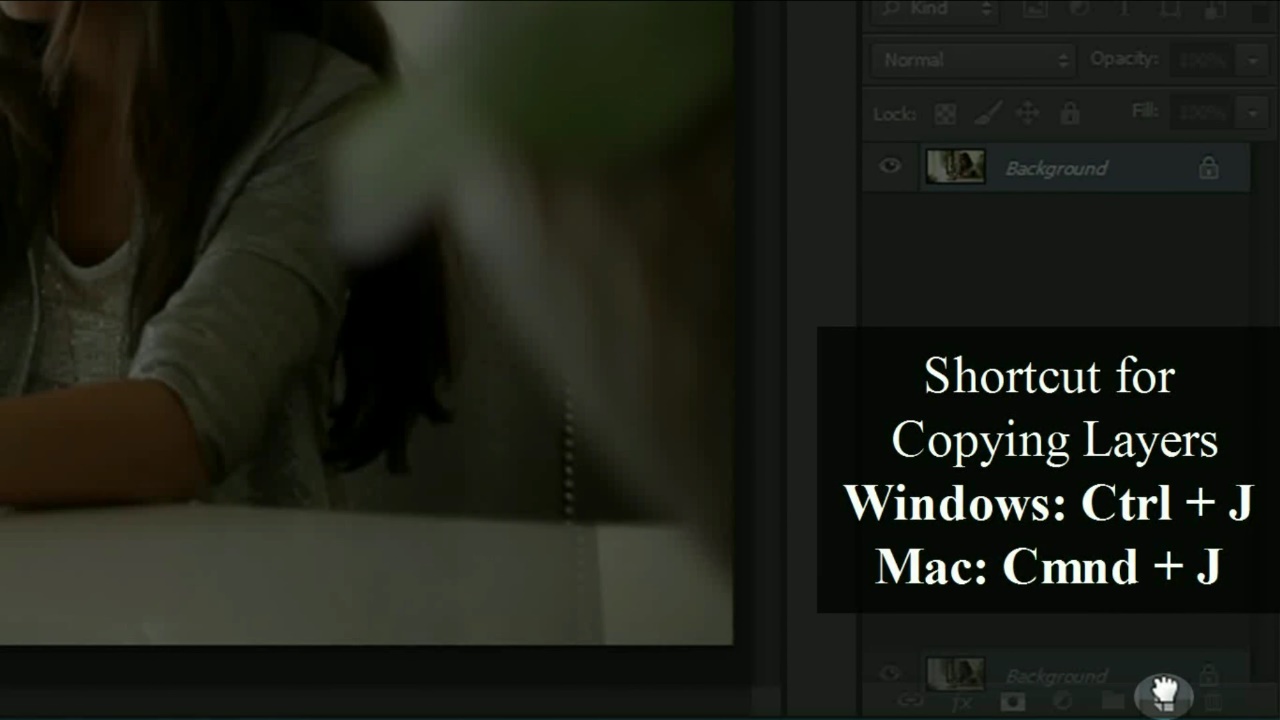
The first step is to make a copy of the background by dragging the layer down to the copy option or press Ctrl or Cmnd J on a Windows or Mac respectively.
Then right click on the copy layer and select convert to smart object.
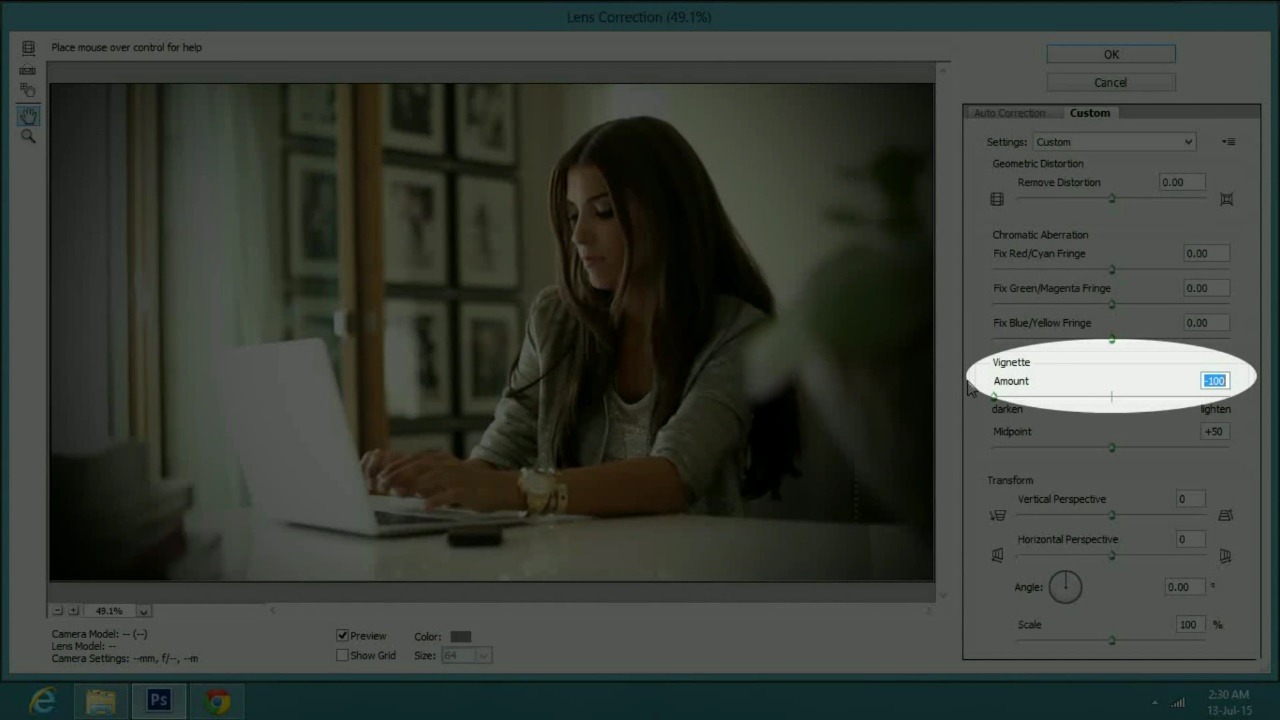
Now go to filter and select lens correction. In the properties click on custom.
Change the vignette amount to -100 and press ok.
Now double click on the little icon next to lens correction under the copy layer.
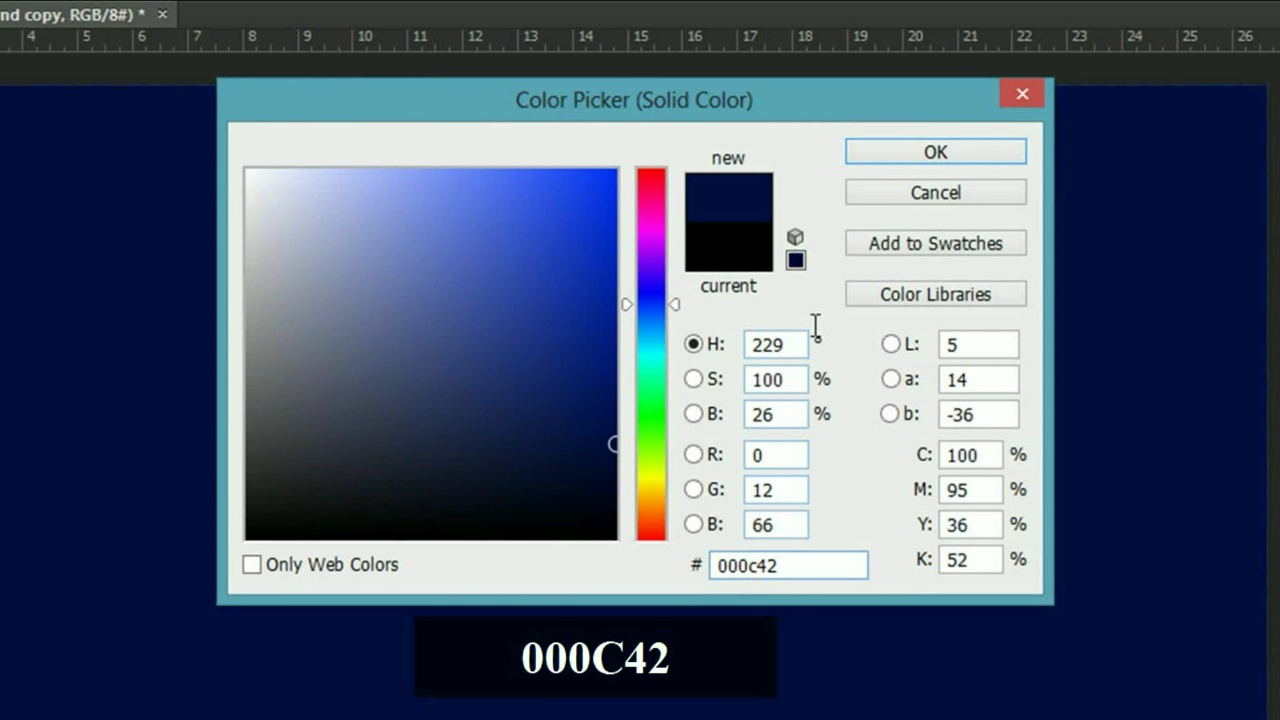
In the properties window decrease to the opacity to 80% and press ok. Then select solid color in adjustments. In the color picker type in 000C42 and press ok. Now go to the blending options and select exclusion.
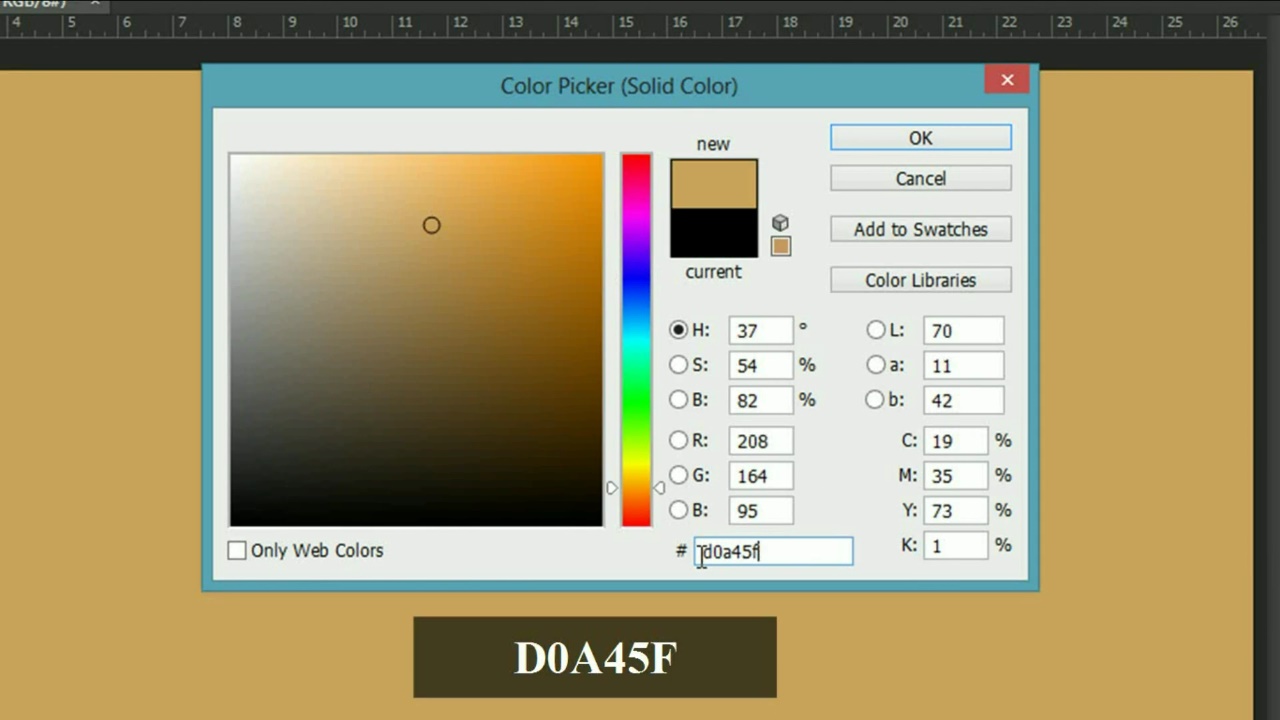
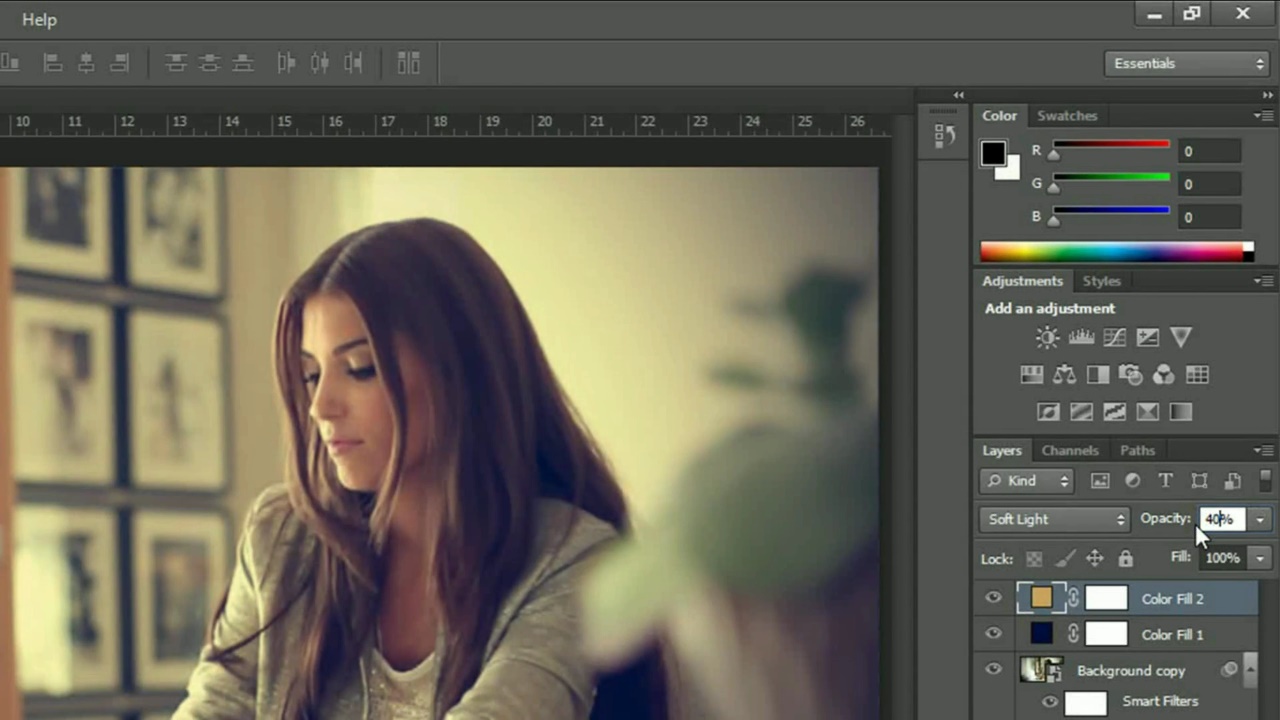
Then go to adjustments again and select solid color. This time type in D0A45F in the color picker and press ok.
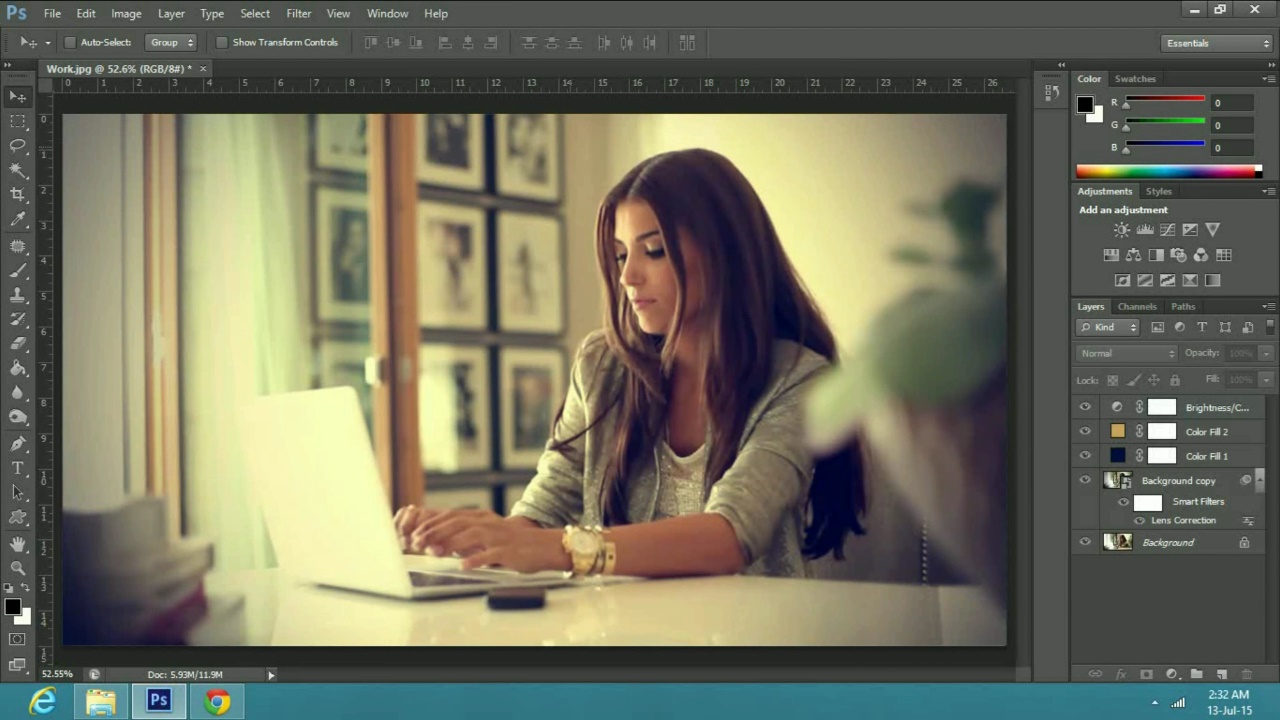
Next, change its blend mode to soft light and decrease the opacity to 40%. Now select brightness and contrast in adjustments and check on use legacy. Leave the brightness to 0 and increase the contrast to 10.
And that’s how you can convert any image into a nice retro/vintage image.
 Home
Home