Adobe Premiere CS6 is extremely useful when working with images and videos, and one can edit their videos using a variety of options that will make the video appear better and more attractive. Premiere Transitions can be added in between every shot in a video in order to make the video appear user interactive.
In this tutorial, you will teach you how to apply transitions between shots in Adobe Premiere Pro CS6.
Step 1 – Decreasing the scale value
In order to animate frame movement, you must go to the “Effect Control panel” and expand the “Motion” menu.
Replace the scale value from “100” to “30” and press the “enter” key. Once this has been done, click on the toggle animation icon represented by a clock towards the left side. This would set the point from where the frame should start zooming in.
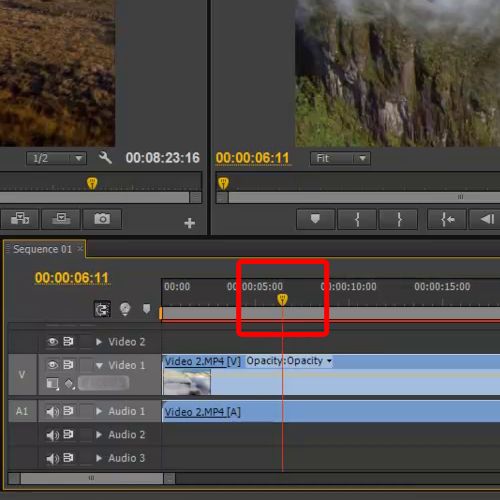
Step 2 – Increasing the scale value further in the timeline
Now, drag the timeline seek bar forward and increase the scale value from “30” to “100” and press the “enter” key. This will mark out the ending point where the frame should stop zooming in.
Now you can click on the play button in order to view results.
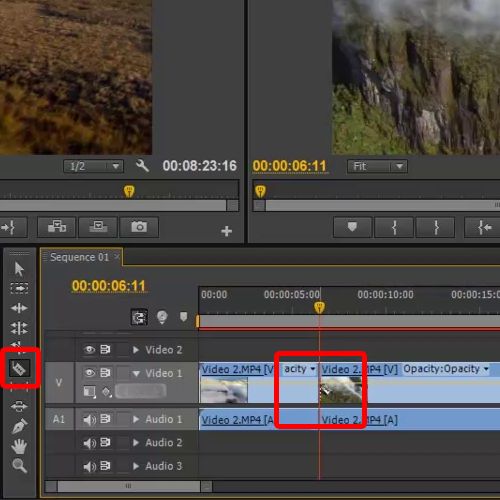
Step 3 – Animating frame position
You can also animate the frame position on both X and Y axis. Simply change the Position values of both the axis and the clip would move accordingly.
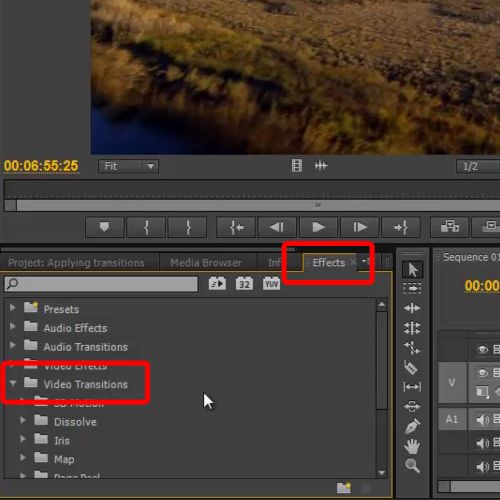
Step 4 – Animating different tracks
In Premiere CS6, you can animate different tracks automatically. In order to do so, go to the media library and select those video clips which you want to add in a single sequence.
After selecting the video clips, click on the “Animate to sequence” button located at the media library menu below.
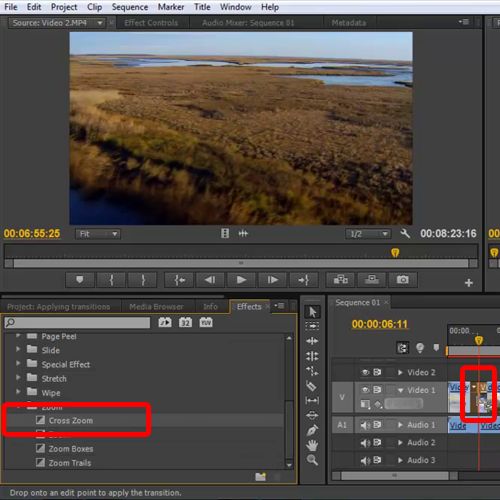
Step 5 – Choosing the selection order
A new window will pop up where you have to configure the playback setting for the whole sequence.
Expand the ordering menu and select the “Selection Order” option to set the range.
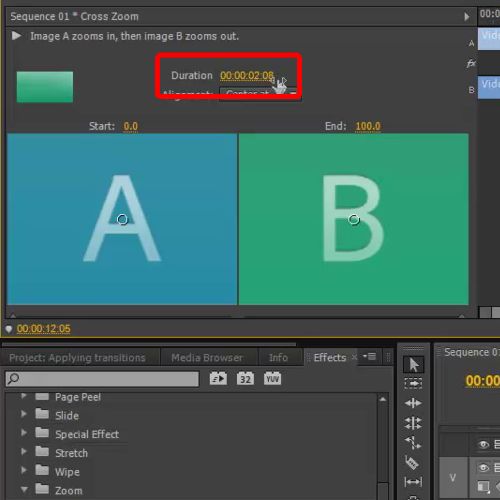
Step 6 – Setting the placement option
Move over to the placement menu, and select the “Sequentially” option from the menu. This option will allow you to play the entire frame in one series.
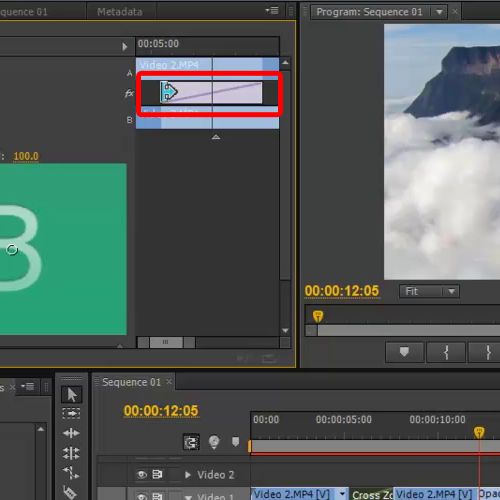
Step 7 – Choosing the method
Here, you can select “Overlay Edit” from the method menu and leave the “Clip Overlay” to 30 frames.
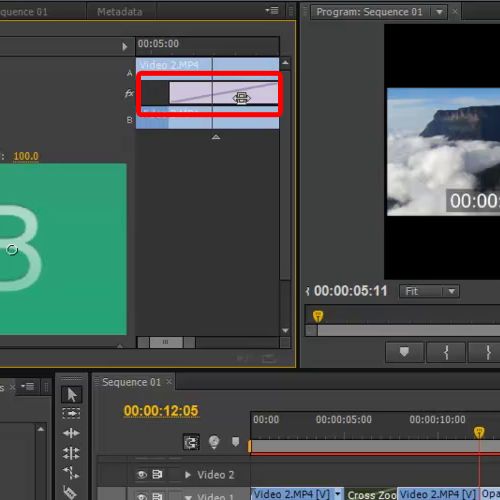
Step 8 – Audio and video transition
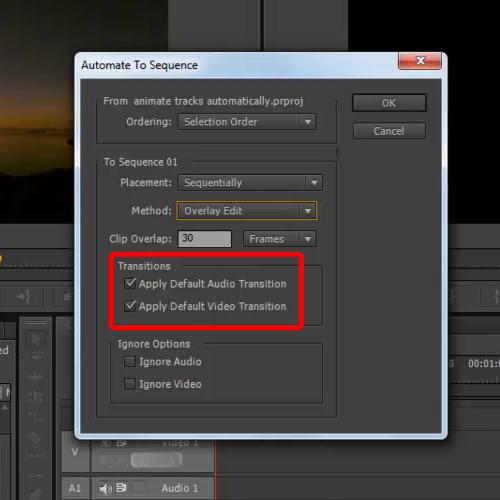
You can also set the default Audio and Video transition in both the layers by checking both options in this window. Click on the “OK” button to finish the process of adding premiere transitions. Hit the play button and see the result of the process you just carried out.
 Home
Home