Adobe Premiere is a time-line based video editing software which is used by thousands of individuals and some TV channels while working on videos. Title animation allows us to make title appear more attractive and make the video more appealing to the general viewer. In this tutorial, you will learn how to create an animated title in Adobe CS6.
Step 1 – Selecting the clip
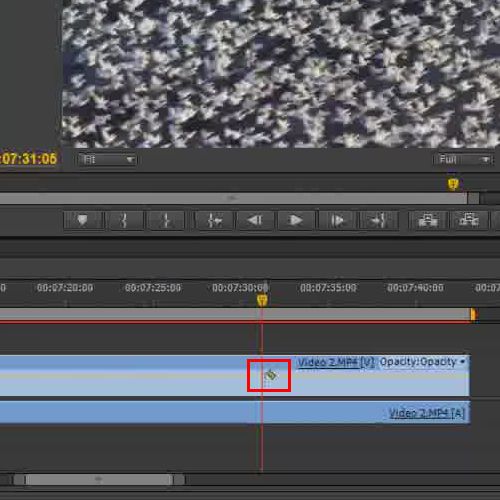
Firstly, you will need to move to the seek bar to the position where you want to insert your title. Select the razor tool, apply a cut at that particular frame and select the clip.
Step 2 – Using the camera blur filter
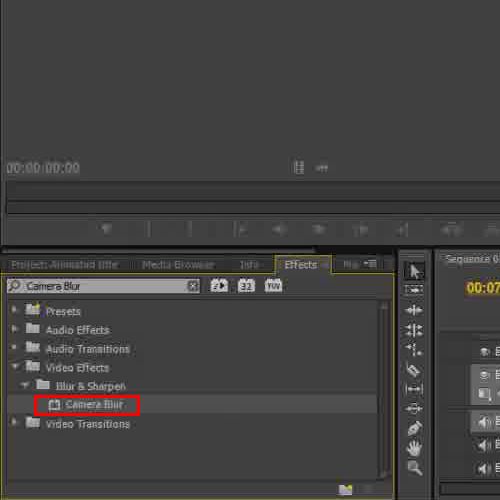
Now, go to effects and type “Camera blur”. Drag the Camera Blur filter, in the Blur and Sharpen folder, and apply it on the selected clip.
Step 3 – Animating the blur effect
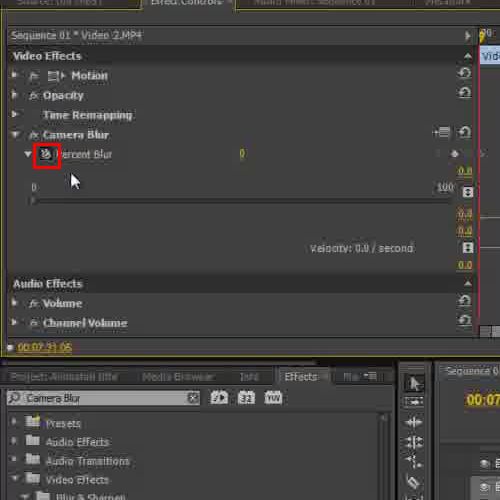
In order to animate the blur effect, you must move over to the Effect Control panel and reduce the Percent Blur value to “0”.
Now click on the “toggle animation” option right before the Percent Blur option to set the point from where the effect would start.
Step 4 – Using anchor points for the animated sequence
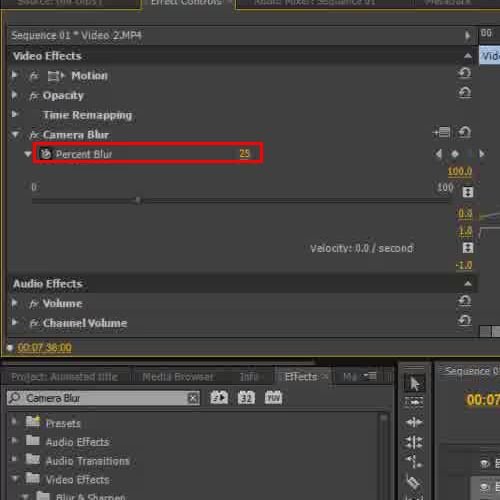
Next, you will be required to drag the seek bar forward in the timeline and increase the value from 0 to 25. You can also see the anchor points for the animated sequence.
Step 5 – Using the “default still” option
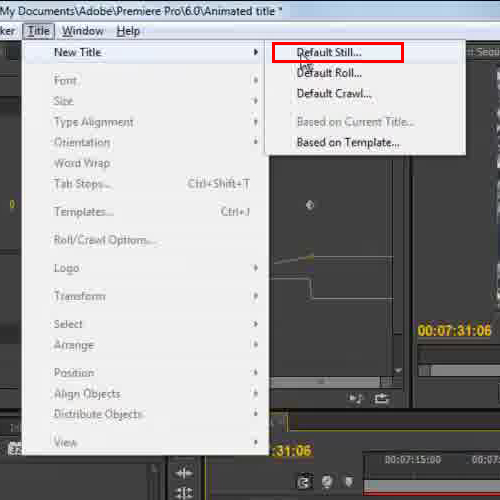
Once this has been done, you will need to move the seek bar to the beginning of the clip. For the text, you will need to go to the title menu above, move over to “New Title” and select the Default Still option.
Step 6 – Using the “type tool” button
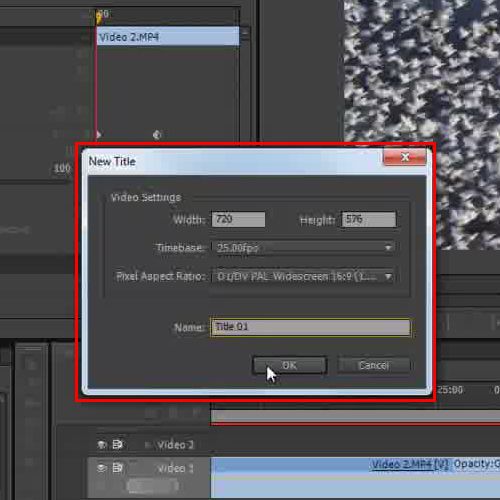
Here, you will need to name your title and move forward. As the title editor windows appears, click on the type tool button on the left and type in your text.
Step 7 – Selecting the font and style
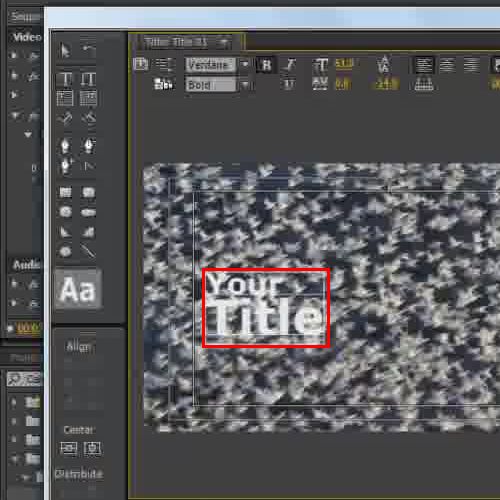
Now select the text and move the cursor towards the right hand side of the window in order to select the fonts. For example in this tutorial of Adobe CS6, we have selected “Verdana” for the font and kept the font style “Bold”.
Step 8 – Using the library window
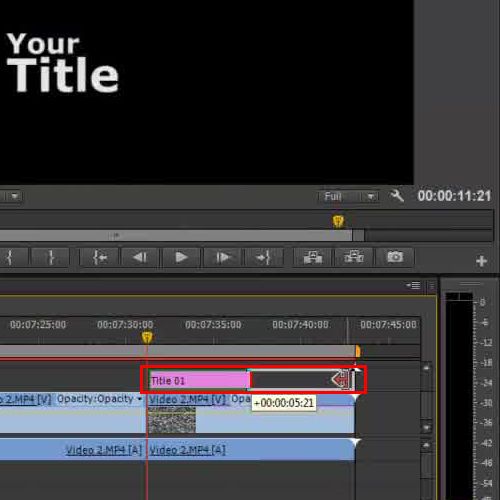
Next, close the window and move to the media library window. Over here, drag and drop the title clip to the Overlay layer, which is layer 2 in this case.
Step 9 – Stretching the title layer
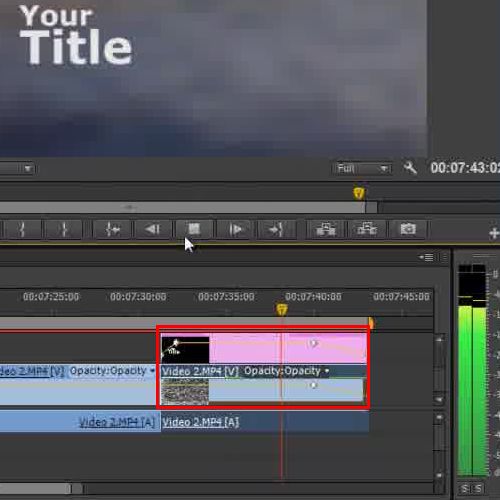
Stretch the title layer to the end and set the key-frames for both the layers accordingly. In order to do so, just move the key-frames appearing within the layers downwards. This would give your title video a fade in/out effect and you title animation is complete.
 Home
Home