Different “face styles” exist in Google SketchUp which allow you to view your drawing through different eyes. The outlook can have textures, consist of just the outline, contain shadows, be completely monochrome, etc. Therefore while using SketchUp you can make the output look as per your requirement.
The various features of this software can be learned by following these Google Sketchup tutorials. To understand how to see objects through different views in Google SketchUp follow the steps given below.
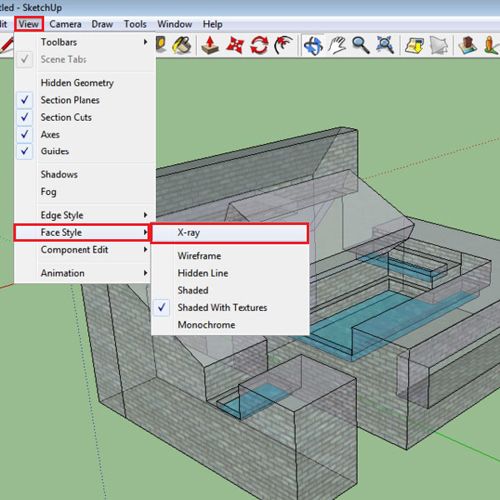
Step # 1 – Selecting the “x-ray” option
To select the various view styles go to the “view” menu on the top. From here, drop down to “face styles” where you will be able to see the different options available. The “X-ray” option can be viewed with other styles as well. Enable this to see through the surface of your construction all the way to the different planes till the back that exist in the complete illustration.
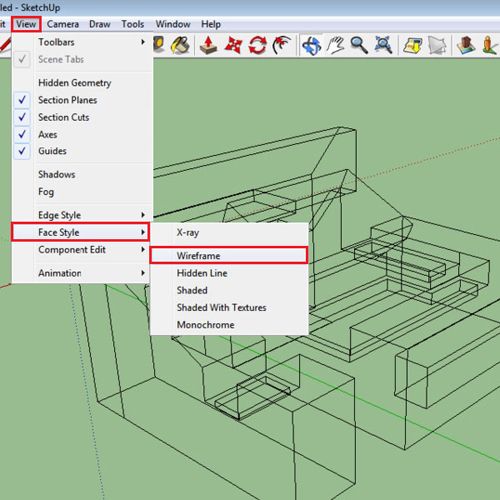
Step # 2 – Selecting the “wireframe” option
Next, select the “wireframe” option. This provides you with a basic wire outline of your structure. The option of “hidden line” in this menu hides all of the lines that are not visible from the front of the illustration.
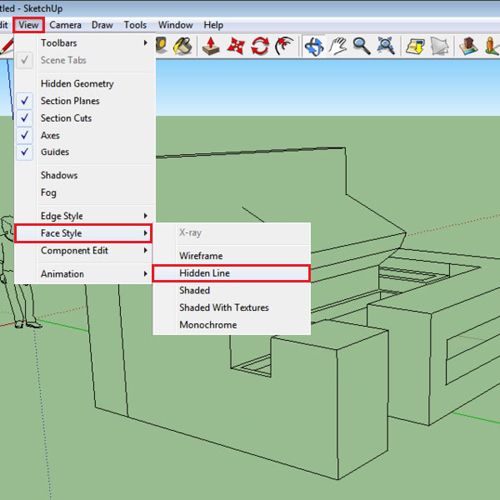
Step # 3 – Enabling the “hidden line” option
The option of “hidden line” in this menu hides all of the lines that are not visible from the front of the illustration. To select this go to the “view” menu, drop down to “face style and choose the “hidden line” option.
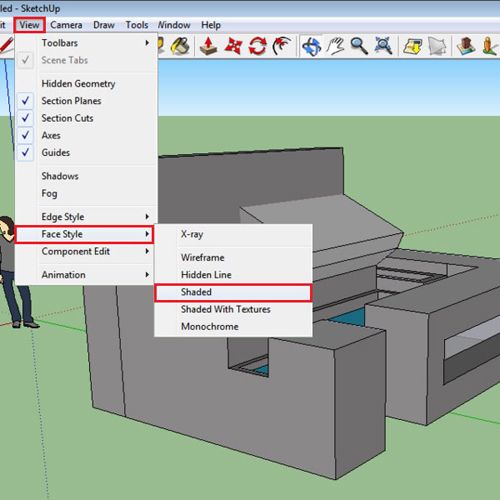
Step # 4 – Shading the image
There are also two shading options given. The first one provides you with a basic shading of the planes. This option is named “shaded” in the view menu.
Step # 5 – Selecting the “shades with textures” option
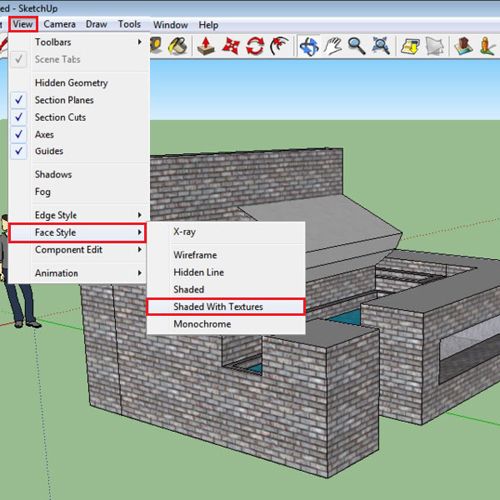
Another existing option in Google Skektchup, which was the one selected at the beginning of the tutorial was “shades with textures”. This allows the material that was chosen with this to be visible while you are working.
Step # 6 – Making the image monochrome
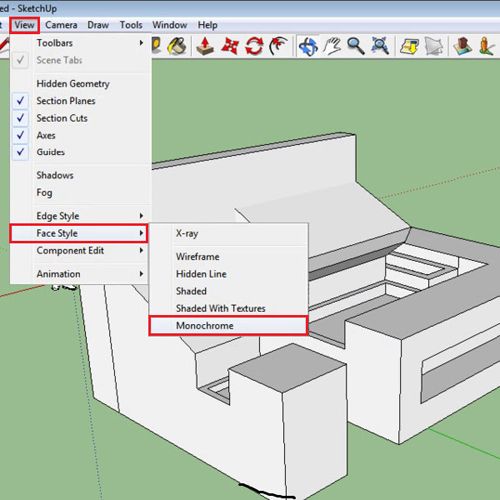
The last “face style” option that is the “monochrome” allows one color to prevail throughout the illustration.
Step # 7 – Adding the “shadow” effect
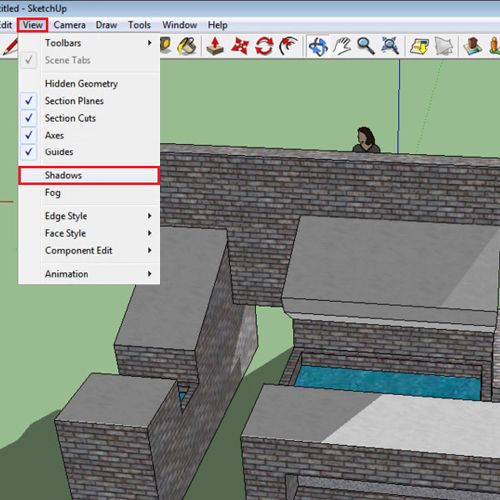
Shadow and fog effects can also be applied to your drawing. To add the shadow effect, go to the “view” menu and select shadow. Now when you use the “orbit” tool to navigate you will notice that the shadows that are forming are due to the structures in the drawing.
Step # 8 – Adding the “fog” effect
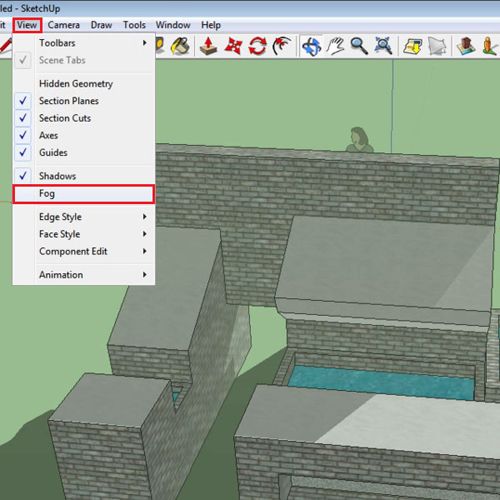
To add the fog effect, go to the “view” menu and select the “fog” option. This gives your drawing a fog effect.
You can view more Google Sketchup tutorials to understand how to perform other functions in this software.
 Home
Home