Different types of motion can be created in Google SketchUp by means of “Sketchyphysics” which is an additional plugin. These Google Sketchup plugins provide you with a set of tools that can be used for various purposes while this specific one includes being able to create Sketchup animation.
To learn how to create motion in Google SketchUp follow the steps given below.
Step # 1 – Make a rectangle
In this tutorial we will understand how different joints can be used. First of all create a rectangle, pull it up by means of the “Push/Pull” tool and make two diagonal points to define the midpoint of the shape.
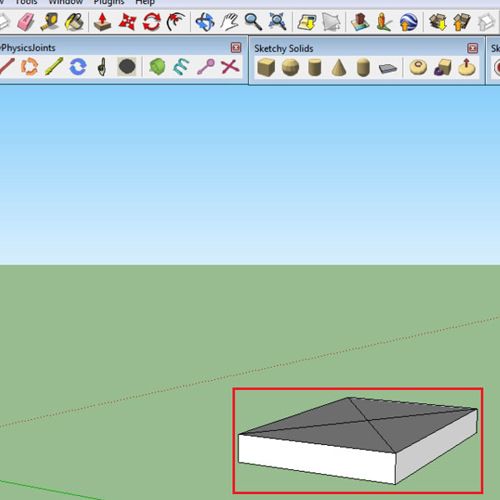
Step # 2 – Make group
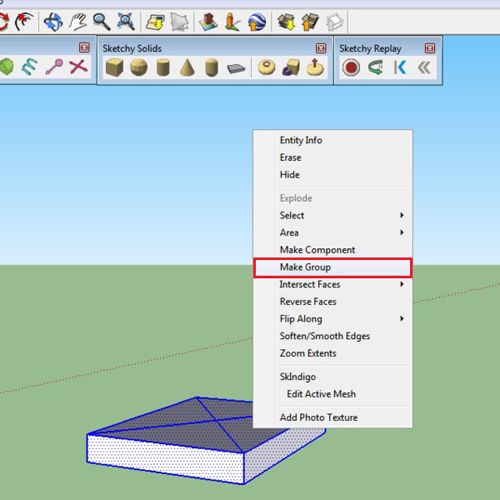
Select this object that you just made, right click on it and choose the “make group” option.
Step # 3 – Draw a path
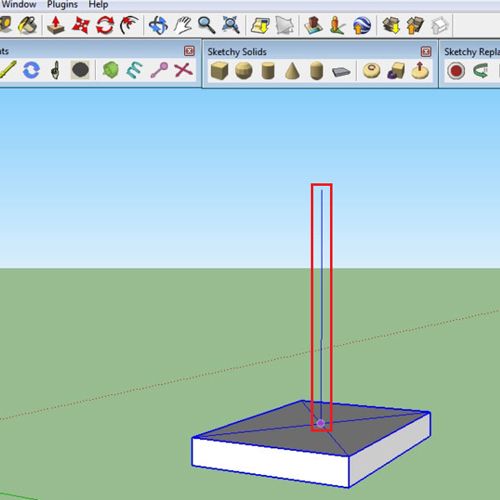
Draw another line, emerging from the center of the illustration. This line is there to serve as the path for the joint that you will put.
Step # 4 – Make cylinder
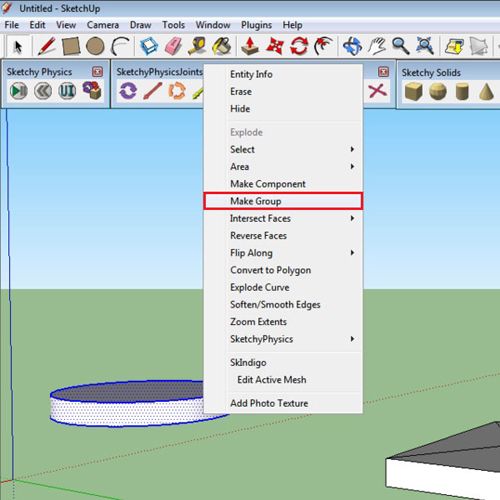
Separately, make a circle, extrude it by means of the “push/Pull” tool and then make it into a single group.
Step # 5 – Insert the joint
Now zoom in to the extruded rectangle and select the “hinge” joint. While this joint is selected, click once where the path is intersecting the shape. Click once more and then define the path, this appears blue because it is parallel to the blue axis.
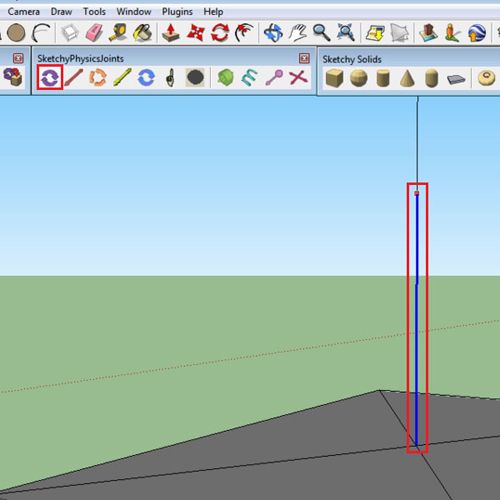
Step # 6 – Place the disk
Now place the extruded circle above the rectangle such that the created path runs through it.
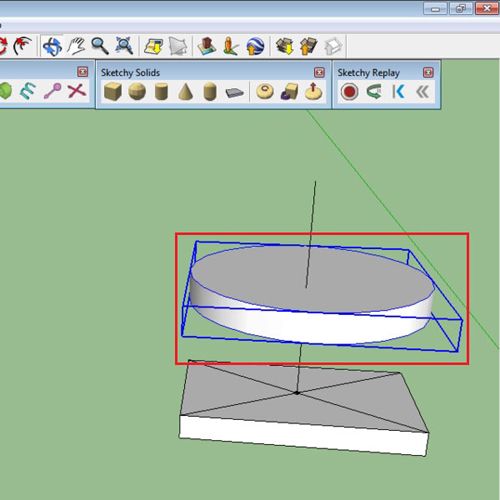
Step # 7 – Connect the joint
Select the “joint connecter” option above, click the joint, keep pressing the “control” key and select the circular disk. This joins the two. A green outline appears when they get connected.
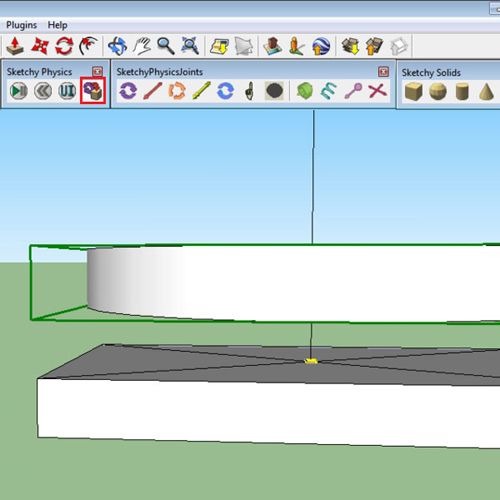
Step # 8 – Group the joint
Now, with the select tool click the rectangle, keep pressing the “shift” key, select the joint, right click and then choose the “make group” option. This joins the joint with this object.
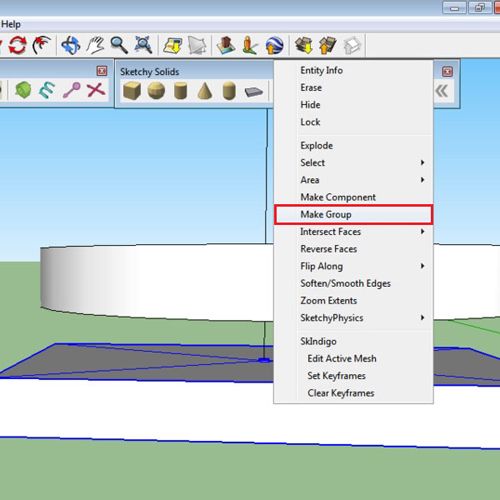
Step # 9 – Make the state static
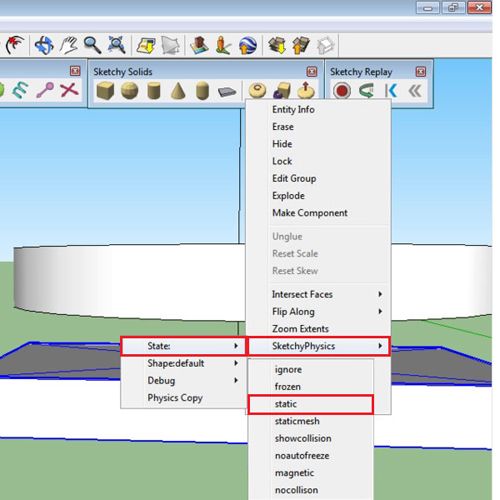
Right click on this new group, then go to “sketchyphysics”, “state” and select the “static” option. Such additional Google Sketchup plugins provide you with advanced features in the software.
Step # 10 – Create motion
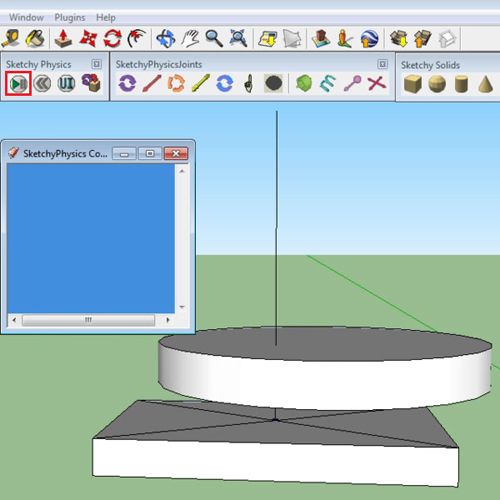
Press the “play” button and the disk will now move once you create motion manually.
You can delete this current joint, add any another and join it with these objects by repeating the same process to create Sketchup animation.
 Home
Home