In this Photoshop tutorial you will be learning how to work with layers. In this we will be discussing how to group and ungroup layers. This comes in handy when you are working on too many layers at one time. You’ll see how to merge layers and how to flatten an image while working on Photoshop CS5. Merging layers and flattening an image is not appreciated a lot by many Photoshop users but there are quite a lot of people who still use this feature.
Step # 1 – Group layers
If you have a lot of layers opened up, it might get a little messy. To reduce the number of layers then select the ones you want to group together and drag them to the ‘create new group button’ at the bottom of the ‘layer’ panel. There is also a keyboard shortcut for this which is pressing “ctrl + g’ on the keyboard.
Another way to perform this action is to select the layers you want to group together, go to the ‘layer’ menu and click on ‘group layers’.

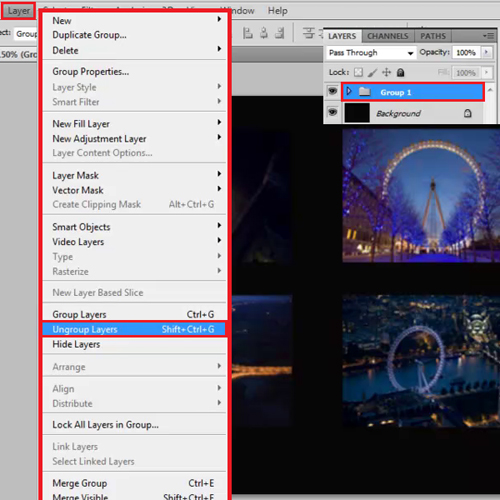
Step # 2 – Ungroup layers
If you want to ungroup the layers all you have to do is go on the ‘layer’ menu and click on the ‘ungroup layers’ option. The keyboard shortcut for this is ‘ctrl +shift =g’.
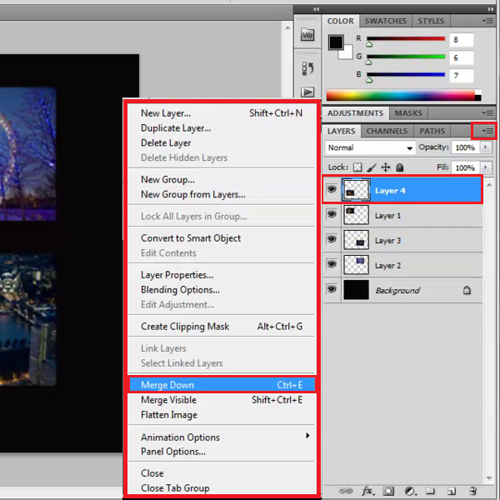
Step # 3 – Merge layers:
Merging layers comes in handy when you have to apply a particular effect to many layers. However, once you have merged layers there is no way you will be able to edit these layers individually again. The merged layer acts as a single image. Once you have understood this potential risk you can be more careful when you are performing this action.
To merge a layer you need to make sure the layers you want to merge are on top of each other. Click on the top layer out of the two that you want to merge, click on the fly-out menu in the ‘layers panel and then select the ‘Merge Down’ option. The keyboard shortcut for this is ‘ctrl + e’.
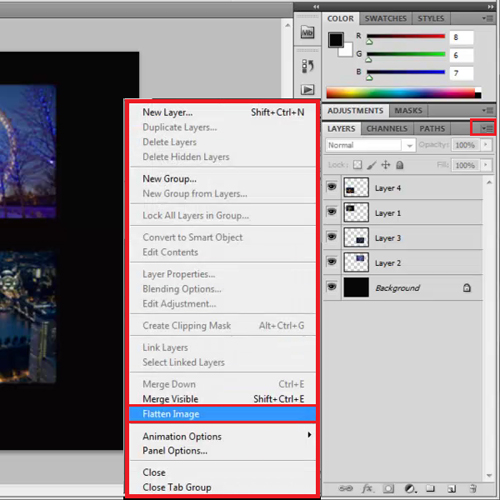
Step # 4 – Flatten an image
The flatten command converts all the visible layers that you have on your document into a single one. This command is typically discouraged by all Photoshop experts as it removes the option of working on your layers separately. To apply this, click on this fly-out menu in the ‘layers’ panel and then select ‘flatten image’. Photoshop at times pops up a dialogue box to ask if you want to discard hidden layers as all of those get deleted after you select this option.
To know how to work with layers and their importance in Photoshop is very essential. Hence it is important to understand the different options that can be applied to them in this software.
Step # 5 – Save the flattened image
To use this flattened image in some other program or software, simply select the ‘save as’ command from the ‘file’ menu.
A box pops up once you select this option that allows you to save this document as a copy in JPEG or PNG format. This way you can save this flattened image separately without deleting the different layers in your Photoshop file.
Use this Photoshop tutorial to learn more about working with layers in this software.
