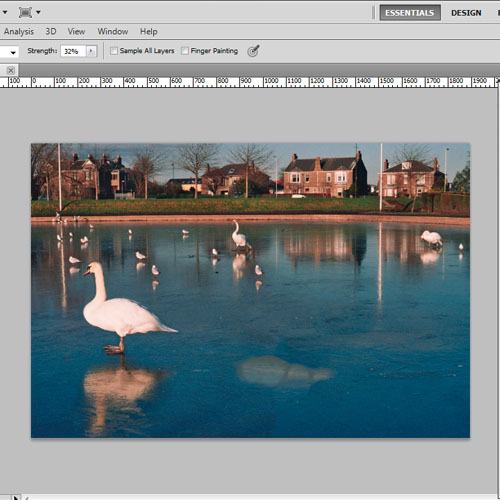
Photographs taken never seem perfect to us. Sometimes, we want to move the objects in an image from one position to the other. However, to do this, you don’t need to take the picture again; you can move an object in Photoshop easily. One of the many popular features in Adobe Photoshop is the ability to move people or other objects in a photograph from one location to the other. In this tutorial, you will learn how to move an object and fill the missing patch using the option of content aware in Photoshop.
Follow the guide to learn how to move an object in Adobe Photoshop.
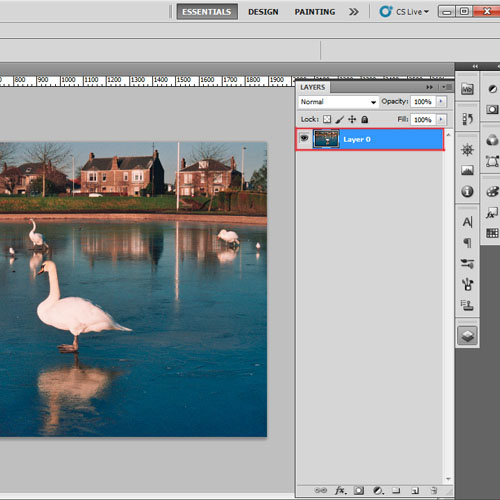
Step # 1 – Unlock the layer
First of all, open the image on which you want to make changes. In Photoshop, we need to unlock the layer before editing it. Therefore double click on the background layer in the “layer panel” to convert it to “layer 0”.
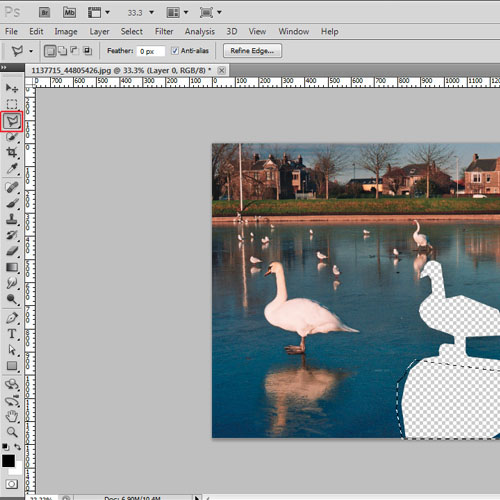
Step # 2 – Make selection around the object
Once done, make a selection around the object which needs to be moved. In this tutorial, we are going to use the “lasso tool” to make the selection but you can use any other method as well.

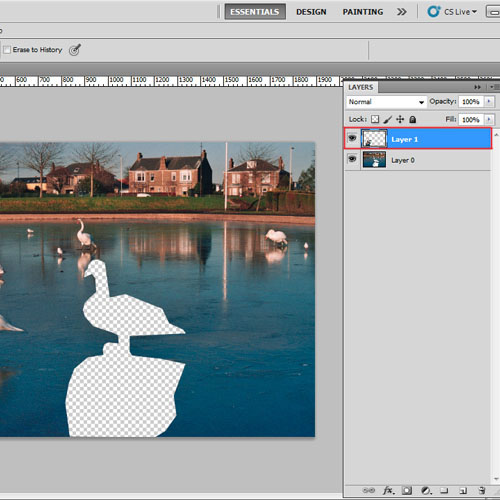
Step # 3 – Move the object to a new position
Once the selection is made, we will move the object to a new position. To move an object, we need to copy it on a new layer. So first of all, press “Ctrl+X” to cut the selection area and create a new layer from the layer panel. Then press “Ctrl+V” to paste the object on the new layer. Adjust the position of the object. Use the “eraser tool” to rub off the edges on the selected area so that it merges with the background.
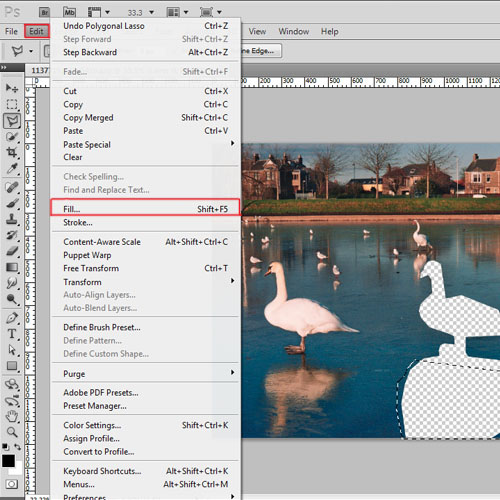
Step # 4 – Make selection around the missing patch
Now, fill the missing patch from layer 0. Go back to layer 0 by clicking on it in layer panel. Make a selection around the patch using “lasso tool”. You can use the “marquee tool” or the “quick selection tool” to create the selection as well.
Step # 5 – Go to the “Fill” option from edit list
Now we will go to the “edit” menu at the top and select the “fill” option from the list.
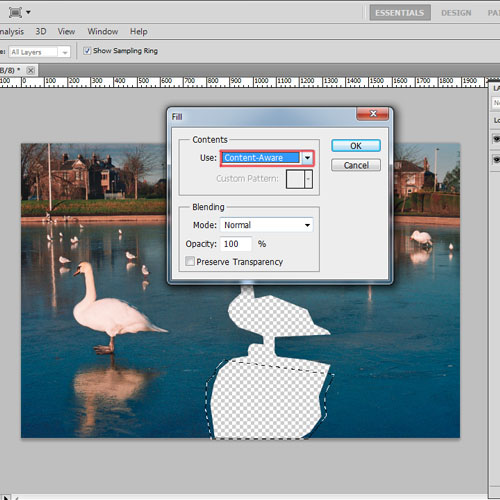
Step # 6 – Apply Content aware option
When the dialog box appears, we will set the “use” to “content-aware” and press ok. The option of content aware in Photoshop helps to fill the missing patch. Now Photoshop will automatically fill the missing patch.
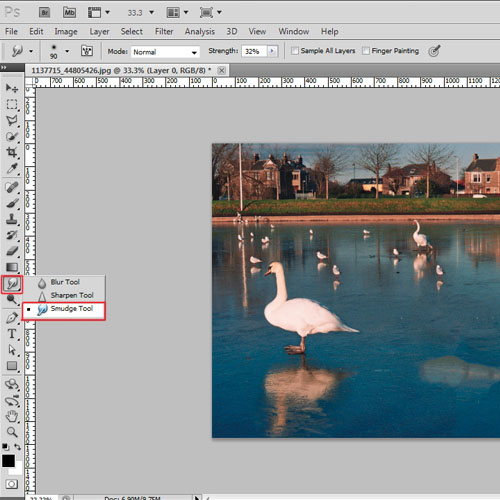
Step # 7 – Smudge the area
If the patch is too large, apply the “content-aware” option in two or three parts otherwise you will get an uneven patch. Once the patch is filled, you can use the “smudge tool” to even out the area if needed.
Step # 8 – Merge the layers
In the end, we will select both the layers in the layer panel and press “Ctrl+E” to merge them.
This method allows you to move an object in Photoshop easily.