Flyer is a popular form of advertising as it’s widely used to boost the products, any event or party. They fill almost the same purpose as posters do but are very cost effective as compared to posters. Flyers should be effective, attractive and noticeable. While using Adobe Illustrator, you can create amazing designs for flyers very easily. In this tutorial, you will learn how you can design a creative flyer in Illustrator to promote a fashion event.
Step # 1 – Make background
First of all, open a new document of 5 by 7 inches. This is the standard size used for a flyer. You can always use different dimensions but remember that flyers are usually small in size.
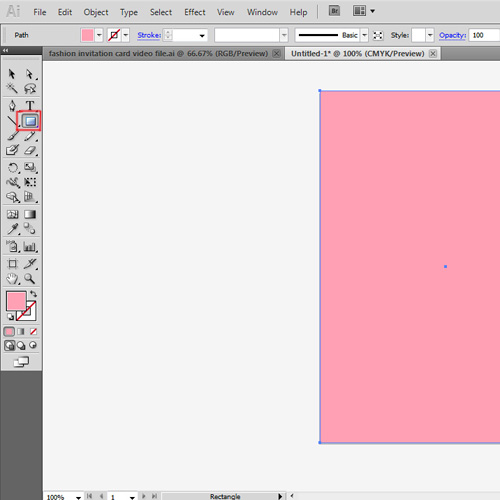
We will start with the front side of the flyer. We need to fill the background with a color so draw a rectangle using the “rectangle tool” covering the whole artboard. Change its color to “FFADB4”.
Step # 2 – Create a pattern
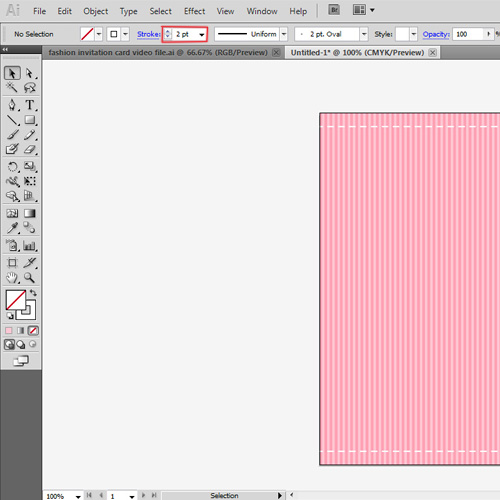
Now to create patterns in the background draw thin lines using the “rectangle tool”. Change the color to “FFCED2”. Copy the lines multiple times to fill the artboard.
Now use the “pen tool” to draw a straight horizontal line at the top and change its style to dashed line. Increase its weight to 2 px. Make a copy of the dashed line at the bottom. Rename the layer as “background”.
Step # 3 – Insert a vector image and ellipse
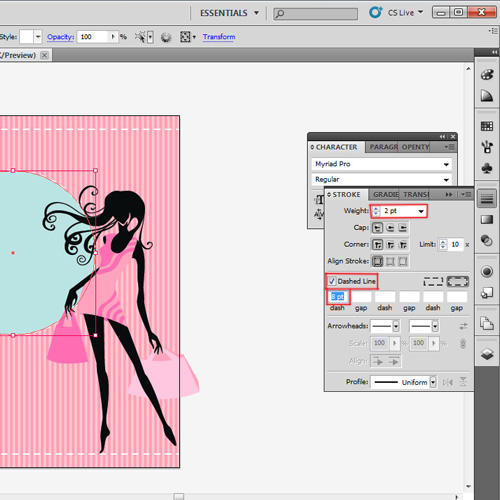
Once the background is done, create a new layer. Now you can draw an image of a fashioned girl using a pen tool or download a vector file and copy it. You can place where ever you want to but it should be according to the design requirement.
Now use the “ellipse tool” to draw a circle and change its color to “C3E1E3”. We will use this circle to place behind our text so that it is readable. Send it behind the girl vector. Make a copy of circle and change its outline to dash style. Place it over the circle.
Step # 4 – Add more circles
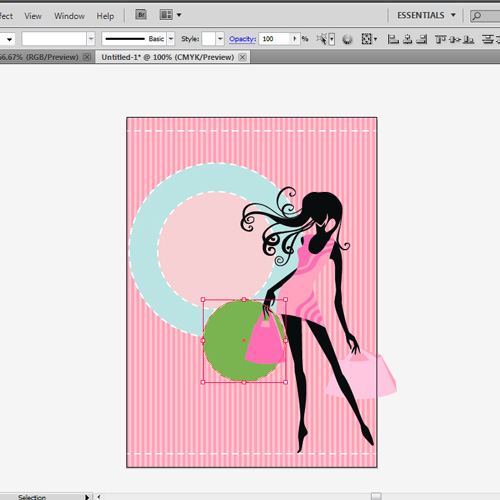
Now we will add few more circles to create a pattern. Make a copy of it and alter its size to fit it inside the blue circle. Change its color to “F1D3D2”.
Again make a copy of the circle and place it accordingly. Change its color to “8BAA0B”.
Step # 5 – Fill negative space
We will add some design elements to fill the negative space. Copy and paste a swirl design and send it at the back by pressing “Shift+Ctrl+[”. You can download the vector file of swirls design or draw it yourself by using the “pen tool”.
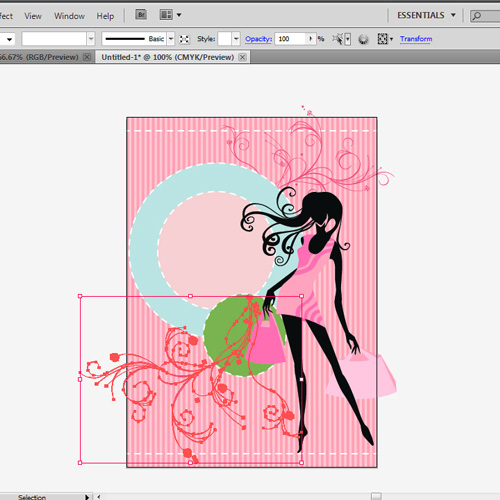
Step # 6 – Insert text
Once the design has been completed, use the “type tool” to insert text. For this, use different fonts and sizes.
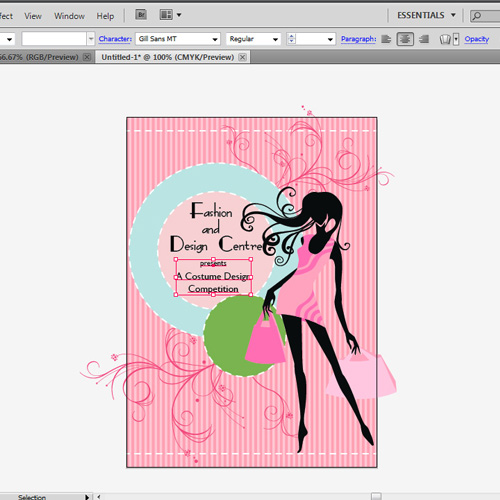
Step # 7 – Add artboard
When the front side is complete, we will start designing the backside of the flyer. Add another artboard from the “artboard panel” on the right.
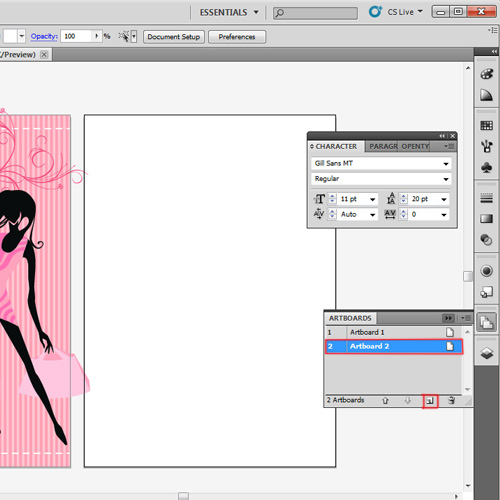
Step # 8 – Insert pattern and image to backside
We need the same background for the backside but we don’t need to remake it. It can be easily copied from the front side. Click on the “background” layer and copy the background from the front side and paste it on the second artboard.
Now click on “layer 2”. Copy a vector image of a fashioned girl and paste it on the artboard. You can draw a fashioned girl or download a vector file.
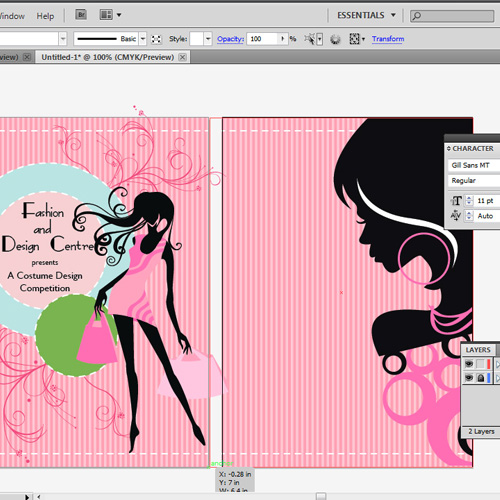
Step # 9 – Add swirls and circles
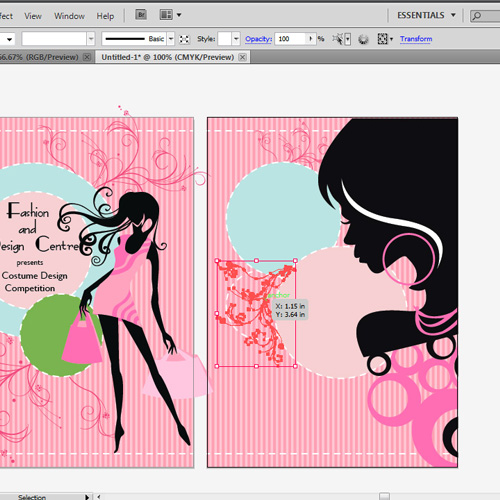
Once done, copy the circles from the front side artboard. You can place them in a different way or in the same way as it is on the front side. You can even use different colors so as to create different amazing designs on each side of the flyer.
Now copy the swirls design and place it on the backside of the flyer. Adjust its placement and size accordingly.
Step # 10 – Create clip masking
Next, use the “type tool” to enter text on the backside of the flyer.
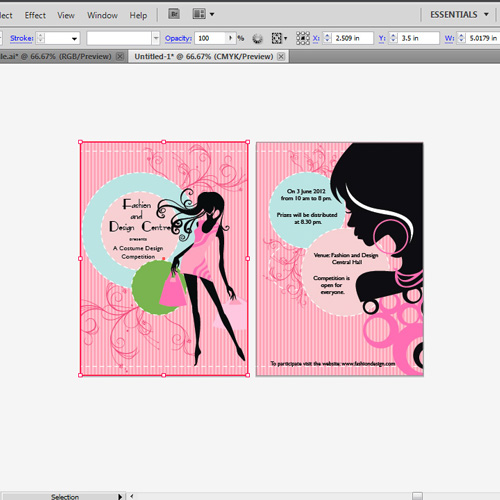
In the end, use the “rectangle tool” to draw a rectangle with “no fill” over the artboard of the front side. Then select all the elements and press ‘Ctrl+7” to create clip masking. This will remove the extra parts.
Your flyer in Illustrator is now complete and can be printed for used.
 Home
Home