If you want a logo 3d effect photoshop is an ideal program to use. It has a powerful 3D feature that will turn even the most simple text into a powerful logo.
Step # 1 – Create a new image with background color
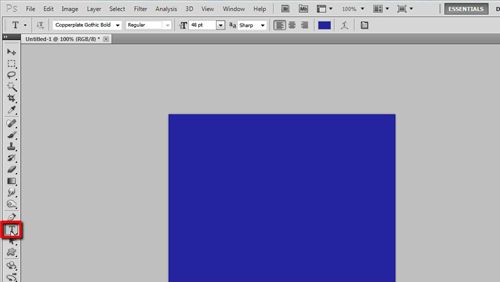
Open up a new Photoshop document and select a background color. You then want to enter the text of the logo so click on the “Text” button on the toolbar on the left.

Step # 2 – Entering the text and resizing
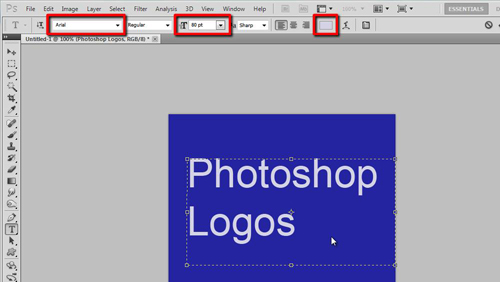
Enter the text for your logo and select the “size”, “colour” and “font” that you require. Move the logo into the center of your canvas.

Step # 3 – Introducing the 3D to the image
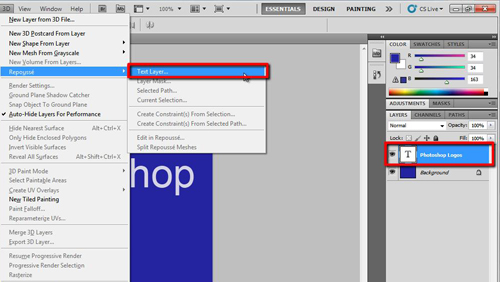
Click on the “Text Layer” in the “Layers window” on the right side of the screen. Then click “3D” in the main toolbar and go to “Repousse” and click “Text Layer”. It will ask if you want to “Rasterise the text” click “Yes”.

Step # 4 – Adjusting the 3D settings
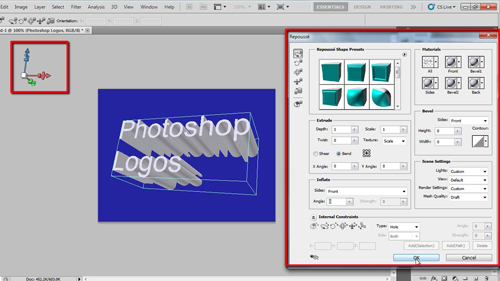
The “Repousse” box will open – this is where the logo 3d effect photoshop settings are. You will notice an “axis” appear on the far left of the screen. Essentially you just want to play around with this until the logo has the 3D effect that you desire. This is very easy to do. Click “OK” in the “Repousse” box and you’re all done.

 Home
Home