In this video tutorial we will show you how to change default fonts on Mac.
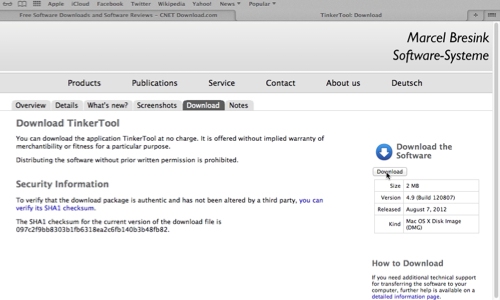
In order to change default fonts on Mac. Open Safari browser. Enter “cnet.com”. Move mouse to “Download” and choose “Mac Software”. Go to “Search CNET” window and type “Tinker tools”. Select “Visit site” from the right of “TinkerTool”. In appeared window press “Continue to download”. Wait until download is done.
Open the file. In following window “agree” with the license agreement. When the application opened, drag the application icon to any folder. Click to open it. In appeared window click “open”. In “Tinker Tool” opened window, choose “fonts”. In following window you can choose to change “system” font. Click “Change” and select the font you would like to change on. Than choose “change” from the right of “choose (headlines)” and choose font you prefer.
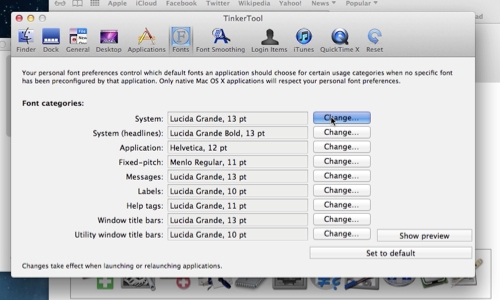
Also you can change “application” font, “Fixed-pitch” font and others. Click on “show preview” to see the changes to be made. For the changes to take effect, restart Mac PC. After the restart is done you can see the changes.