The Align tool in AutoCAD comes in handy while especially designing architectural drawings. A CAD object can easily be aligned to another one through a simple process that is explained below. This tool allows your objects to be perfectly synced as per the requirement of your design and is an important step in understanding how to use AutoCAD. Along with that it lessens the chances of error if the objects were to be aligned manually.
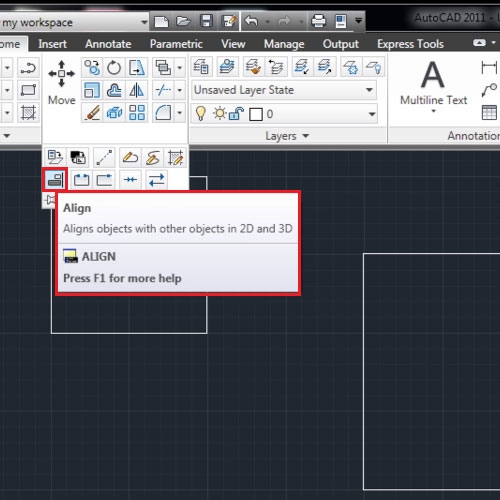
Step # 1 – Select the “Align” tool
Aligning shapes manually is not accurate and can leave room for error. Therefore, it is better to use the help of the aligning tool.
First select the “Align” tool from the extended options in the “Modify” panel.
Step # 2 – Select the object to be aligned
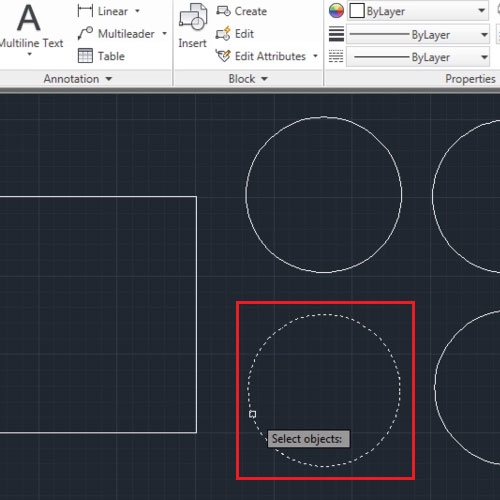
After selecting the tool, select the object you wish to align which in this case is the circle. Once you click on the object, right click to finalize your selection.
Step # 3 – Select the alignment point
The next step is to define the source points. Click on the point on the object you wish to align in AutoCAD and the next point you click should be where you wish to align it.
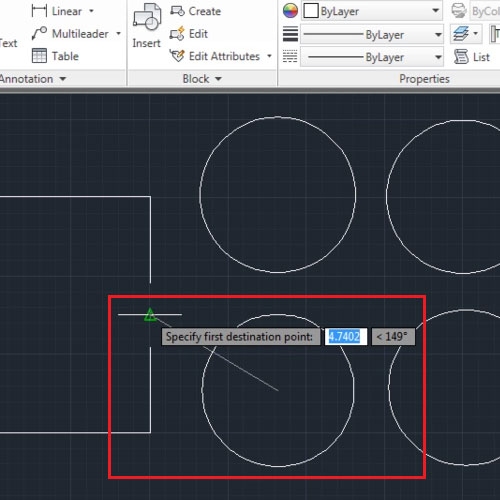
Step # 4 – Specify the second point
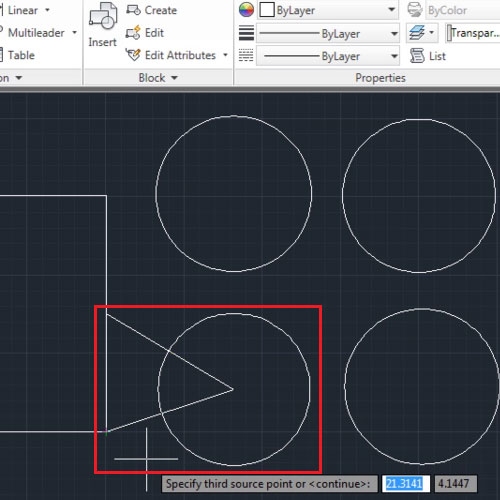
Similarly specify another source point through the same process. The second point signifies the rotation point of the object. Three source points can be added while working with 3-dimensional objects.
You can also just define the alignment point in AutoCAD and right click to place the shape where you require.
Step # 5 – Keep the original size of the shape
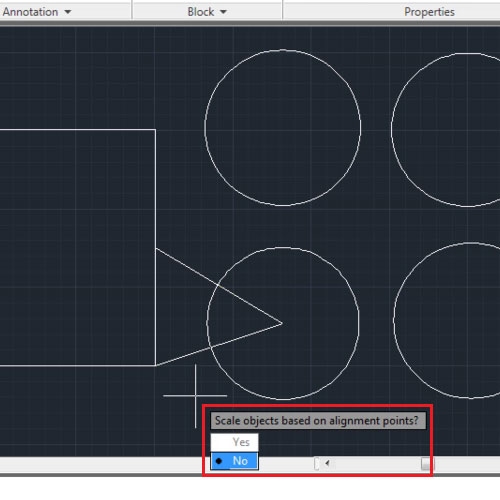
Once you have defined these then right click on your CAD object, you get the option of resizing your shape for now click “No”. The object should snap to your specified points. Repeat these steps for the other shapes as well.
However, while scaling, know that AutoCAD resizes proportionately, therefore a shape may not fit inside the space properly if it is not proportionate to area.
 Home
Home