The AutoCAD software allows you to create drawings that are accurate and measured. It enables you to create professional designs along with providing you with a set of tools that make your drafting and other designing on this software fairly easy.
This specific tutorial talks of how to create Mirror image in AutoCAD using the “Mirror” tool. To understand this better, follow the steps given below.
Step # 1 – Select the object with the “Mirror” tool
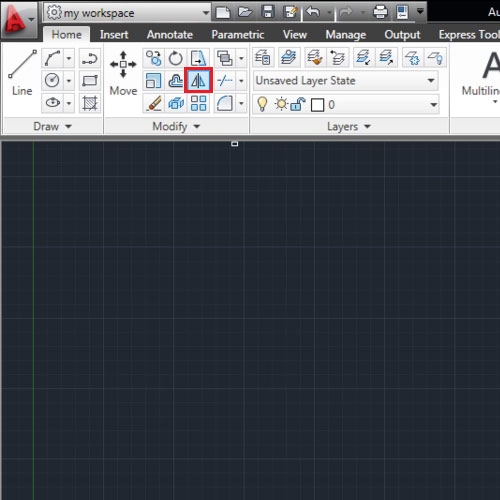
Create an object using any of the draw tools. Once you do, then select the “Mirror” tool from the “Modify” panel and the object whose Mirror in AutoCAD you wish to create.

Step # 2 – Define the Mirror line
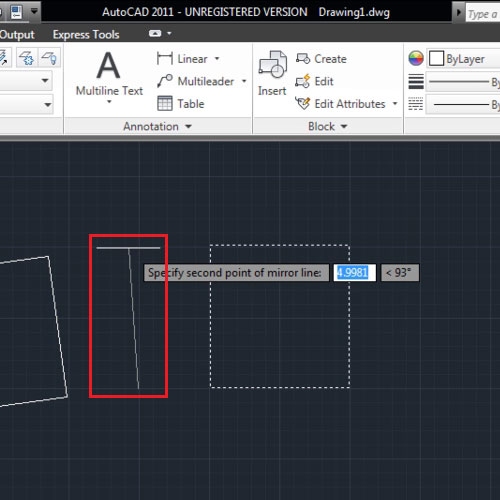
While creating a Mirror image always know that on whichever object you apply this tool on, the image that you create will be according to the Mirror line you specify.
With this tool, select the object you wish to apply this on and then right click to finalize your selection. AutoCAD now asks you to specify the beginning and end point of your Mirror line.

Step # 3 – Specify whether to erase reference image
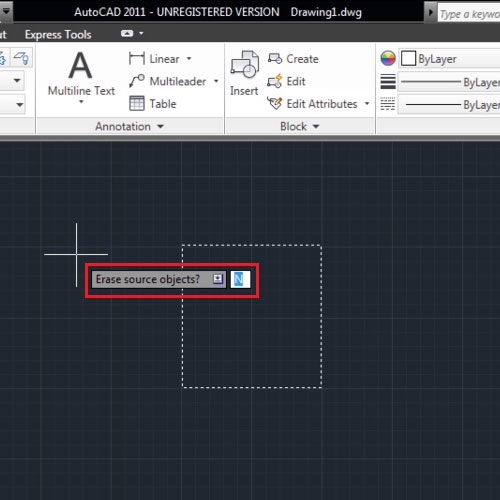
Once those are defined then it asks you whether to erase the reference image or not. Type in “Y” for yes and “N” for no.

Step # 4 – Create a Mirror of more than one object
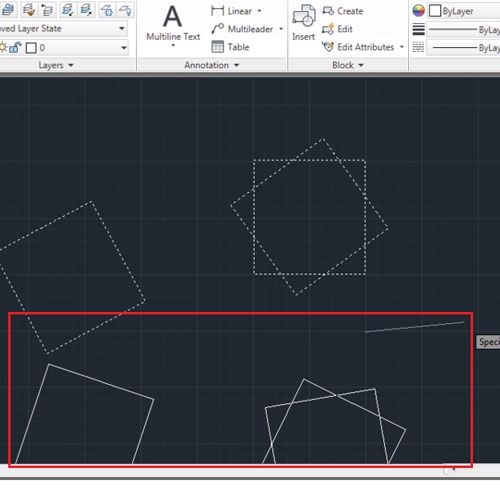
Mirror images of two or more than two objects can also be created in the AutoCAD software by following the same steps. For this, select two or more objects, however many you wish to create a Mirror off.
This tool can be used as a rotate tool and also for creating symmetrical designs.

 Home
Home