In this video tutorial we will show you how to airbrush in GIMP.
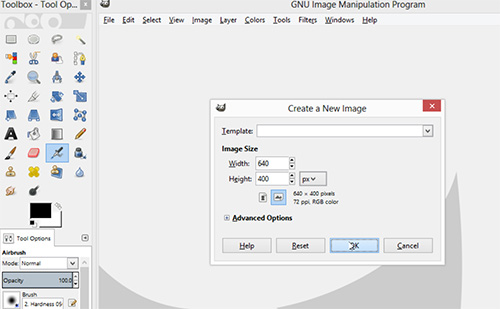
In order to airbrush in GIMP you must start the program. Go to the “File” menu and select “New” option. In the following window set image properties and press “ОК”.
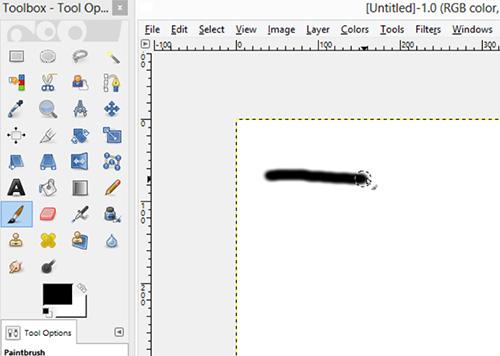
New document has been sucessfully created. Go to the toolbar of the program and select “Airbrush” tool. Draw stroke into the document area.
Then go to the color palette of the program and change color of airbrush.
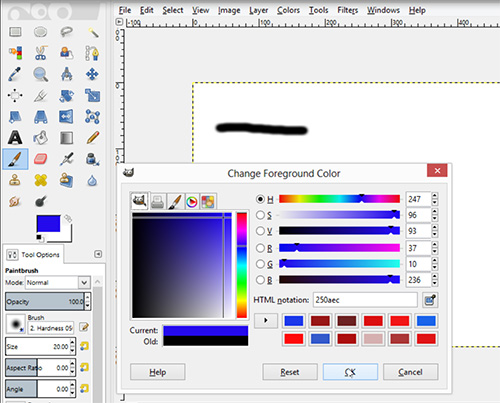
Press “OK”. Draw stroke of another color into the document area.

Go to the “Brush” menu and select more thick brush. Draw stroke.
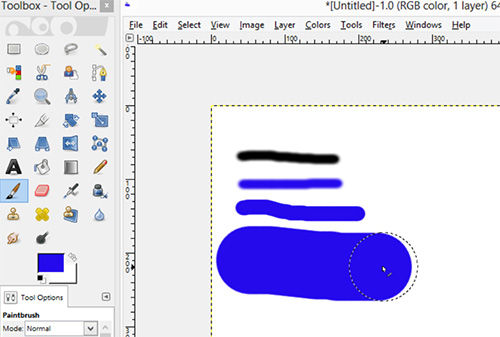
Also you can change size and other properties of the airbrush by sliders.