In this video tutorial we will show you how to change color in GIMP.
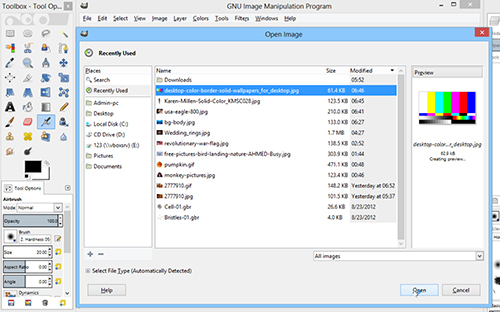
In order to change color in GIMP you need to start the program. Go to the “File” menu and click “Open”. Choose the image file on your computer and press the “Open” button.
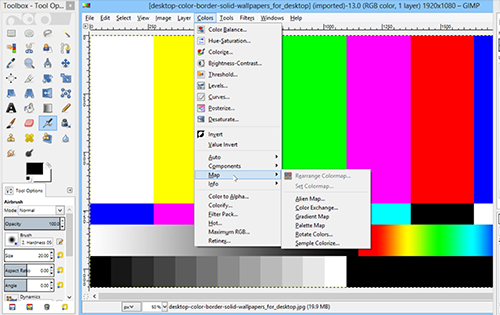
Go to the “Colors” menu and select “Map” option.
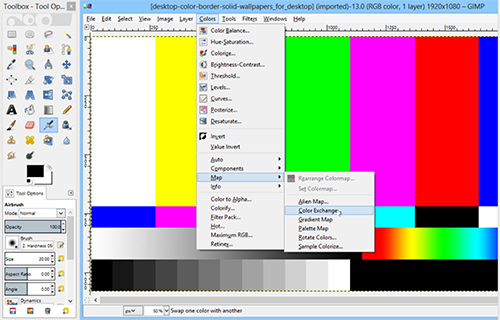
Choose “Color Excange…” option from the drop-down menu.
In the opened window, in the preview window, you can choose the color you you want to replace. Press and hold the crossed arrows icon and pick a color.
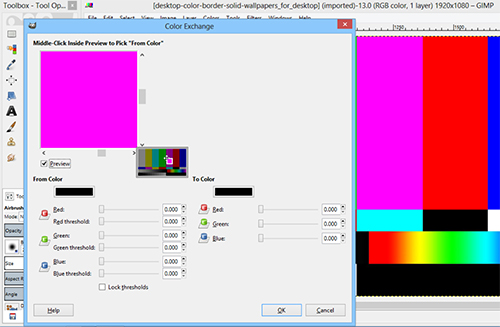
In the preview window, click the middle mouse button to choose a color. Go to the “To Color” palette.
In the following window choose the color you want to replace the initial color.
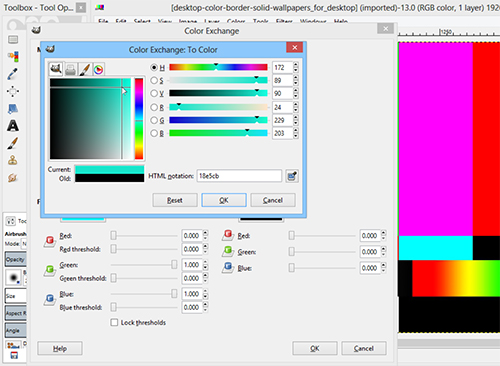
Press “ОК”. The selected color has been succesfully changed.