In this video tutorial we will show you how to install lightroom 3 upgrade.
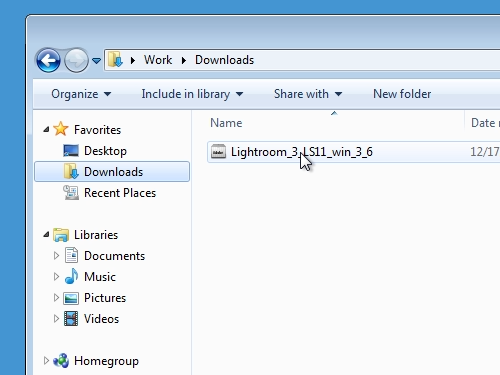
In order to install lightroom 3 upgrade, you must have the downloaded Lightroom 3 installation file on your computer. Double-click on the installation file.
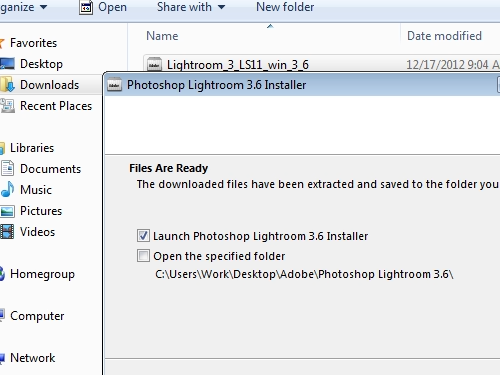
In the appeared window, choose a path to extract the installation files. Wait until the extraction is complete.
Then check the “Launch Photoshop Lightroom 3.6 Installer” option and press “Finish”.
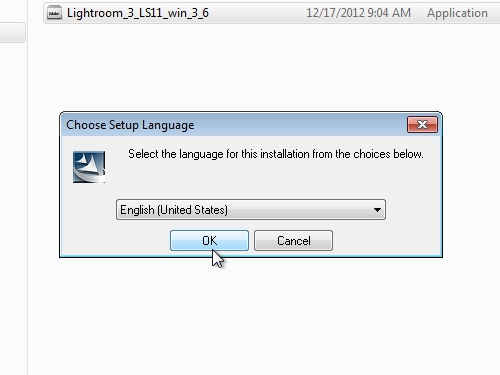
In the next window you must choose a language and click “ok”.
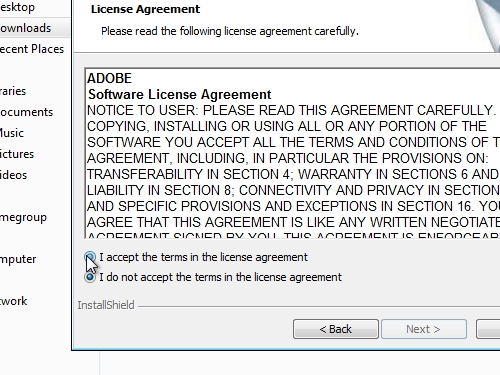
In the following window agree with a license terms and choose a destination to install the program.
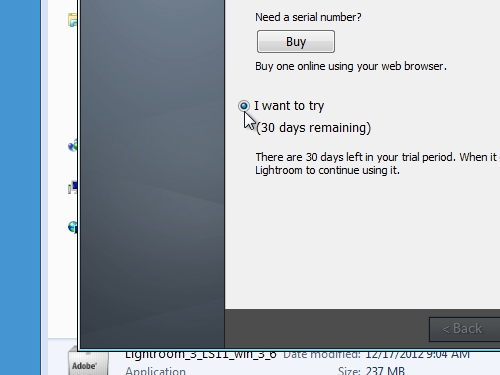
Wait until the installation process is complete. Open the program from the shortcut on your desktop. In the appeared window choose “I want to try” and “Finish”.
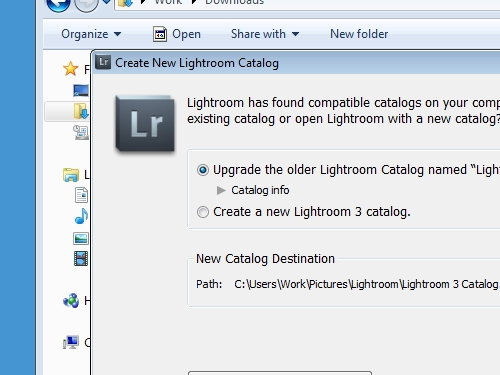
In the following window choose “upgrade the older Lightroom folder” and press “continue”.
Wait until the Lightroom 3 upgrades the library and launches.
Now your lightroom 3 is installed and upgraded.