In this video tutorial we will show you how to crop using lightroom 2.
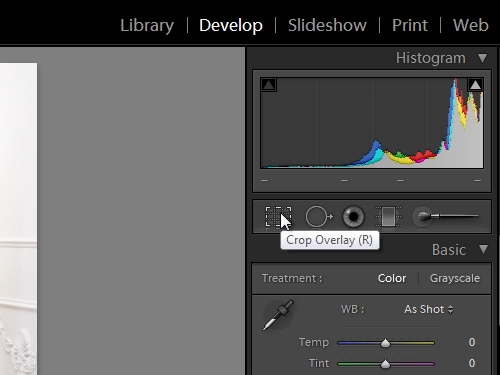
In order to crop using the Lightroom 2, open the program. Go to the “Develop” mode. Choose “Crop Overlay” option.
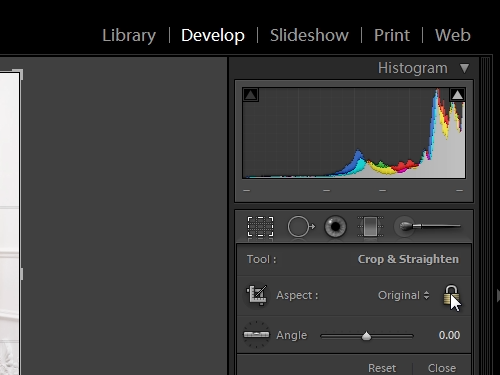
Press “lock” icon to lock crop tool borders.
Adjust the area of the photo you want to crop.
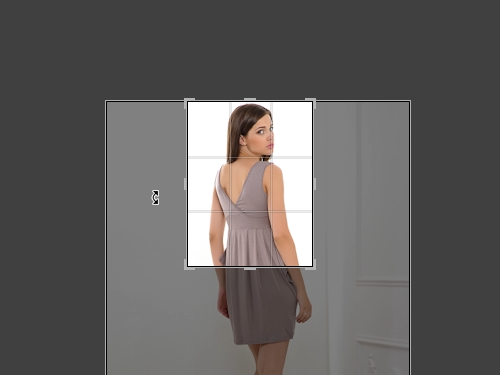
When finished, click “Crop overlay” again. Now, your photo is cropped. Go to the “File” tab and click “Export”. Choose a destination and press “Export”.