In this video tutorial we will show you how to render in Premiere Pro.
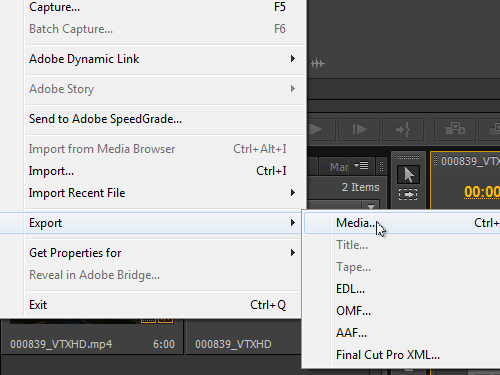
Launch the Adobe Premiere Pro and open an existing project. Move the playhead along the time line to check the project. Go to the “File” menu and select the “Media” option from the “Export” submenu.

In the appeared window, you can select the part of the video to export with the sliders under the preview window.
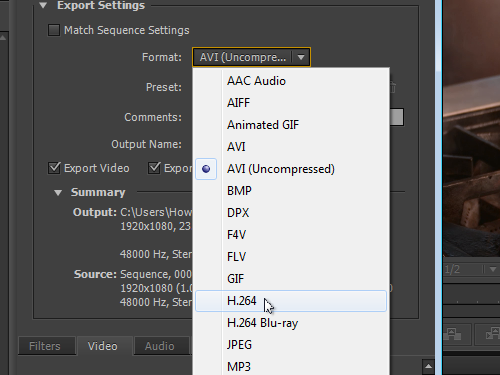
Then, find the “Format” option in the “Export Settings” section and select the “H.264” format from the drop-down list.

In the “Preset” tab you can select presets for each available format. You can also manually configure video settings in the “Video” tab. When the proper adjustments of the video settings are made, click on the “Export” button. There is also another way to render a project.
Launch the Adobe Media Encoder.

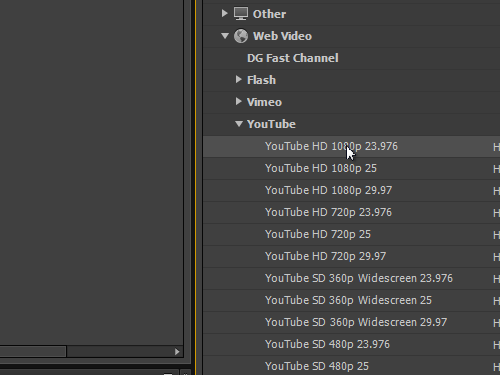
Go to the “Queue” tab and double click inside the window. In the opened window, select the saved Premiere Pro project and click on the “Open” button. In the following window, select the Premiere Pro sequence and press “OK”. In the “Queue” tab you can specify a path to save the rendered file. In our case, we will leave the default path. Find and open the “YouTube” option in the “Preset Browser” tab.
From the appeared list select the “YouTube HD 1080p” or any other format that you need.

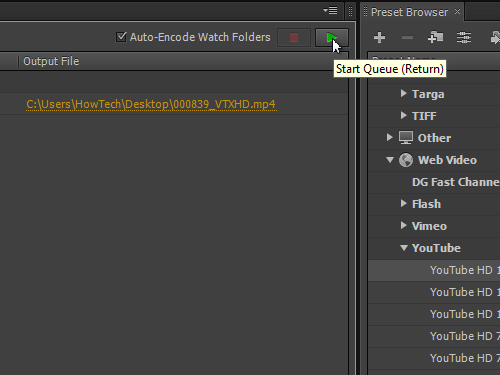
Then drag and drop it onto the “Queue” tab. Press the “Start Queue” button to start the rendering process.

Your video has been successfully rendered.
 Home
Home