Before digital cameras double exposure was a problem where a piece of film is exposed twice. However this sometimes gave a nice effect. This tutorial will show you how to photoshop multiple exposure.
Step # 1 – Loading Two Photographs as Layers
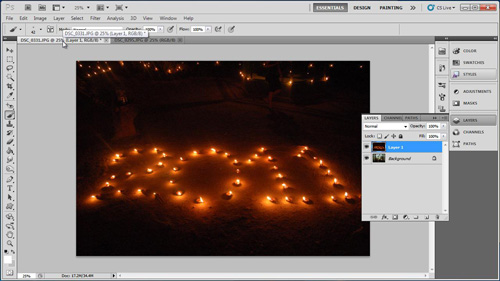
You need to select two photographs you have taken and open them in one workspace as two separate layers. Make sure you have both these photographs open, navigate to the second photograph and press “Control” and “A” to select the whole image then press “Control” and “C” to copy it. Now navigate back to the first image and press “Control” and “V”. This will insert the image as a new layer.

Step # 2 – Locating Opacity Options
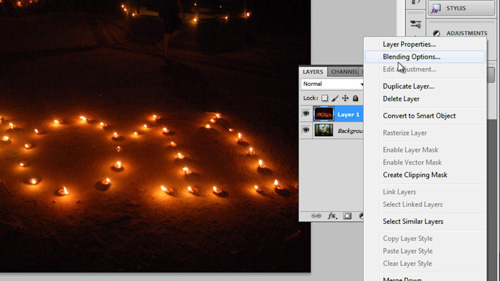
Now you will need to reduce the opacity on one layer to make it appear as if two photographs exist in one image. In the layers window on the right, right click on the image called “Layer 1” – this is the image we just pasted over the original image. In the menu that appears click “Blending Options”.

Step # 3 – Adjusting the Opacity
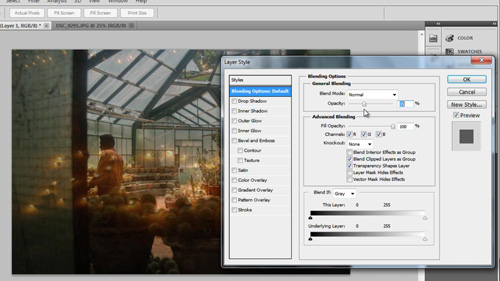
This will open the “Layer Style” window. Within this you will see an area called “General Blending”, within this use the “Opacity” slider to make the image more transparent. Keep reducing the percentage until you are happy with the result, with these two images it looks right at about “30%”, finally, click “OK” and that is how to photoshop multiple exposure.

 Home
Home