In this tutorial you are going to learn how to photoshop space effect.
Step # 1 – Creating a Black Background
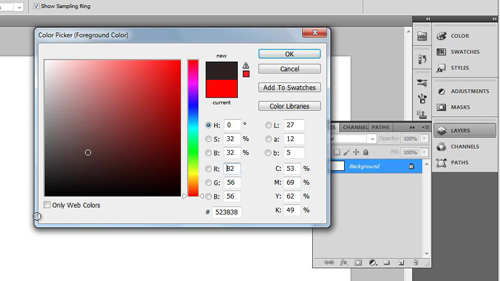
Start Photoshop with a black document with a size of your choosing, here we are selecting a canvas width of 1280 pixels and height of 720 pixels. Now we will set the background color as black, click the paint bucket tool in the menu on the left, select black in the color selector at the bottom of the menu and left click anywhere on the canvas.

Step # 2 – Adding Background Stars
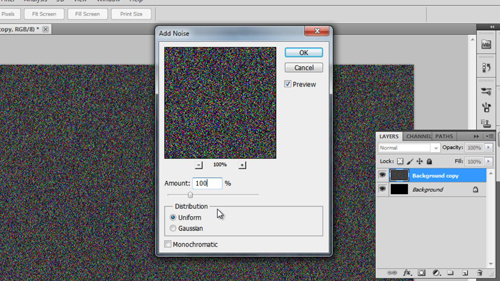
You will need to duplicate this layer, in the “Layers” panel on the right, right click on “Background” and click “Duplicate Layer”, in the dialog box that appears click “OK”. Now click “Filter” in the main menu, navigate to “Noise” and click on “Add Noise…”. In the window set the noise to 100%, select “Uniform”, make sure “Monochromatic” is checked and click “OK”. Click “Image”, navigate to “Adjustments” and click “Brightness/Contrast”. Drag the “Brightness” pivot all the way left and the “Contrast” pivot all the way right. Repeat this process to reduce the noise even further.

Step # 3 – Creating Brighter Stars
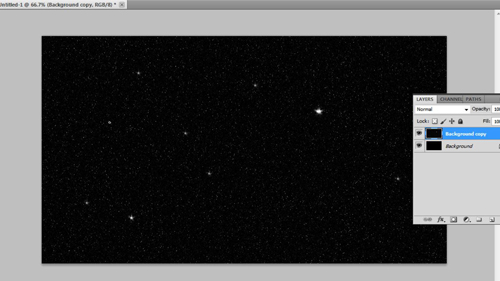
Select the brush tool in the menu and right click anywhere on the canvas. In the menu that appears select the 42 pixel star brush. Click on some random places on the background to create some brighter stars. Add a couple of extra bright one by clicking and holding while you move the mouse a fraction and that is how to photoshop space effect.

 Home
Home