In this tutorial you are going to learn how to use photoshop dodge tool which will allow you to increase the brightness in a very specific part of a photograph.
Step # 1 – Opening the Picture
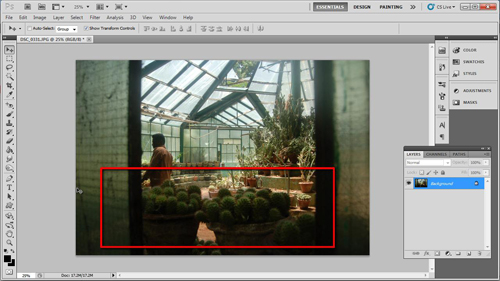
Start Photoshop and load the image that you want to dodge an area of, this will probably be a photo that has an area that is too dark, as you can see in this example. In the menu on the left you will see an image of a hand with the fingers pinched together, click and hold on this icon. In the menu that appears move your cursor over the “Dodge Tool” option and release the click.

Step # 2 – Selecting the Size of the Dodge Tool
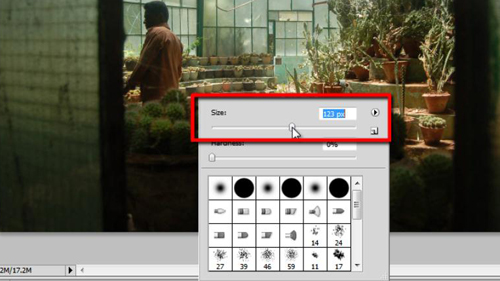
The size of dodge tool that you want to use will depend on the area that you want to brighten. Right click anywhere on the image and in the menu that appears change the tool to a size appropriate for your area, here we are using “123 pixles”.

Step # 3 – Dodging the Image
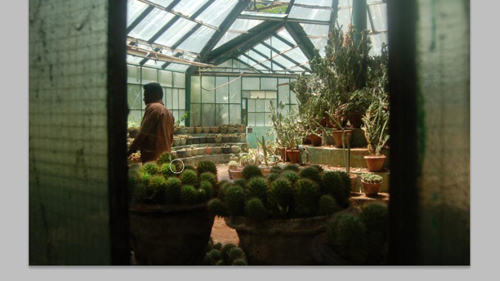
Click anywhere outside of the window to complete the size change. In this example we are going to dodge the plants that we can see in the foreground here, move the tool over the plants and click and hold. Now move the cursor around over the image and you will see that this part of the image begins to become brighter. That is essentially how to use photoshop dodge tool.

 Home
Home