In this video tutorial we will show you how to create bottle label with Photoshop.
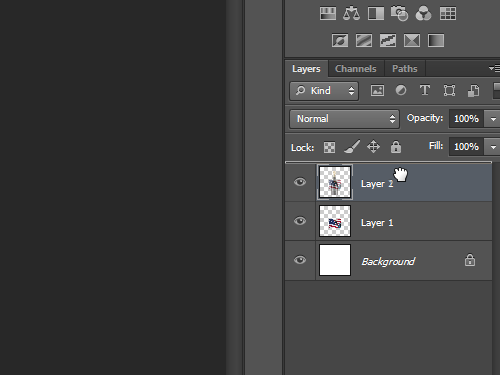
Launch the Adobe Photoshop. Go to the “File” menu and choose “New”. In the appeared window set the document properties and press “OK”. Go to the “File” menu and select “Open”. In the appeared dialog box select the prepared images and press “Open”. Drag the opened images onto created document tab while holding the “Ctrl” key on the keyboard. Go to the “Layers” palette and adjust the layers order by dragging foreground layer to the top of other layers.
Go to the “Edit” menu and choose the “Free Transform” tool from the drop-down menu to scale the foreground layer.
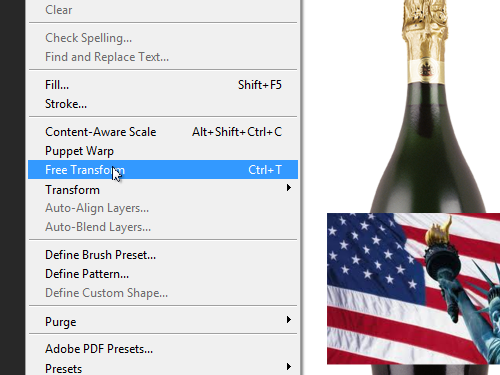
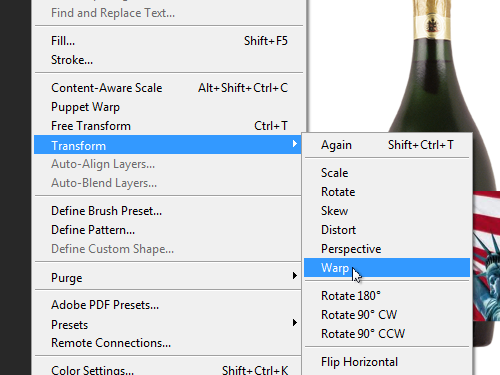
Then click on the “tick” icon in the Free Transform attributes panel. Go to the “Edit” menu and select the “Warp” tool under the “Transform” submenu.
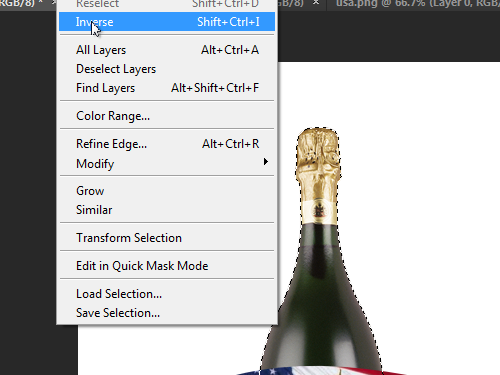
Move the cursor onto the image and adjust the warp of the foreground layer. Then click on the “tick” icon in the warp attributes panel to apply the transformation. Go to the “Layers” palette and click on the background layer while holding the “Ctrl” key to create the selection. Go to the “Select” menu, choose the “Inverse” option from drop down menu and press the “Delete” key on the keyboard.
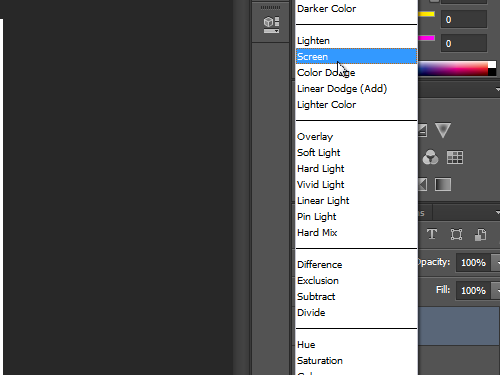
Press “Ctrl+D” keyboard shortcut to deselect the image. Go to the “Layers” palette and select “Screen” blending mode from the “Blending Mode” drop-down menu to make the label on the foreground layer look natural.
As you can see, the bottle lable has been successfully created with Photoshop.
 Home
Home