In this video tutorial we wil show you how to make ribbon banner with Adobe Photoshop.
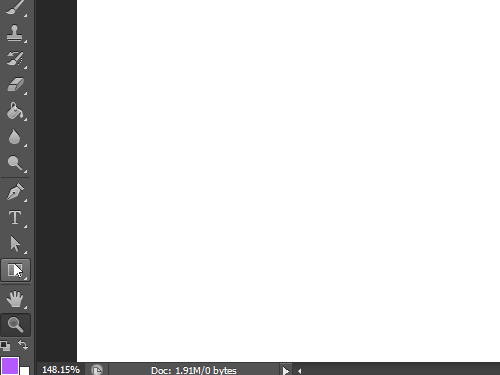
In order to make ribbon banner with Adobe Photoshop you have to launch the program. Go to the “File” menu and choose “New” option to create a new document. In the appeared window set the document properties and press “OK”. Go to the toolbar of the program, choose the “Zoom Tool” and scale the document area for comfortable viewing. Click on the “Foreground color” icon to open the “Color Picker” window. In the appeared window choose the ribbon banner color that you like and press “OK”. Choose the “Rectangle Tool” in the toolbar and create the rectangle in the document area, holding the left mouse button and moving the mouse.
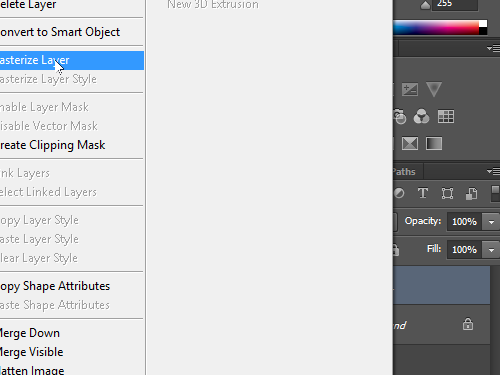
Right click on the created “Rectangle 1” layer in the “Layers” palette and choose “Rasterize Layer” from the appeared menu.
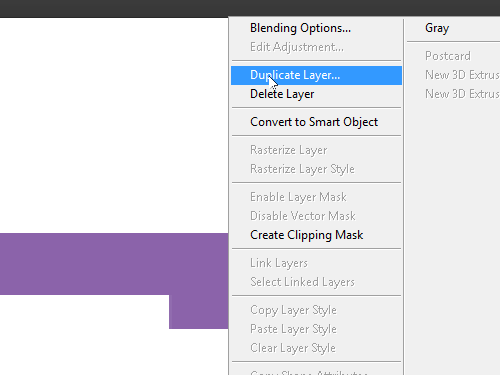
Right click on the selected layer again and choose “Duplicate layer”. In the appeared window click “OK”.
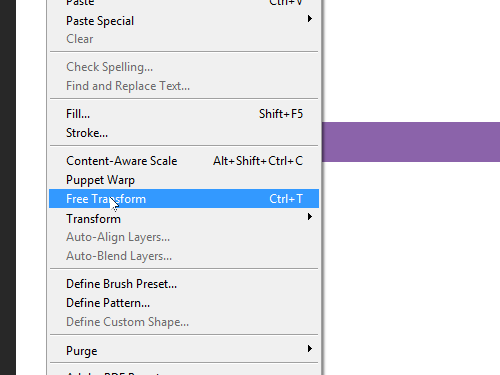
Go to the “Edit” menu and choose “Free Transform” option from the drop-down menu, then transform the selected layer as you need.
Double click on the layer to apply the transformation. Go to the “Layers” palette and send the transformed layer to back. Move the selected layer as you need with “Arrows” keys on the keyboard, then choose the “Zoom Tool” in the toolbar to zoom in the ribbon. Choose the “Polygonal Lasso Tool” in the toolbar and select the triangular area on the selected layer, then press “Delete” on the keyboard to remove the selected area. Press the keyboard shortcut “Ctrl+D” to deselect the object, switch on the “Move Tool” in the toolbar, then go to the “Layers” palette, choose the “Rectangle 1” layer and right click on it.
In the appeared menu choose the “Duplicate layer” option.
In the appeared window click “OK”. Click on the “Foreground color” icon in the toolbar to open the “Color Picker” window. In the appeared window choose the more dark color for new layer, then click “OK”. Choose the “Paint Bucket Tool” in the toolbar and fill the new layer by selected color. Switch on the “Move Tool” and go to the “Edit” menu. Choose “Free Transform” option from the drop-down menu, then transform the selected layer as you need.
Choose the “Polygonal Lasso Tool” in the toolbar and create the selection diagonally on the selected layer, then press “Delete” on the keyboard to remove the selected area.
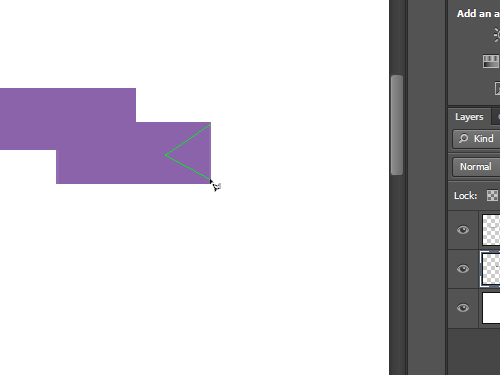
Press the keyboard shortcut “Ctrl+D” to deselect the object. Switch on the “Move Tool”, go to the “Layers” palette and place the selected layer under “Rectangle 1” layer. Move the selected layer as you need with “Arrows” keys on the keyboard, then transform it with “Free Transform” option from the “Edit” menu. Switch on the “Rectangle 1 copy” layer in the “Layers” palette and transform it too.
Click on the “Eye” icon near the preview icon of the “Rectangle 1” layer to make it temporarily invisible, then select the visible layers, holding the “Shift” key on the keyboard.
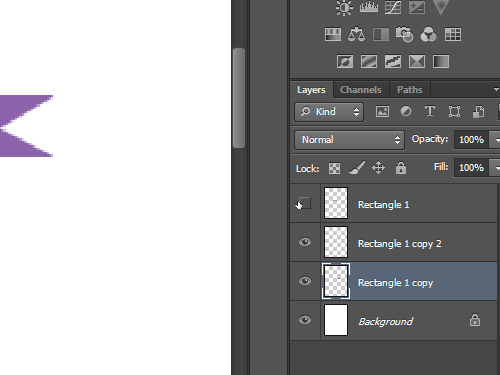
Right click on them and choose “Duplicate Layers” from the appeared menu. In the appeared window click “OK”.
Go to the “Edit” menu and choose “Transform” option from the drop-down menu, then choose “Flip Horizontal” in the submenu.
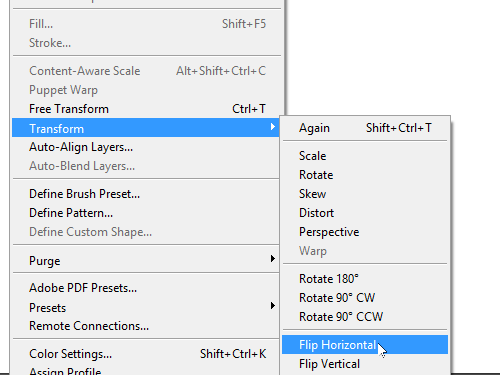
Move the duplicated layers as you need, holding the “Shift” key on the keyboard. Click on the “Eye” icon near the preview icon of the “Rectangle 1” layer to make it visible. Go to the document area and slightly move the selected layers if you need it. Now the ribbon banner has been successfully created with Adobe Photoshop tools.
 Home
Home