In this video tutorial we will show you how to make Photoshop glossy effect.
In order to make Photoshop glossy effect you have to launch the program. Go to the “File” menu and choose “New” option to create a new document. In the appeared window set the document properties and press “OK”. Go to the toolbar of the program, choose the “Zoom Tool” and scale the document area for comfortable viewing if you need it. Choose the “Horizontal Type Tool” in the toolbar and type the text.
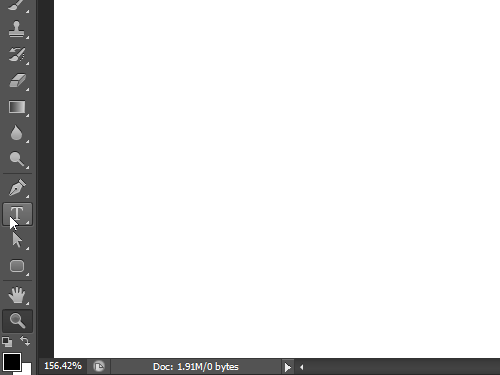
Switch on the “Move Tool”, go to the “Edit” menu and choose the “Free Transform” option from the drop-down menu.
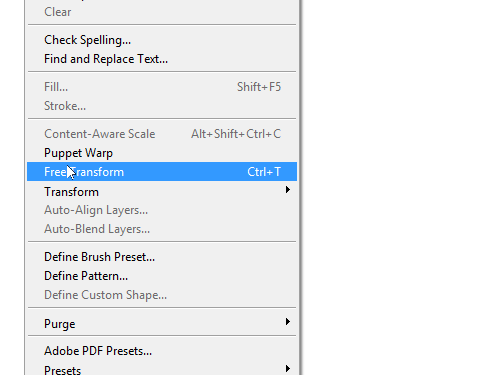
Take the text for the border’s corner and transform it as you need, holding left mouse button and moving the mouse. Right click on the text layer in the “Layers” palette and choose “Duplicate Layer” from the appeared menu.
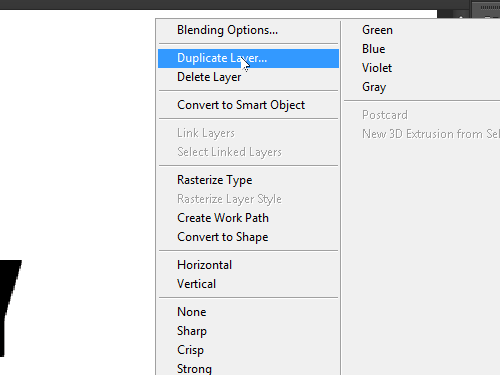
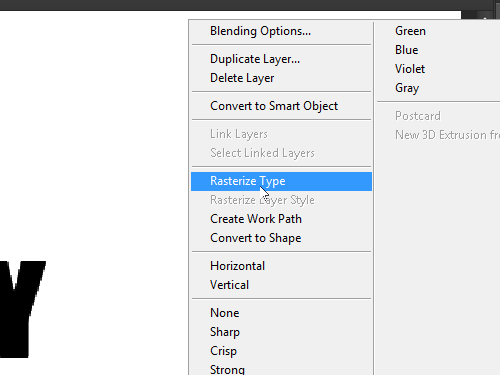
In the appeared window click “OK”. Right click on the duplicated layer and choose “Rasterize Type” from the appeared menu.
Choose the “Elliptical Marque Tool” in the toolbar, go to the panel attributes of the tool and set the feather as you need in order to smooth the border of the selection.
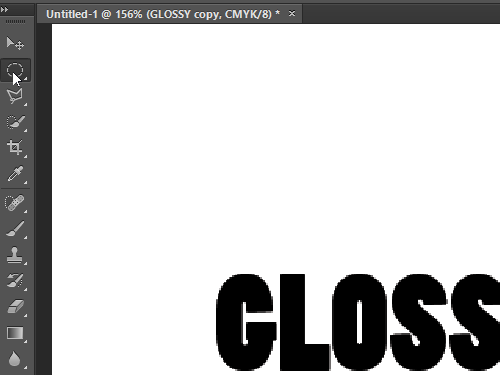
Go to the document area and create the selection on the duplicated layer.
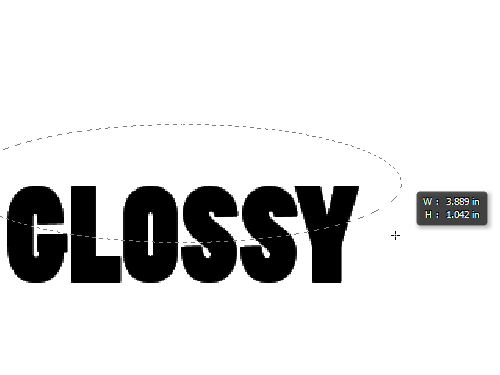
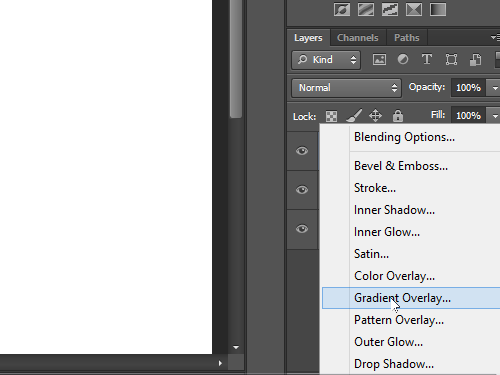
Go to the “Select” menu and choose the “Inverse” option from the drop-down menu, then press “Delete” on the keyboard to remove the part of the layer. Go to the “Select” menu and choose the “Inverse” option again. Go to the “Layers” palette and click on the “Add a layer style” icon. In the appeared menu choose the “Gradient Overlay” option.
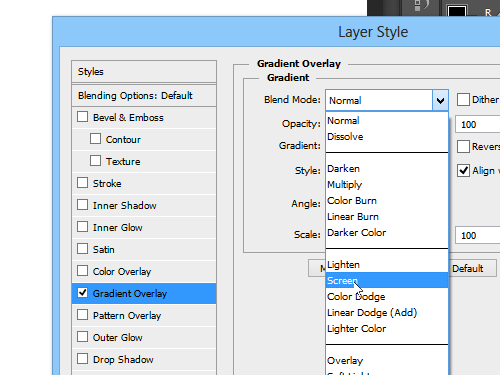
In the appeared window choose the “Screen” blend mode from the “Blend Mode” drop-down menu, set the opasity and scale as you need with the sliders, then click “OK”.
As you can see, the Photoshop glossy effect has been successfully created.
 Home
Home