In this video tutorial we will show you how to create the Photoshop holga effect.
Launch the Adobe Photoshop. Go to the “File” menu and click “Open”. In the appeared dialog box, select the image you want to edit and press “Open”. Then double click on the “Lock” icon in the “Layers” palette to unlock the layer.
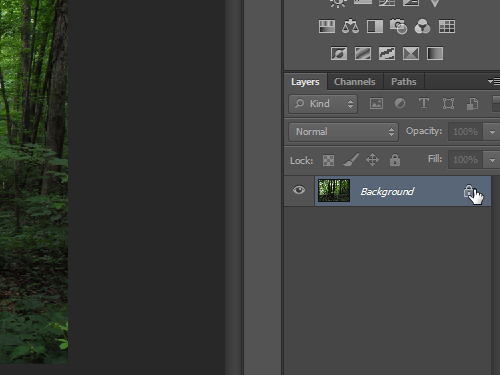
In the appeared window click the “OK” button.
Right click on the layer in the “Layers” palette and select the “Duplicate layer” option from the drop-down menu to create a copy of the layer.
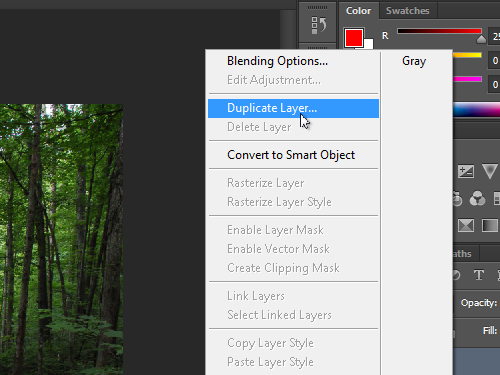
In the following window click the “ОК” button. Go to the toolbar and select the “Rectangular Marquee Tool”. Create a selection on the duplicated layer by clicking on the image and moving the cursor while holding the left mouse button.
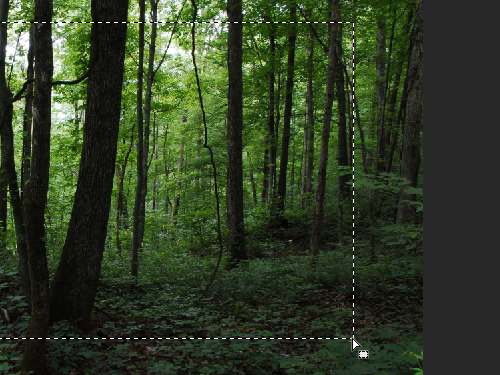
Then press the “Q” key on the keyboard to apply the quick mask. Go to the “Filters” menu and select the “Gaussian Blur” tool under the “Blur” submenu.
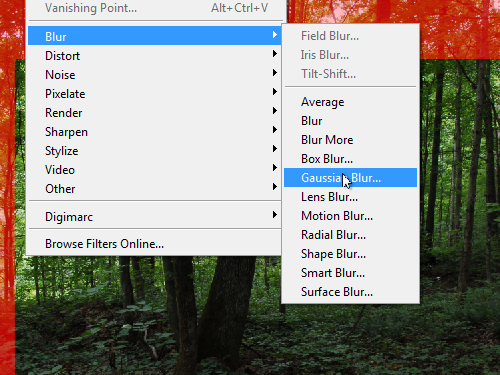
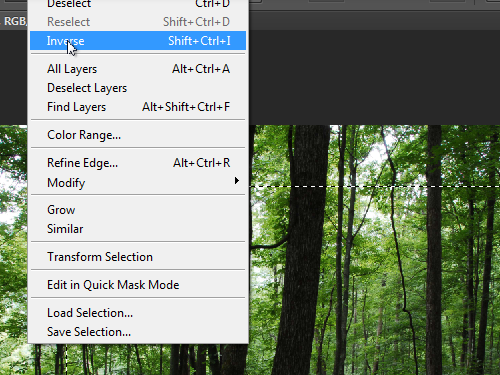
In the following dialog box set the radius of the blur in pixels. Then click the “OK” button. Press the “Q” key on the keyboard to apply the quick mask. Go to the “Select” menu and click on the “Inverse” option to inverse the selection area.
Go to the “Layers” palette and click on the “Add Vector Mask” icon while holding the “Ctrl” key to create the vector mask. Then select the “Multiply” mode from the “Blending mode” drop down list.
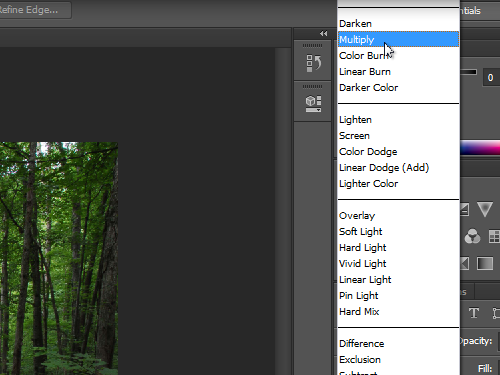
Change the layer opacity by moving the “Opacity” slider.
Click on the “Fill” icon in the layers palette and select the “Solid Color” option from the drop down menu.
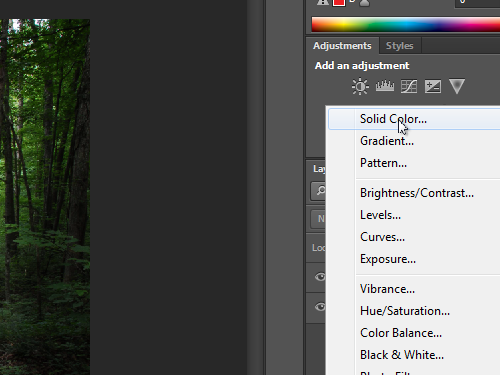
In the opened “Color Picker” window select the foreground color to fill the image. Then click the “OK” button to apply the color fill to the new layer. Go to the “Layers” palette and set the “Color” blending mode for the active layer.
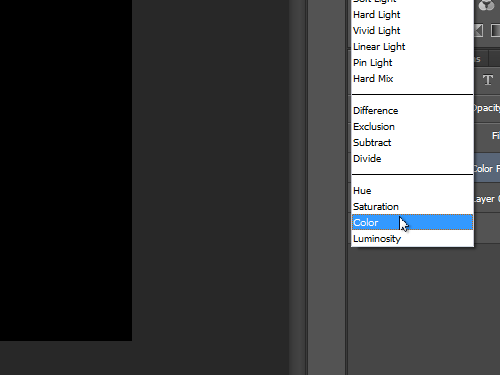
Change the opacity of the layer with the “Opacity” slider to achieve the desired effect.
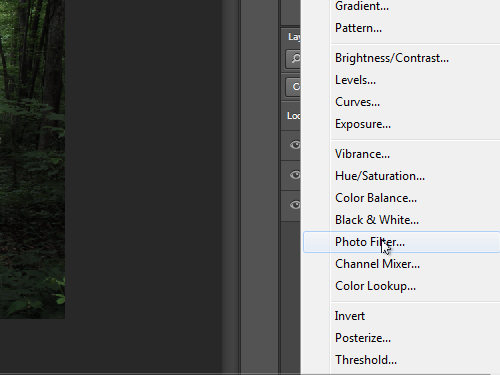
Then press on the “Fill” icon in the layers palette. Select the “Photo Filter” option from the drop-down menu and set the layer density.
As you can see, holga effect has been successfully created in the Photoshop.
 Home
Home