In this video tutorial we will show you how to photoshop magnifying glass.
In order to make magnifying glass in Adobe Photoshop, you must firstly download the magnifying glass template. Then, launch the Adobe Photoshop. Go to the “File” menu, press “Open” and choose the images you want to use. Select the image with magnifying glass. Select “Move tool” from the toolbar.
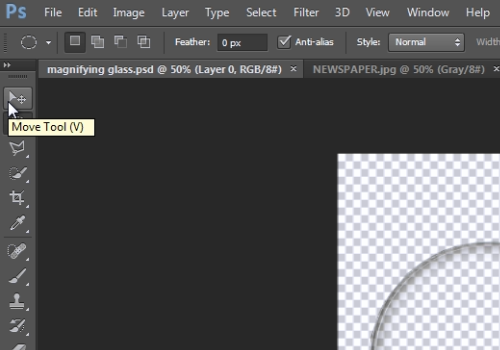
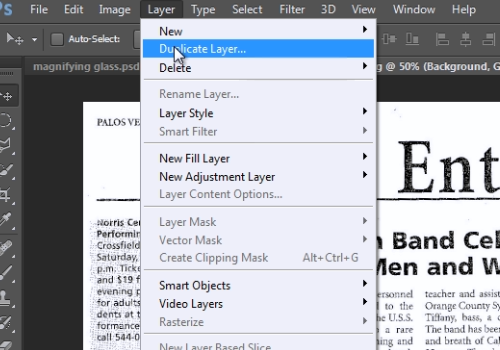
Drag the magnifying tool to your image. Adjust the position of the magnifying glass. Click on “Background” layer. Go to “Layer” menu and choose “Duplicate layer”.
Click on “Background copy”, go to “Edit” menu and choose “Free Transform”. Press “Maintain aspect ratio” on the “Free transform” toolbar. Increase the size and adjust the position of the image. When done, press “Commit transform”. Then, choose “Elliptical Marquee Tool” from the toolbar.
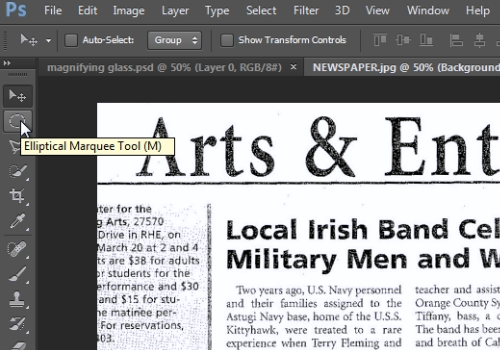
Make a circle inside magnifying glass. Go to “Select” menu and choose “Transform selection”.
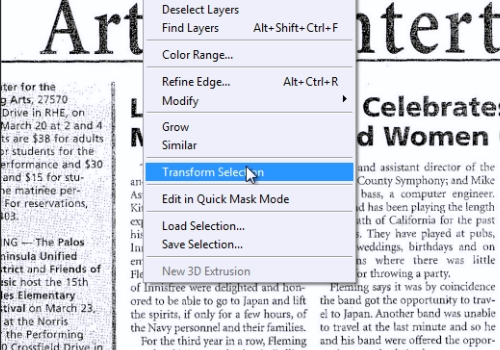
Adjust the inner size of the circle. When it’s done, go to “Select” menu and choose “Inverse”.
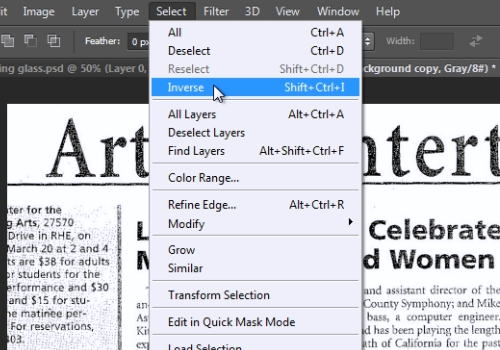
Press “Delete” key. Go to “Select” menu again and choose “Deselect”. Right-click on the magnifying glass and choose “Blending options”. In the following window, select “Inner shadow”. Choose “Normal” in blend mode popup menu. Set “Opacity” value to “50%”. Adjust “Angle” value to “117”. Set “Size” value to “50”. When it’s done, press “Ok”. Click on “layer1”. Then, right-click on the magnifying glass again and choose “Blending options”.
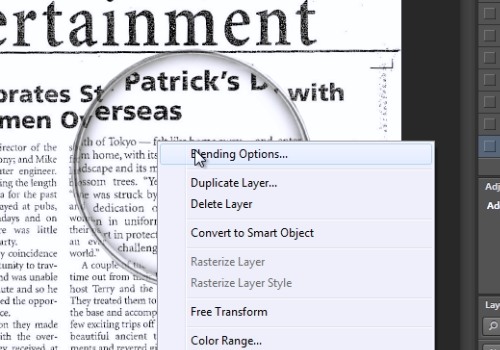
In the following window, select “Drop Shadow”. In “Drop shadow” menu, set “Opacity” value to “60”, “Distance” value on “3” and “Size” value to “6”. When it’s done, press “ok”. Then, go to “Layer” menu and choose “Flatten image”.
 Home
Home