In this video tutorial we will show you how to create mixtape covers with Adobe Photoshop.
In order to create mixtape covers with Adobe Photoshop you have to launch the program. Go to the “File” menu and choose “New” option from the drop down menu to create a new document. In the appeared window set the document width as 9.653 inches, the document height as 4.728 inches and document resolution as 300 pixels/inch. Also set the CMYK color mode and the transparent background. Then press “OK”. Set the vertical guide to the center of the document area to separate the front and back covers. Then go to the “File” menu and choose “Open” option from the drop down menu. In the appeared dialog box select the prepared sample of the texture and press “Open”.
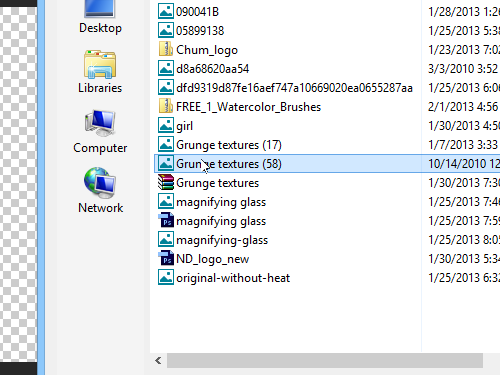
Drag the opened image onto created document tab and place it where you need. Go to the “File” menu and choose “Open” option again.
In the appeared dialog box select the prepared logo and press “Open”.
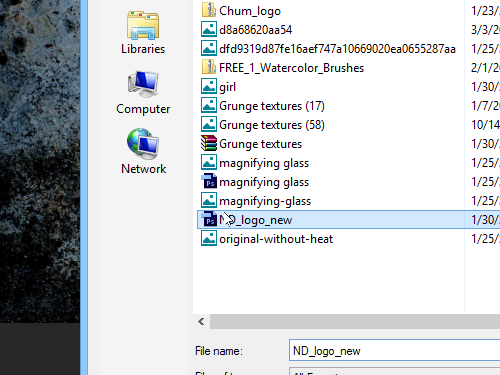
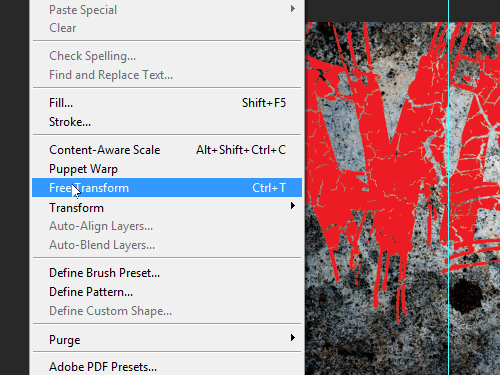
Drag the opened logo onto created document tab, scale it with “Free Transform” option from the “Edit” menu, then double click on it to apply the transformation.
Place the logo where you want, then go to the “Layers” palette and click on the “Add a layer style” icon. Choose the “Stroke” option from the drop down menu.
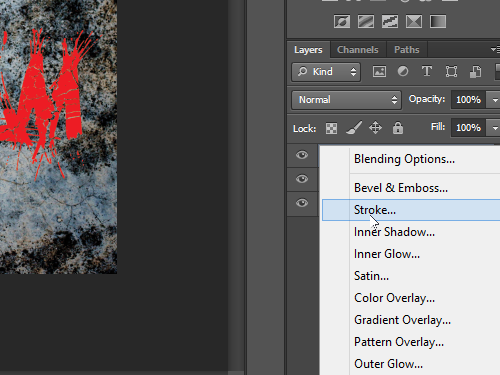
In the appeared window set the width of stroke and press “OK”. Click on the “Horyzontal Type Tool” icon in the toolbar and type the album name.
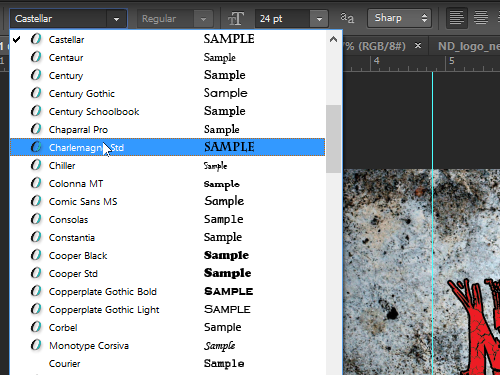
Go to the text attributes panel and choose the font that you like.
Switch onto the “Move Tool” and place the album name where you want with “Arrows” keys on the keyboard. Go to the “Layers” palette and click on the “Add a layer style” icon again, choose the “Stroke” option and set the width of stroke in the appeared window. Then press “OK”.
Click on the “Horyzontal Type Tool” icon in the toolbar and type the track titles on the back cover.
Switch onto the “Move Tool”. Click on the “Add a layer style” icon in the “Layers” palette, then choose the “Stroke” option from the drop down menu. In the appeared window set the width of stroke and press “OK”. Place the track titles where you want with “Arrows” keys on the keyboard. Now the mixtape covers has been successfully created with Adobe Photoshop.
 Home
Home