In this video tutorial we willl show you how to add the mascara with Adobe Photoshop.
In order to add the mascara with Adobe Photoshop you have to launch the program. Go to the “File” menu and choose the “Open”. In the appeared window select the image you want to edit and press “Open”. Then go to the “Image” menu, choose the “Adjustments” option from the drop down menu and select the “Levels” option from the submenu.
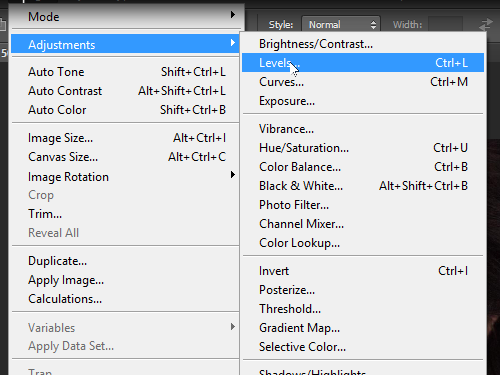
In the appeared window move the slider to make the picture more brighter.
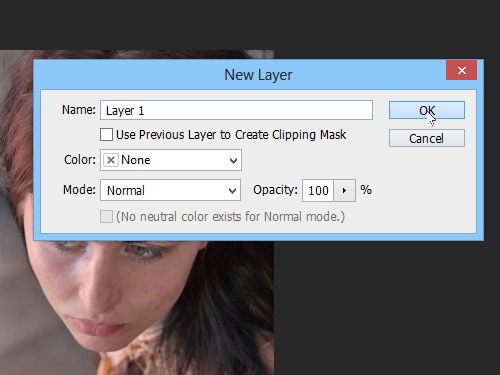
Go to the “Layer” menu, choose “New” from the drop down menu and select the “Layer” option from the submenu to create a new layer. In the pop up window click “OK”.
Choose the “Zoom Tool” from the program toolbar and zoom the image. Then select the “Brush Tool”, set the brush size and brush opacity.
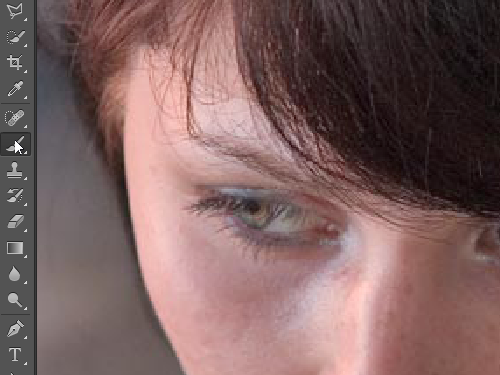
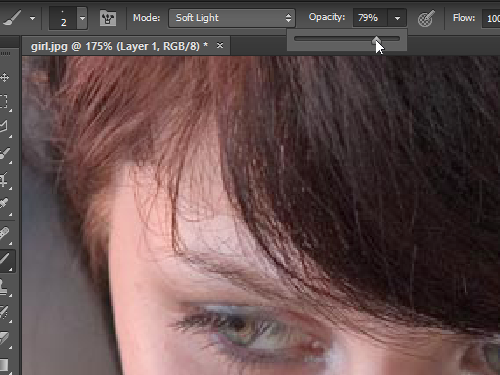
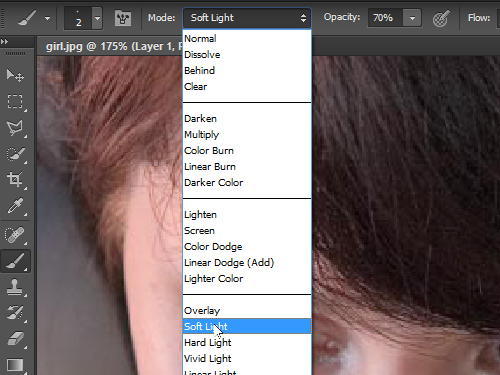
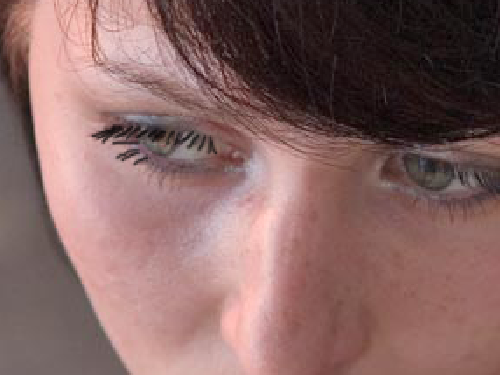
Then choose the “Soft Light” blending mode from the “Mode” drop down menu in the tool options panel and draw with the brush on the eyelashes of the image.
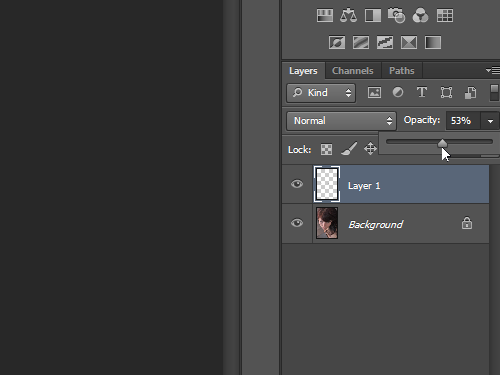
Switch onto the “Move Tool” and set the layer opacity with slider from the “Opacity” menu in the “Layers” palette.
As you can see, the mascara has been successfullly added to the image with Adobe Photoshop.
 Home
Home