In this video tutorial we will show you how to make swirl photoshop.
Launch the Adobe Photoshop. Go to the “File” menu, press “Open” and choose the photo you want to use. Then select the “Pen tool” from the toolbar.

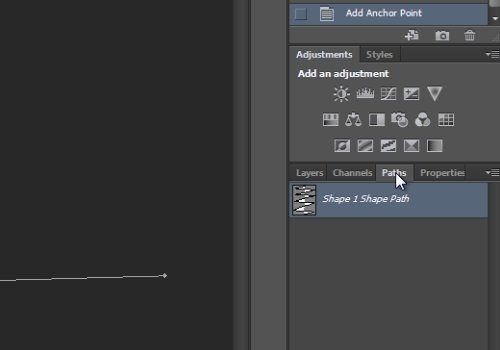
Go to tool panel click on the “Path” menu and select the “Shape” option. Then click on the “Stroke” and choose the “Blue color”. Then click several times on the picture and create dots in line with intervals. Move the mouse near the line and when you will see the “+” icon drag it aside. If you don’t need the color fill, click on the “Fill” from the tool panel and select the “No Fill” option. Then repeat the actions with the line and dots mentioned above to make a swirl. When it’s done, go to the “Paths” tab and click on the clear area to hide the paths.

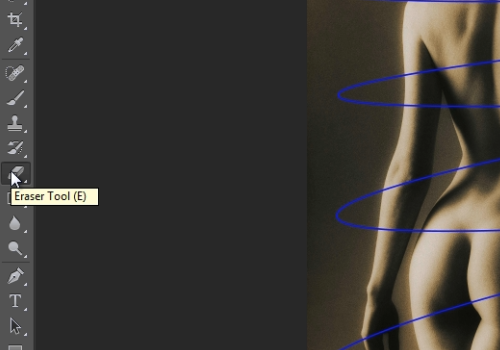
Go back onto the “Layers” tab. Then, choose “Eraser tool” from the toolbar. In appeared warning message, press “Ok” to rasterize the shape. Choose the size of the “Eraser tool” and just erase unnecessary lines.

Mention, that you must erase the lines with alternating them.
 Home
Home