In this video tutorial we will show you how to make your car lower in Photoshop.
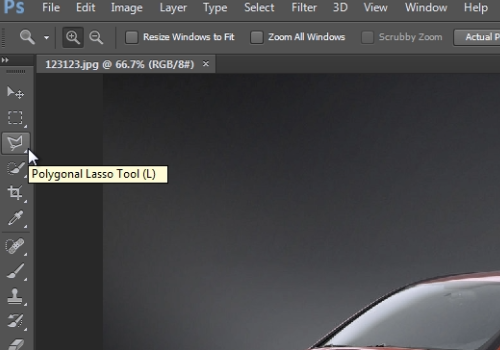
Launch the Adobe Photoshop. Go to the “File” menu and press “Open”. Choose the photo you want to use. Select the “Zoom tool” from the toolbar and zoom in on the photo. Then, choose the “Polygonal Lasso Tool”.

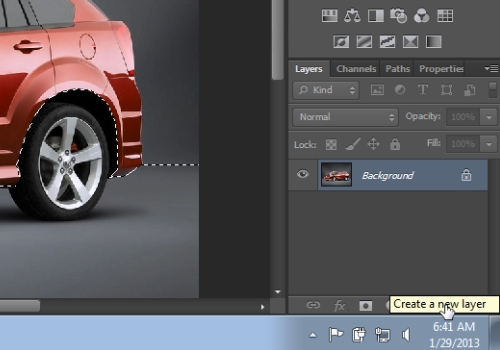
Select accurately the car above the wheels.
When you are done selecting, click “Create a new layer”.

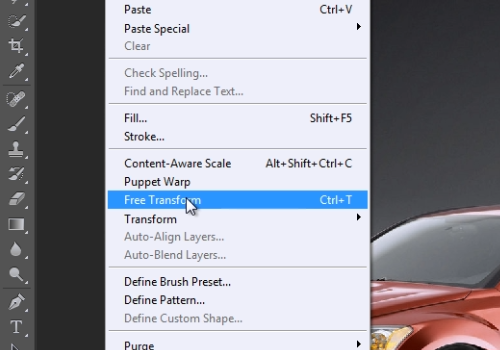
Then, click on the “Background” layer, go to the “Edit” menu and choose “Copy”. Select the new layer. Go to the “Edit” menu and choose “Paste”. Select the “Move tool” from the toolbar. Click on the car and while holding the selected area, move it down to make your car lower. When it’s done, go to the “Edit” menu and choose the “Free Transform” option.

Adjust the size and position of the selected area. When done, press on the “check” icon to confirm changes.
 Home
Home