In this tutorial you will learn about how to make a mosaic effect in Photoshop. Understanding how to make mosaics in this software is not that difficult and this effect can be achieved by simply setting different pictures on a grid, altering their layer properties and displaying them in front of an original image layer.
To understand this better, follow the steps given below.
Step 1 – Open the image
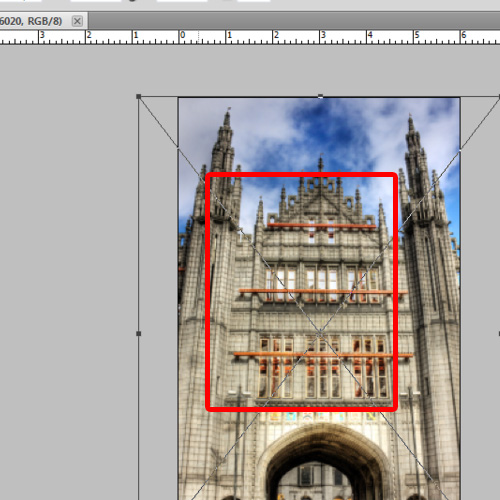
First of all, let’s open up a new document of 6 by 10 inches. With that done, let’s import the image which we want to give a mosaic effect to and hide this layer for now.
Step 2 – Work on the first layer
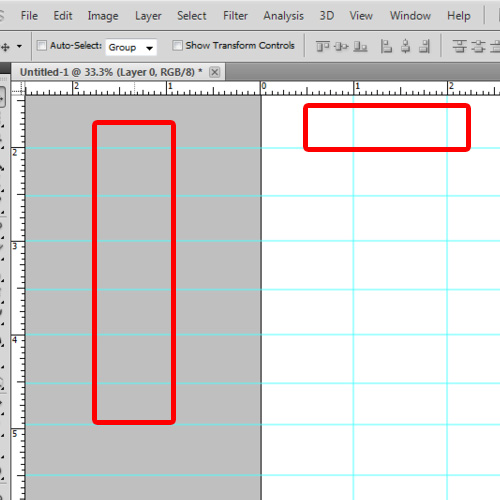
Now let’s unlock the first layer by double clicking on it in the layer palette. Now we will create a grid on this layer by using the smart guides and to do so, we’ll need the ruler. For that, you can press the Ctrl+R shortcut key. Here we will make a rectangular grid of 1 by 0.5 inches. We will spread out the gird around the entire canvas. You can make one according to the canvas size you have chosen.
Step 3 – Place images on grid
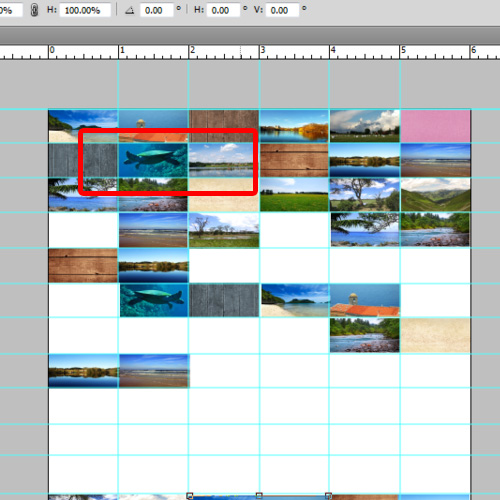
Once the grid is created, we will place separate images in the grid. For example, we over here, we will import an image over here, and resize it to fit the grid over here like so. Similarly, we will import the rest of the images and resize them according to the grid in the same way. Make sure you choose different images and fill in the rest of the canvas.
Step 4 – Change blend mode of merged layer
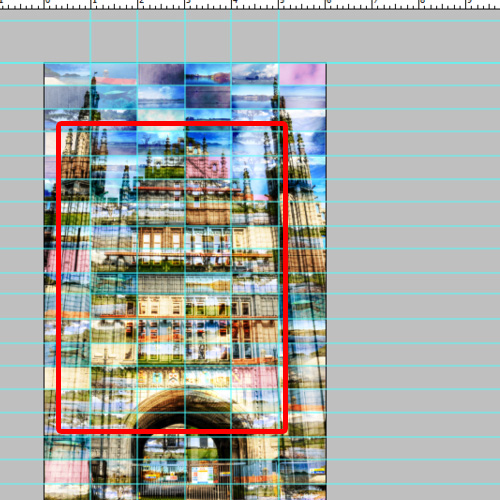
Over here, we have merged all the layers into one single layer. Now we will bring the layer above the main image layer and change the blend mode of the layer to Overlay and hide the layer for now.
Step 5 – Use the magic wand tool
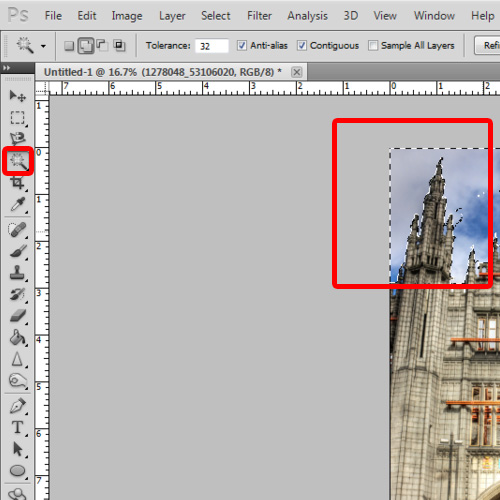
Now let’s pick up the magic wand tool and make a selection of the clouds here.
Step 6 – Adjust the Hue and Saturation
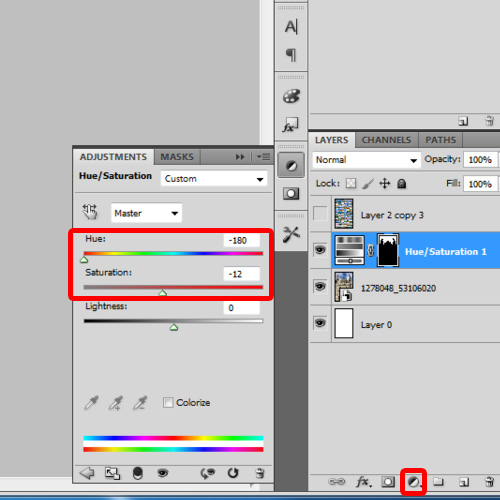
With that done, we will use the hue and saturation options to change its color. Over here, we will set the hue to -180 and saturation to -12.
Step 7 – Adjust Hue and Saturation of entire layer
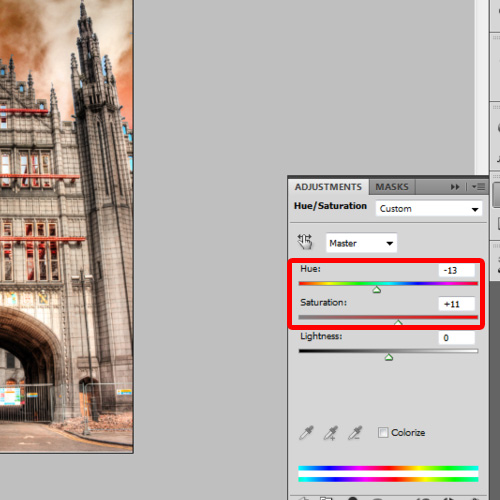
Now further on to make a mosaic we will select the image layer and change the hue and saturation of the entire layer. This time, we will set the hue to -13 and saturation to +11.
Step 8 – Make tiled layer visible
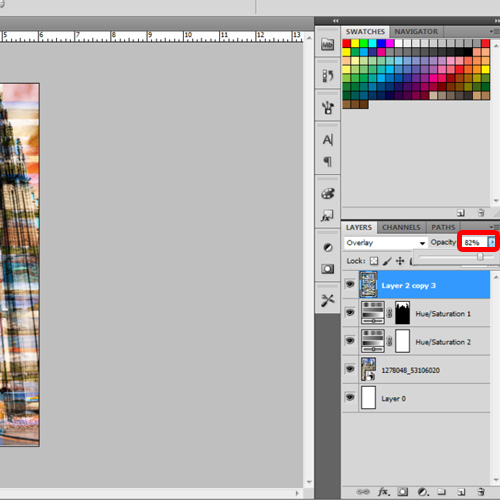
Now let’s make the tiled layer visible again and reduce the opacity to 82%. And that’s it. Hence following these steps allow you to learn how to make mosaics in Photoshop easily.
 Home
Home