You can go back in time by restoring your windows using the restore point. Sometimes installing a program or driver can make Windows run slowly or unpredictably. By using system restore on windows 7, you can return the system’s files and programs to a time when everything was alright. In this tutorial, we will show you how to restore windows 7.
Step # 1-Select Properties
To restore windows 7, go to “computer” and right click on it to open up its properties.

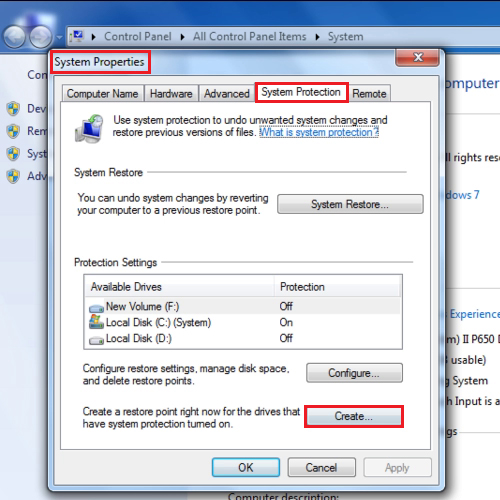
Step # 2 – Create a system restore point
From the menu on the left hand side, select “system protection”. When the “system properties” box appears, click on the “create” button.
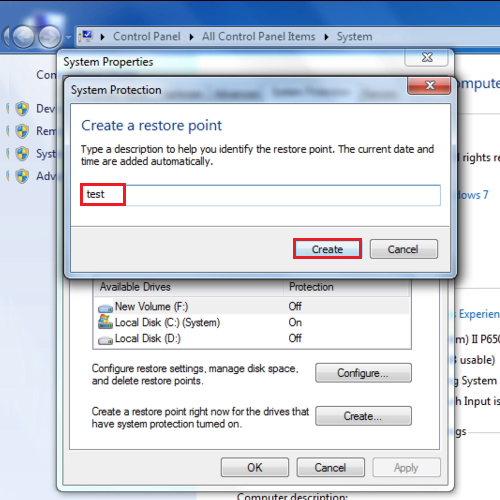
Step # 3 – Click on the create button
Enter the name of the restore point. The name is important as it reminds you what actually made you create a restore point. In this case, let us suppose we were installing some software and were not sure whether it would create any problems or not. If it does, we can revert to our old settings using the recovery point. After giving it a name, click on the “create” button.
Once the restore point has been created, make some changes on your computer such as uninstall or install software. In this tutorial, we have simply created a new folder.
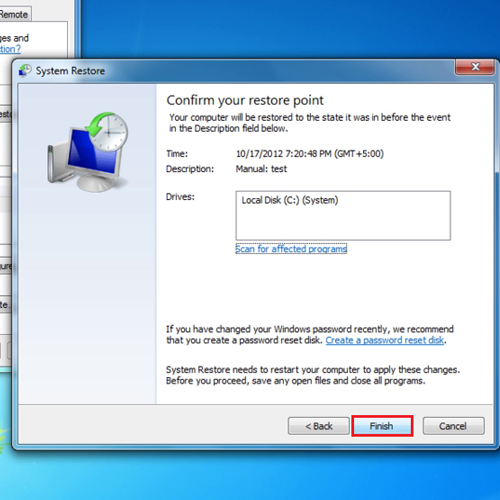
Step # 4 – Restore windows
To use system restore on windows 7, go back to “system properties” and click on the “system restore” button. Click on the “next” button and you will be shown a list of the restore points. The latest restore point will be at the top. Select the restore point and click on the “next” button to proceed further and then hit the “finish” button.
After the computer has been restarted, your old settings will be in place. You will notice that the folder that you created will no longer be there anymore.