The Illustrator bounding box is a very basic feature of this software. Therefore, learning how to use the bounding box in Adobe Illustrator is fairly simple. Every image is outlined by a box in Illustrator. This is known as a bounding box. Consequently, it is beneficial to know in Illustrator how to work around this box, as you should be aware where this is required and when you need to work with this feature turned off.
Follow this step by step tutorial to learn How to use the bounding box in Adobe Illustrator.
Step # 1: Make the bounding box appear
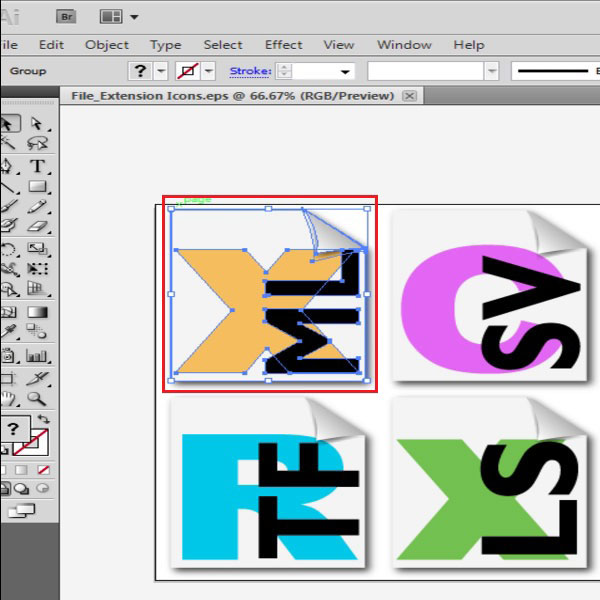
When you click on any illustration, a blue box outline appears around it. This outline is your bounding box which you can use as per your requirement.
Step # 2: Change the image size proportionately
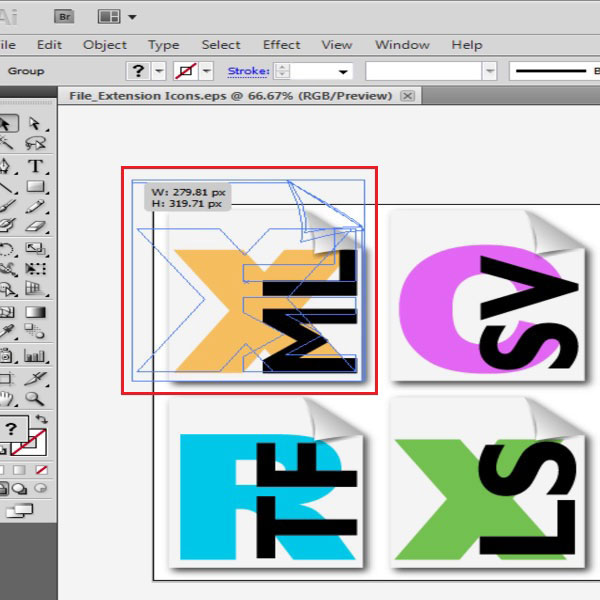
You can change the size of this image by means of this box, through the anchor points that appear on it. Notice that the anchor points here are different from those on the actual image.
If you go to the top left anchor point of the image and stretch it, it will remain stationary from the bottom right side and will increase in size proportionately from the top left.
You can undo by pressing “Ctrl + Z”, to make the image return back to its original size. It can similarly be increased in size from the right hand side. The left side now remains stationary.
Step # 3: Modify the image size disproportionately
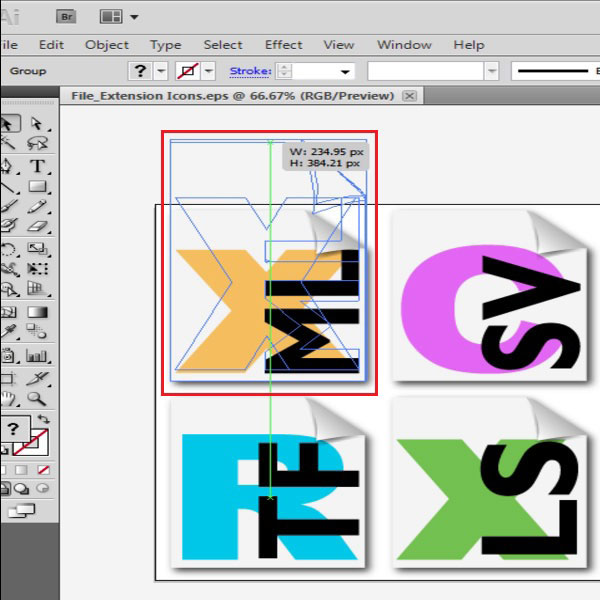
The size of the image can also be varied, horizontally, and vertically. The anchor points on the left and right side of the illustration can be stretched to alter it. This alteration will not be proportionate. Similarly, it can also be stretched from top or bottom for alteration. You can undo to bring it back to its original position.
Step # 4: Alter the complete drawing size
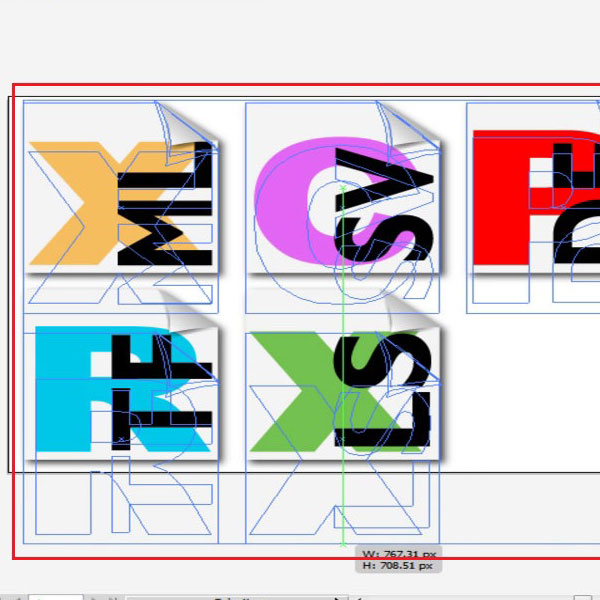
The alterations mentioned in the previous steps were only for one particular illustration in the whole picture. However, you can perform these alterations the same way, on all of the images present. To do this, you have to use the selection tool. After you select all of the images, notice how one bounding box appears outside all of them with separate anchor points from the ones on the individual boxes inside. Use these to alter the image by stretching it from the sides, top, bottom or by increasing or decreasing its size from the corners.
Step # 5: Rotate your image
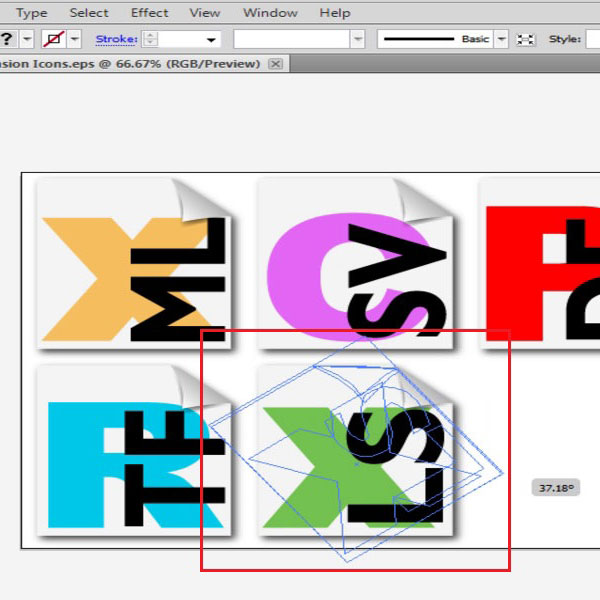
The bounding box even gives you the option of rotating your image. For this, go to the corner of your illustration. You will see your selection arrow turn in to a rotating arrow. When it does, turn your image to whichever way you want to. The same can be done with all images at once, if you select all of them together.
Step # 6: Remove bounding box
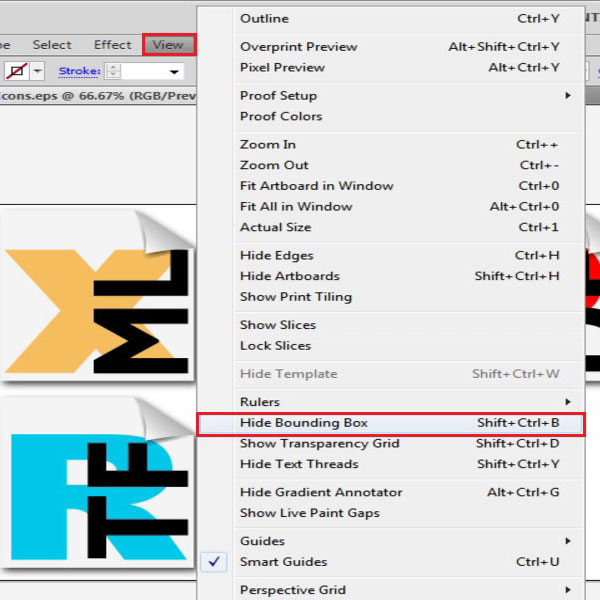
The bounding box can be removed. It is up to you if you want to work with or without it. Suppose you are working with it then in trying to move the image you might end up stretching it. To remove the box, go to the view panel and select “Hide Bounding Box”. Now, you can move and work on the illustration without worrying off altering its size.
 Home
Home