For better outcome of artwork while working with Illustrator, you need to learn how to use different preview modes in Adobe Illustrator. Each preview mode serves a specific purpose. Follow this step by step guide to learn how to go about choosing different modes and which mode is best suited for what scenario.
Step # 1 – View the current mode
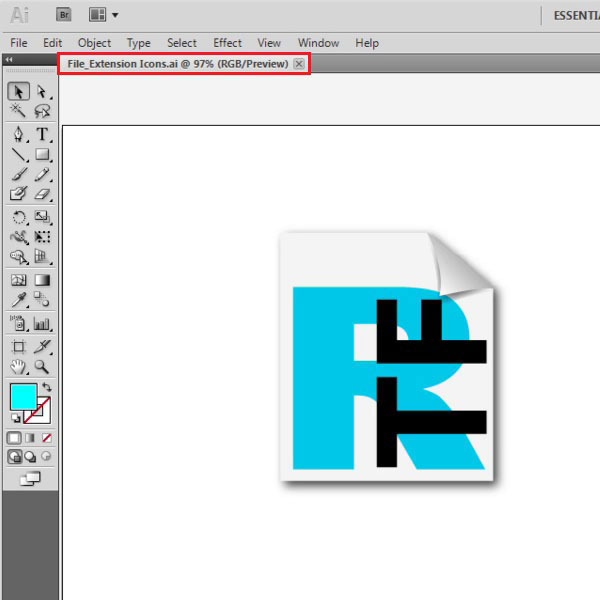
You can see the mode in which you are currently viewing your work at the top of your screen. It is written in front of your file name, in brackets, in the document tab. Right now, it says RGB which is the color model, the current document is in. In front of it is written the default mode in which you are viewing your drawing. In this case, it is the “preview” mode. Notice later on that, whichever view mode you open, illustrator automatically shows it on the document tab above.
To use the different modes, either create a vector image or open an existing one. If you have a vector image, then click on it and you will see the different anchor points that were used to make it.

Step # 2 – Change to “outline mode”
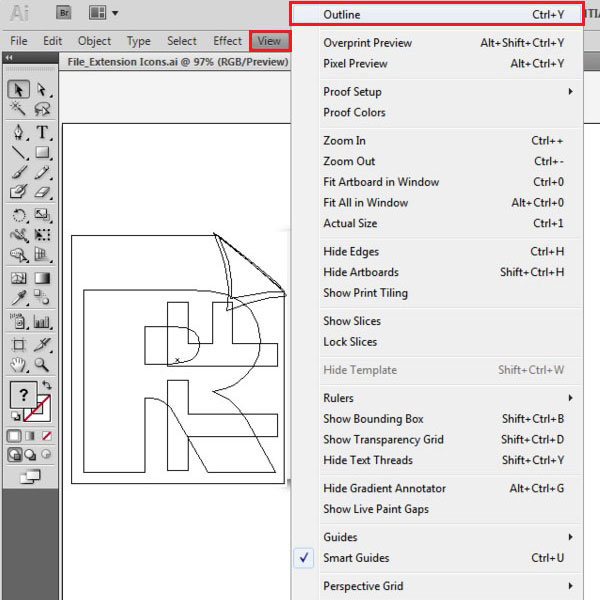
To change the mode, go to the “view” tab available on the main menu at the top. The top three options available on the drop down menu are the different modes of viewing.
The first one is the “outline” mode. Clicking on that basically provides you with the structure of the image. It allows you to view your image in its pure basic form, see the structure without the distractions of color and effects. It is easier to do the basic design in the outline mode.

Step # 3 – Switch to “overprint preview”
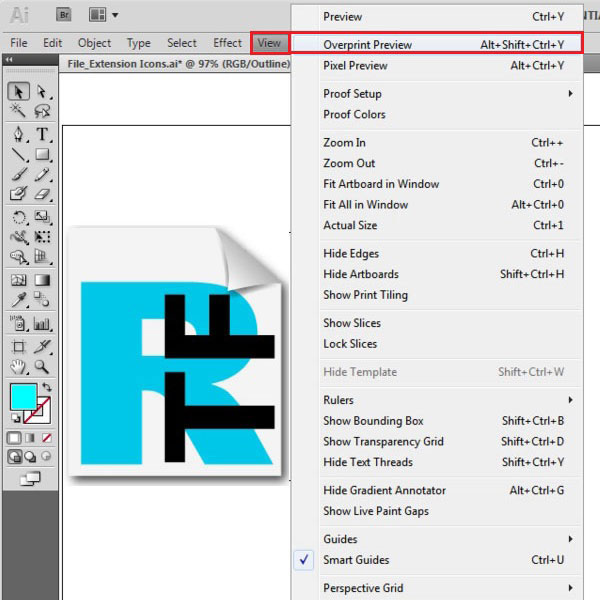
The second mode is the “overprint preview” mode. This option shows you how your image will appear in print form. There are several occasions one can use this mode in. At times certain colors come out a little different, maybe lighter or at times darker when they are printed. Opening your image in this mode will ensure that this problem doesn’t occur and you get the real picture as to what to expect when the print comes out.

Step # 4 – Select “pixel preview”
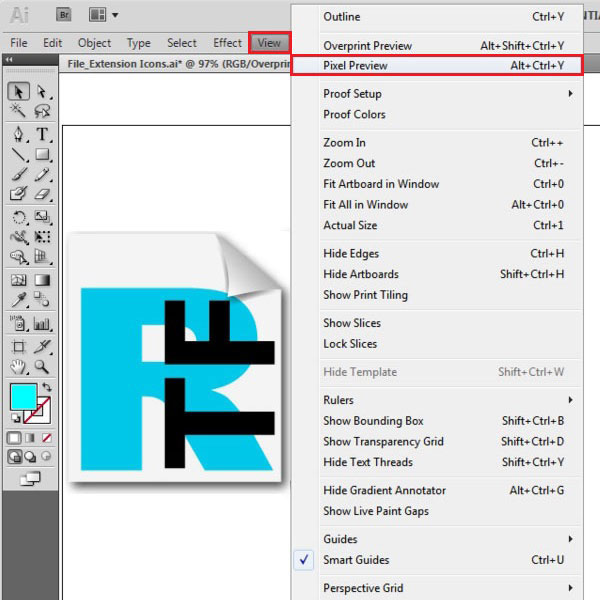
The third view is the “pixel preview” mode. This mode will show you how this image will be, once it is published on the web. Zoom in the picture by pressing “ctrl +”. As you press the prescribed keys on your keyboard, you will see that pixels form this illustration. Zooming in, allows you to see these pixels clearly. You can zoom out at any time by pressing the keys
“ctrl -“.

 Home
Home