Designing a book cover in Photoshop is a bit complicated but is very interesting at the same time. A book cover has three components which need to be designed in the same document, namely; the front cover, back cover and the spine. In this tutorial, you will learn how to create a book cover of the size 5.5 inches by 8.5 inches and then will learn to divide it into its components. You will also learn an easy way of manipulating a photograph to use it on the book cover and how to set the layout for the back cover and spine of the book.
Here is a step by step guide for how to design a book cover in Adobe Photoshop.
Step # 1 – Draw the margin lines
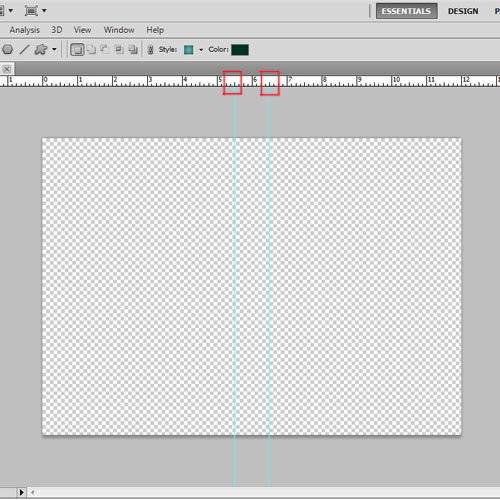
Start off by opening a new document and set the dimensions to a width of 12 inches and a height of 8.5 inches. This canvas will be divided into front cover, back cover and the spine of the book.
First of all, we need to separate the front cover, back cover and the spine. Draw vertical margin lines, one at 5.5 inches and then another one at 6.5 inches. The area between the margin lines is the spine. You can vary the width of the spine depending on the number of pages the book contains. The right side is the front cover of the book and the left side is the back cover of the book.
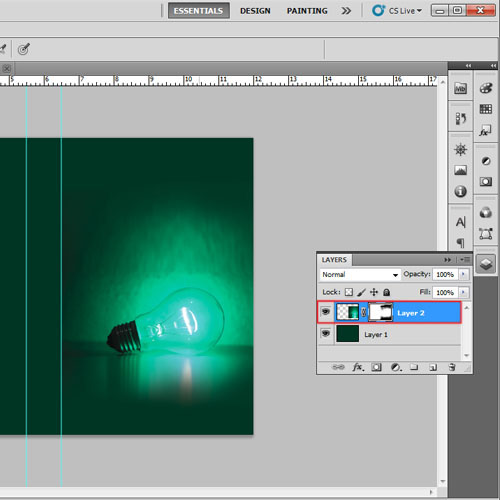
Step # 2 – Create hue/saturation layer
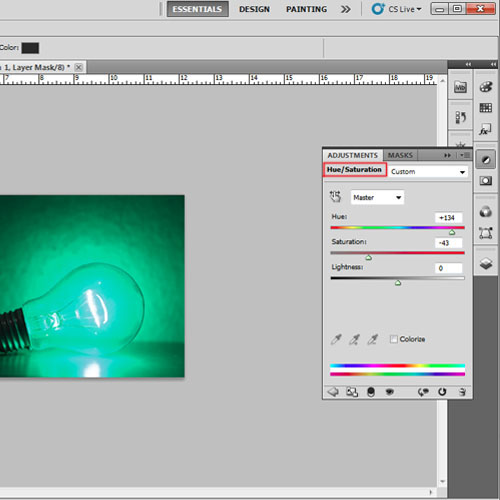
Now open the image that you want to use for the cover. If you don’t want to use an image, you can also create an illustration or even make a typographic book cover.
Then add the hue/saturation layer over the image layer and change the color and brightness. Now select both the layers and press “Ctrl+E” to merge them. This is an optional step. If your image does not need any changes then you can omit it and directly place the image on the front cover.
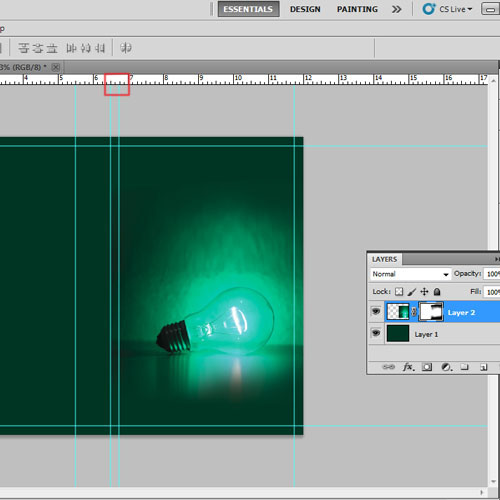
Step # 3 – Fill the layer with color
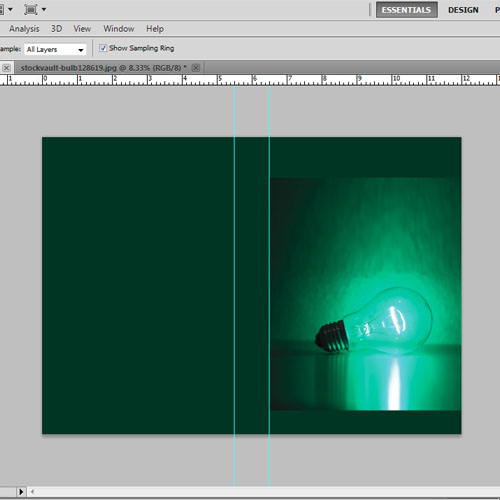
Once the image is ready, drag it to the book cover document and copy it on the front cover of the book. Adjust its size according to the cover.
To fill the background, select the “Eye dropper tool” and pick a color from the image. Then select “layer 1” and fill it with this color.
Step # 4 – Remove the extra areas
Once done, we need to clean the sharp edges of the image so that it merges with the background color. To do so we will create a mask layer on the image and use the soft round brush to clean the edges of the image.
Step # 5 – Draw margin lines
Before placing any text on the cover, it is important to draw margin lines. Create margin lines on all four sides of the front cover each at a distance of 0.25 inches from the edge.
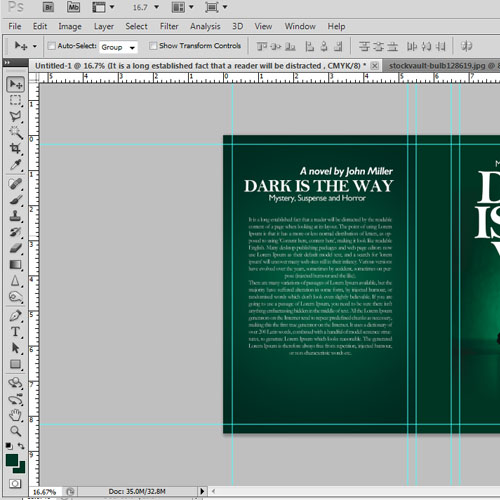
Step # 6 – Insert the text
Now, on the book cover in Photoshop use the “type tool” to add text. Use different fonts and sizes for the book title and the name of the author. Place them according to the layout and the front cover is ready.

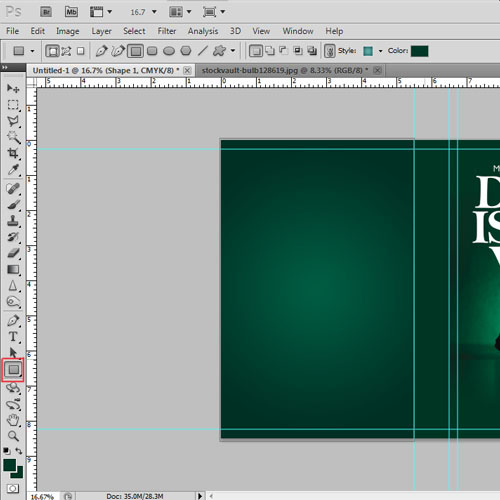
Step # 7 – Apply gradient
Whenthe front cover is ready, we will start working on the back cover. Use the “rectangle tool” to draw a rectangle of the same size as the back cover of the book which is 5.5 inches by 8.5 inches. Then go to its blending options and select the gradient options. Apply a radial gradient with “green” color on the right gradient bar and the color with the code of “ffffff” on the left gradient bar. Change the layer mode to “screen”.
Create margins on the back side as well. Draw margin lines on all four sides of the back cover, each at a distance of 0.25 inches from the edge.
Step # 8 – Place the text
Now we will copy the title of the book and the author’s name from the front cover and adjust its size and placement on the back cover. Use the “type tool” to insert the preview of the book. Use the “Garamond” font with its size as 10pt. The font size should never be bigger than 12 pt for the book.
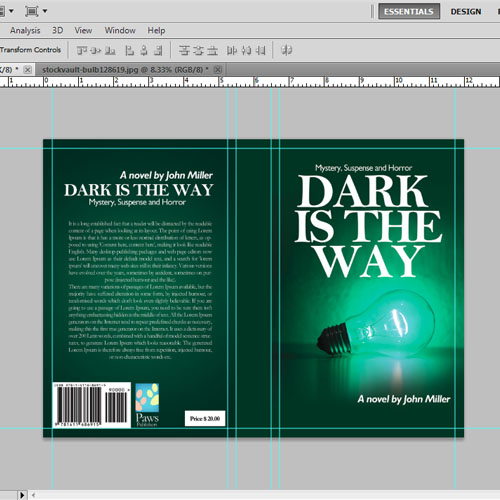
Step # 9 – Place barcode and logo
Once all the text is set on the cover, we will copy the barcode and the logo of the publisher and paste it at the back cover. These are the two necessary elements of the back cover. Then we will enter the price of the book and the back cover is ready.
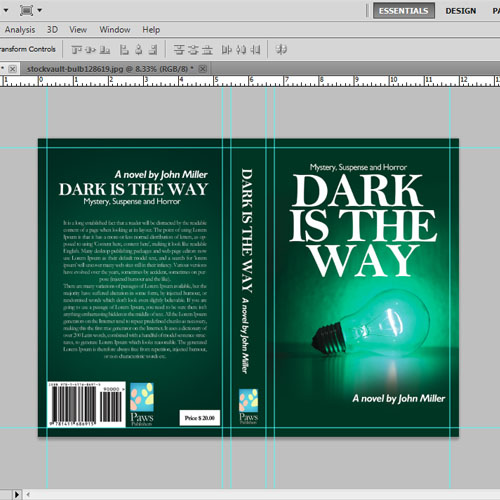
Step # 10 – Place the text and logo on spine
In the end, we will work on the spine of the book. Copy the title and the author’s name and paste it on the spine. Press “Ctrl+T” to select and rotate the text to 90 degrees to the right. The text on the spine of the book always faces the front cover and never the back cover. Adjust its size and placement.
We will copy the logo at the bottom of the spine and the book cover is ready.