In this tutorial you will learn how to make a double exposure effect in Adobe Photoshop.
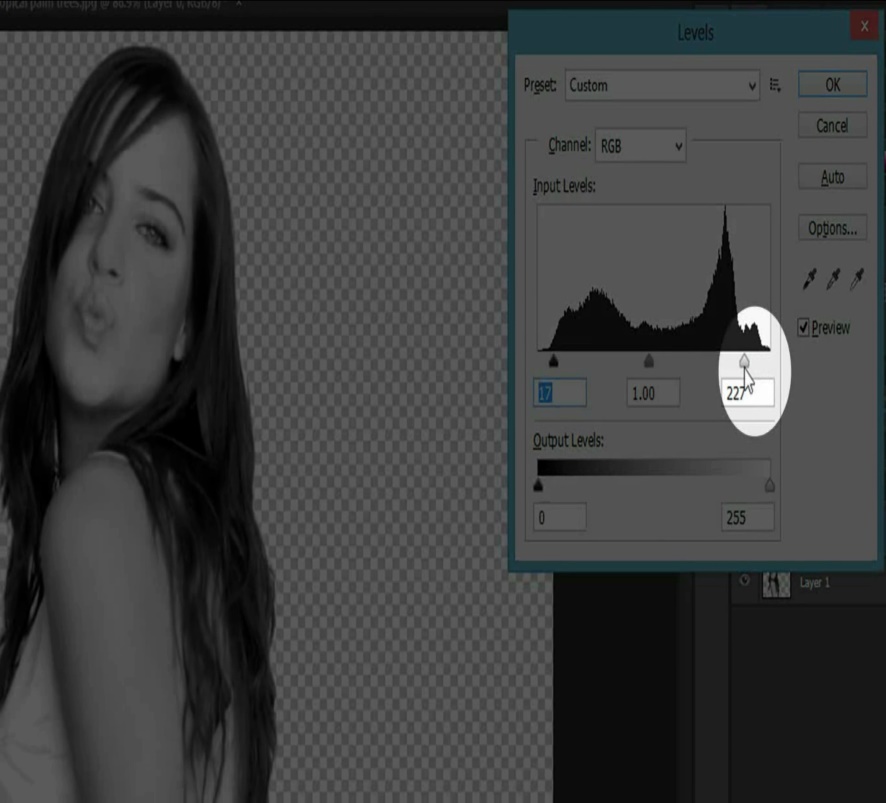
Make a copy layer, by pressing Ctrl or Cmnd + J on a Windows or Mac respectively. Now press Ctrl + I to open the levels window. Make the blacks to 17, and whites to 227, and press ok. Then click on the effects button below, and select gradient overlay.
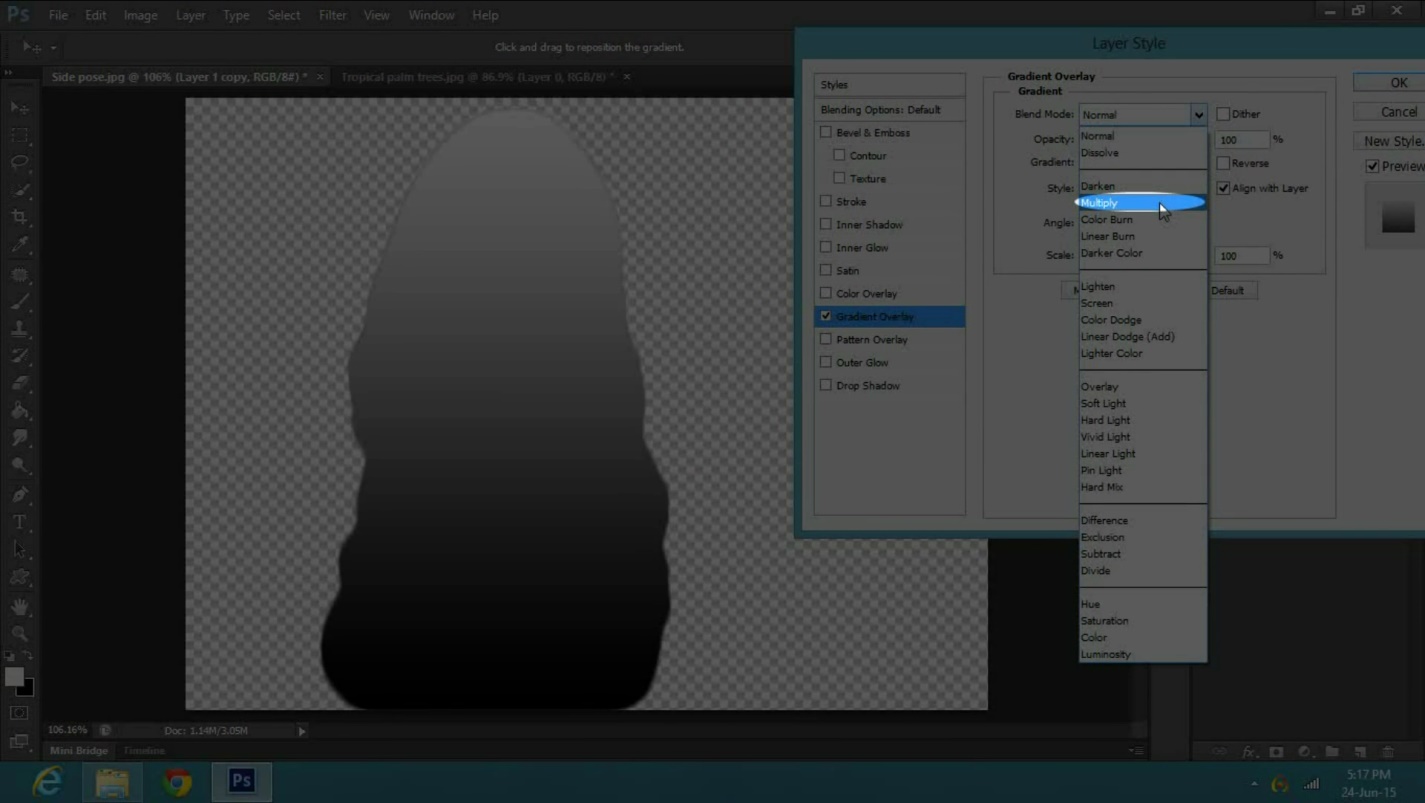
Change the blend mode to multiply, Click on the arrow, and select black and white gradient. You can also click on the gradient bar, and select the black and white gradient from there. Now change the angle to minus one eighty degree and press ok. Then create a mask layer. Select the brush tool or press ‘B’, Make sure your foreground color is black.
Now apply over the image, to restore its original glow on the face and hands. Now we will go over to our second image, with which we will create the double exposure. Select the image, and drag it to the file we are working on.
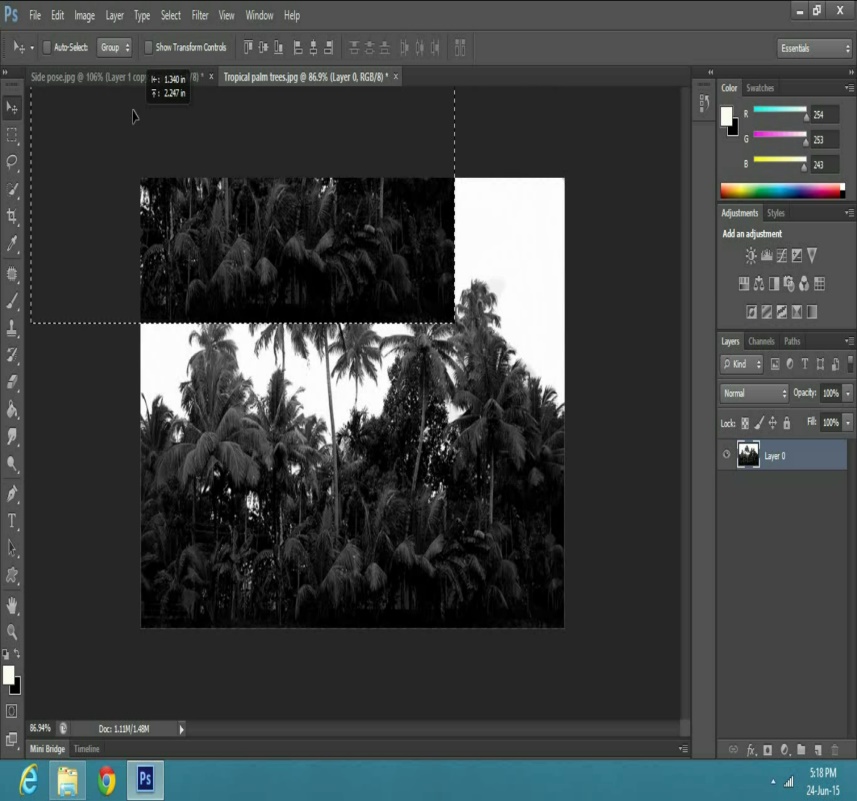
Press control ‘T’ to resize it,
Now right click and select rotate 180 degree clockwise.
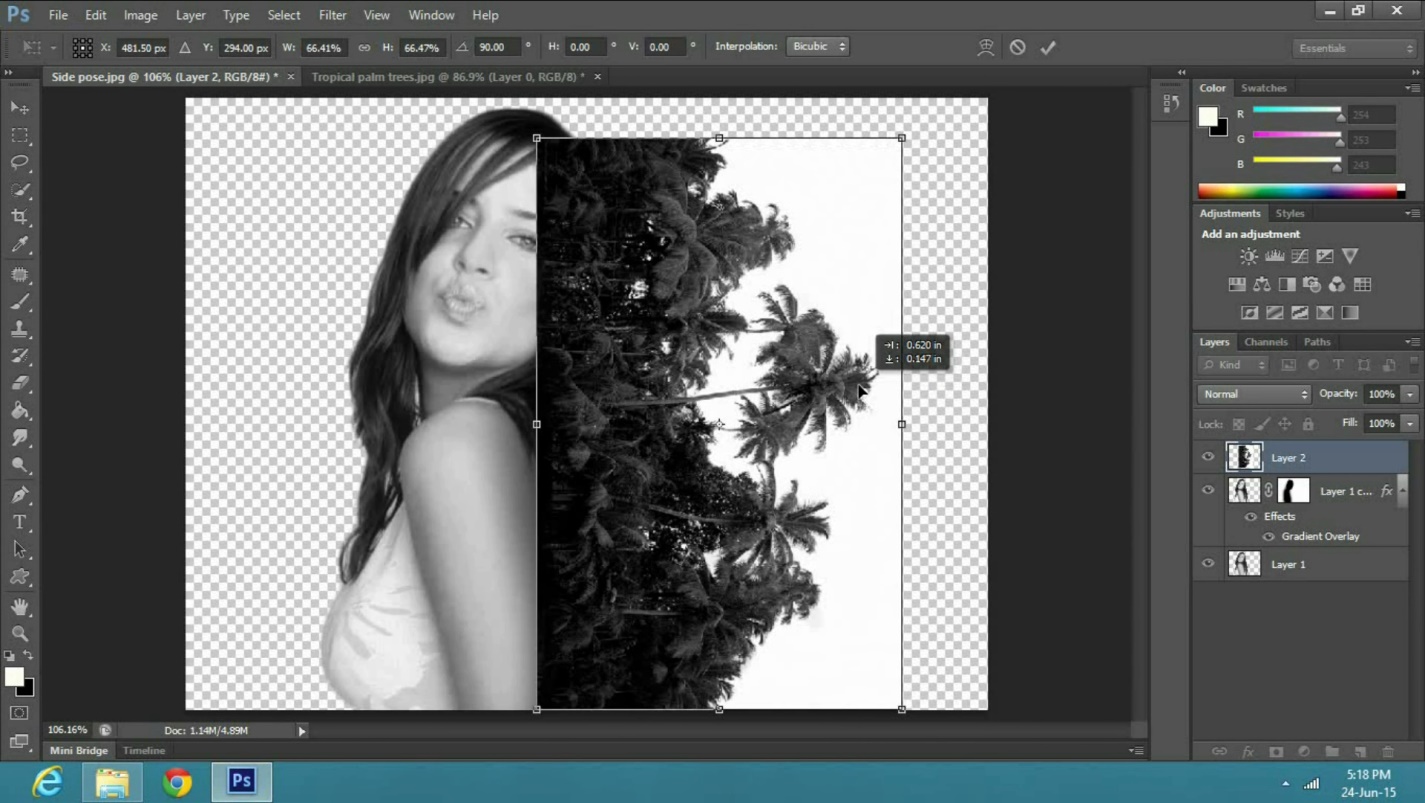
Reposition it using the move tool, and transform by pressing control ‘T’. Once you have repositioned it, create a mask layer, and make the foreground color black. Select the brush tool or press ‘B’,
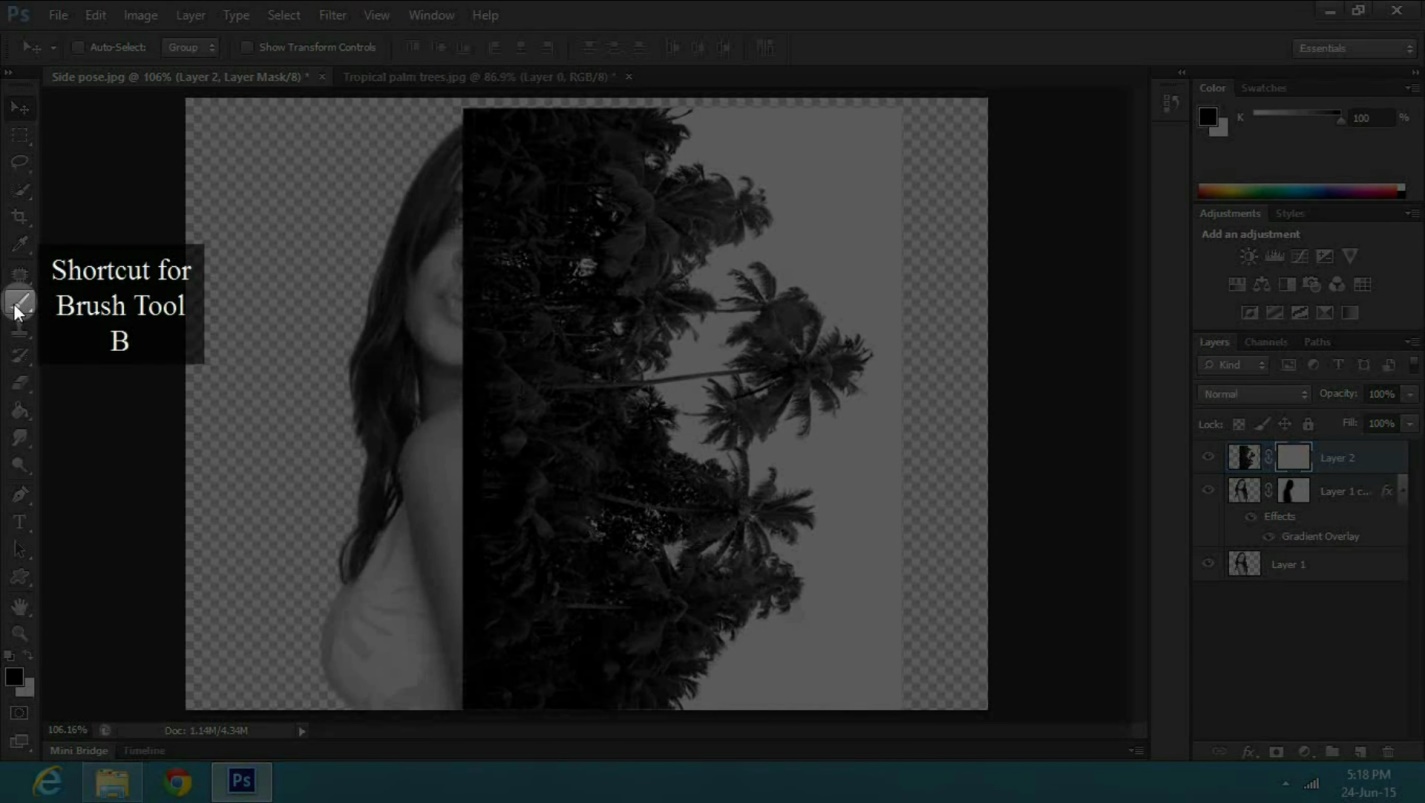
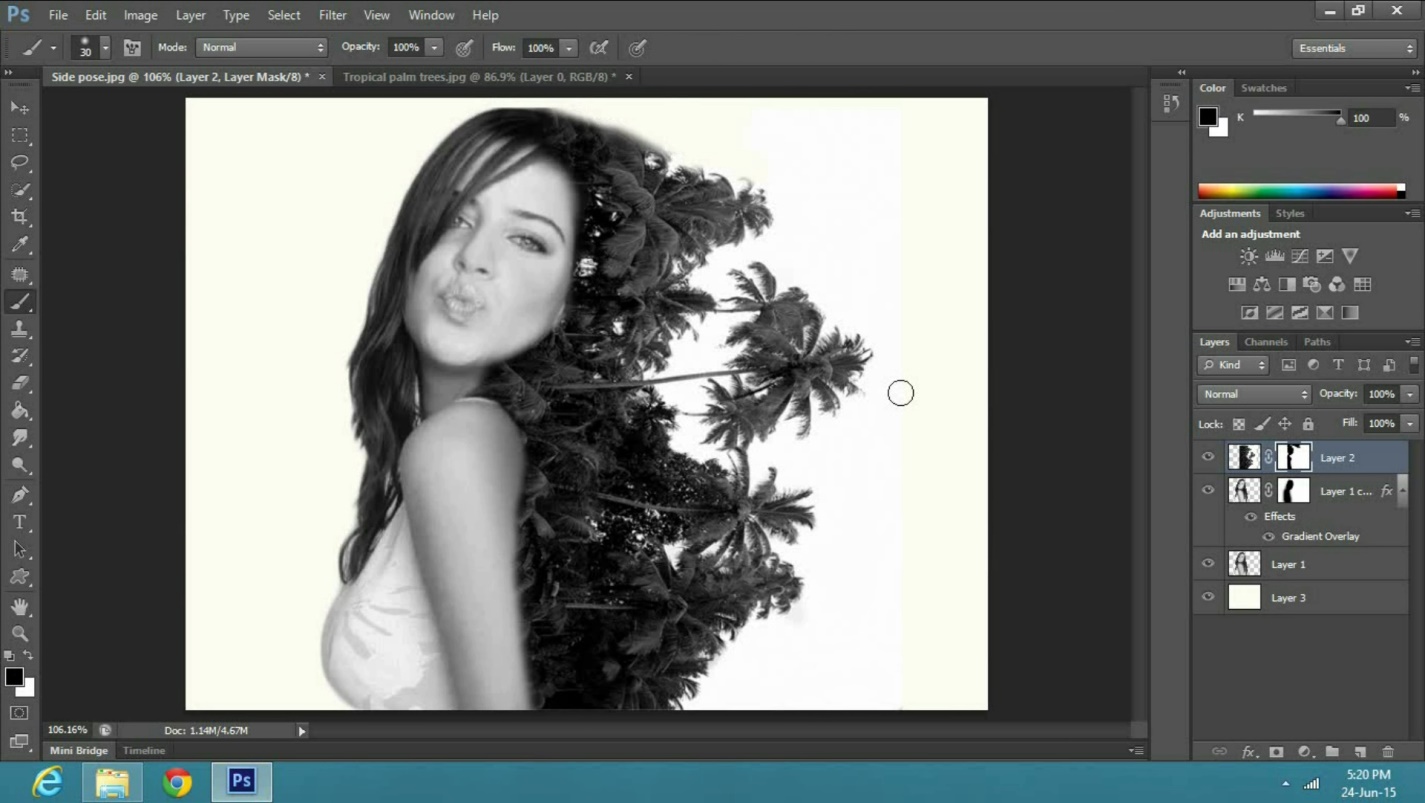
Carefully apply over the image where both images look combined. If you want to bring on the areas of the tropical tress press X to change the foreground color to white. Apply over areas you want back. And there you go, a perfect double exposure.
And your image is ready.
 Home
Home