In this tutorial you will learn how to make a Realistic Water Reflection Effect in Adobe Photoshop.
Firstly, go to image and select canvas size, as having the right canvas size is important for this effect. In the properties window, click on the upward pointing arrow in anchor.
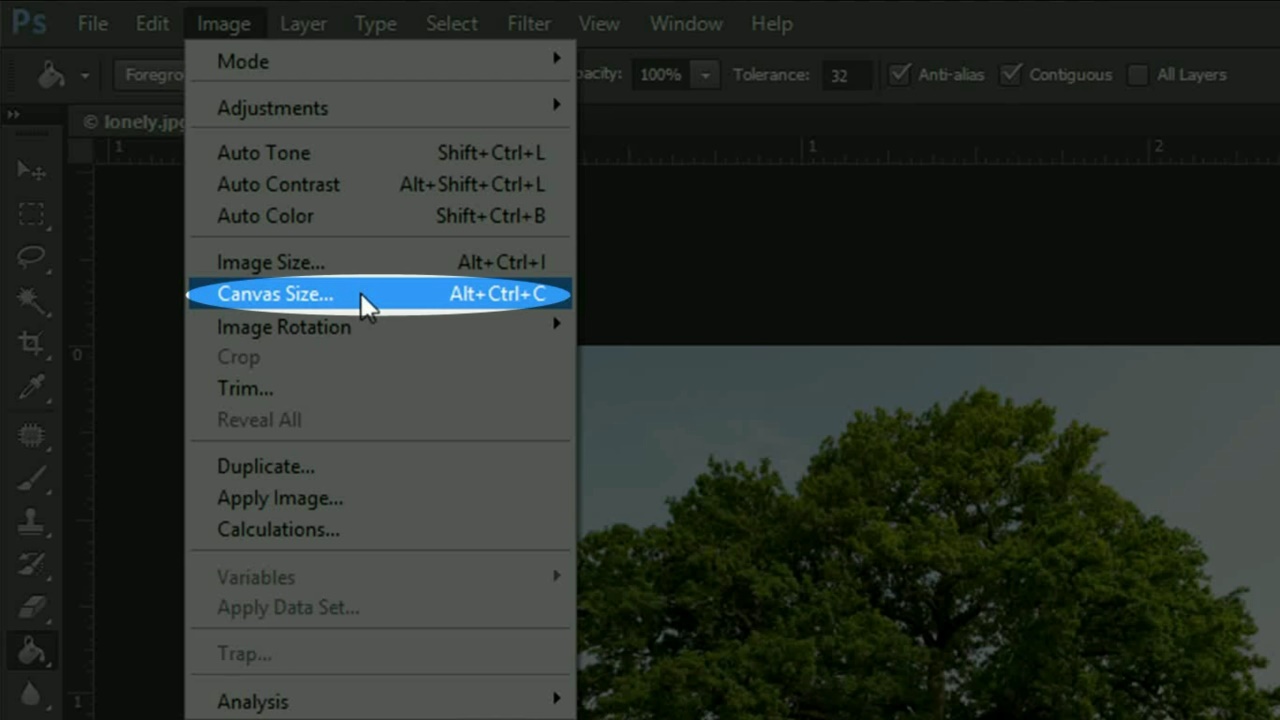
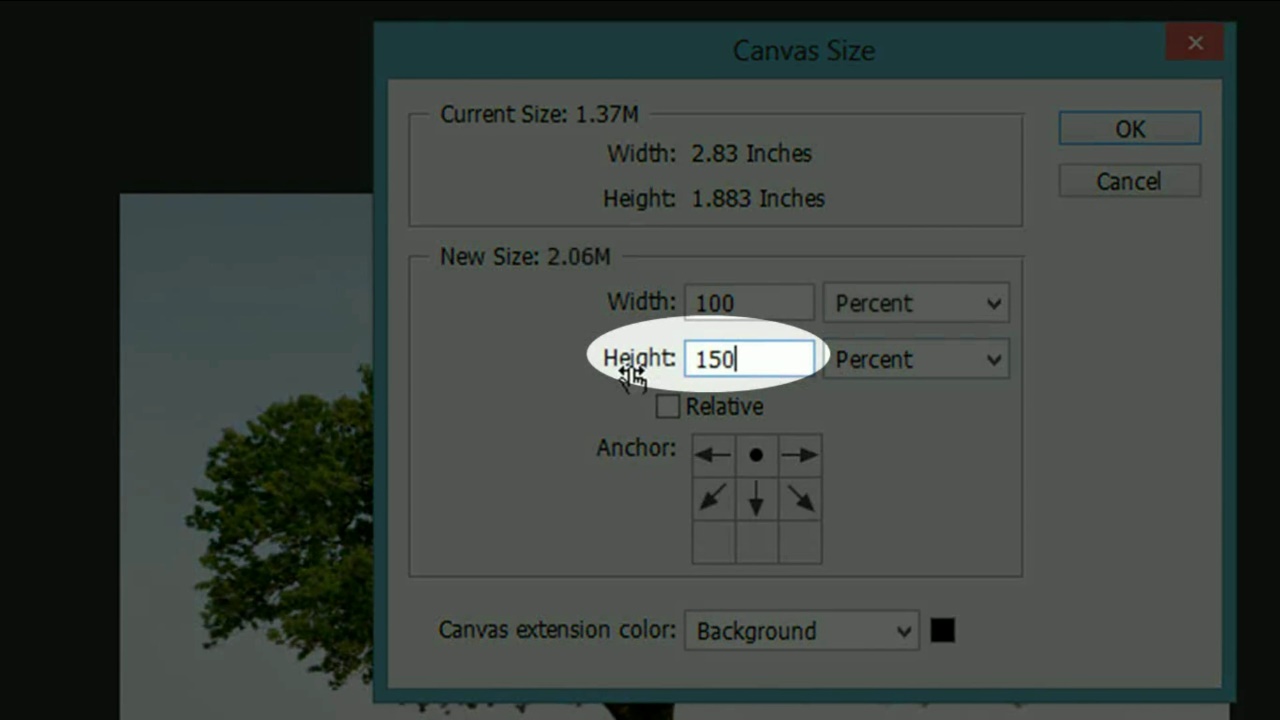
Now click on the drop down arrow and select percent, then change the height to 50% more of the width, in this case the width is 100, so I will keep the height to 150. Now go to the toolbar and select the magic wand tool.
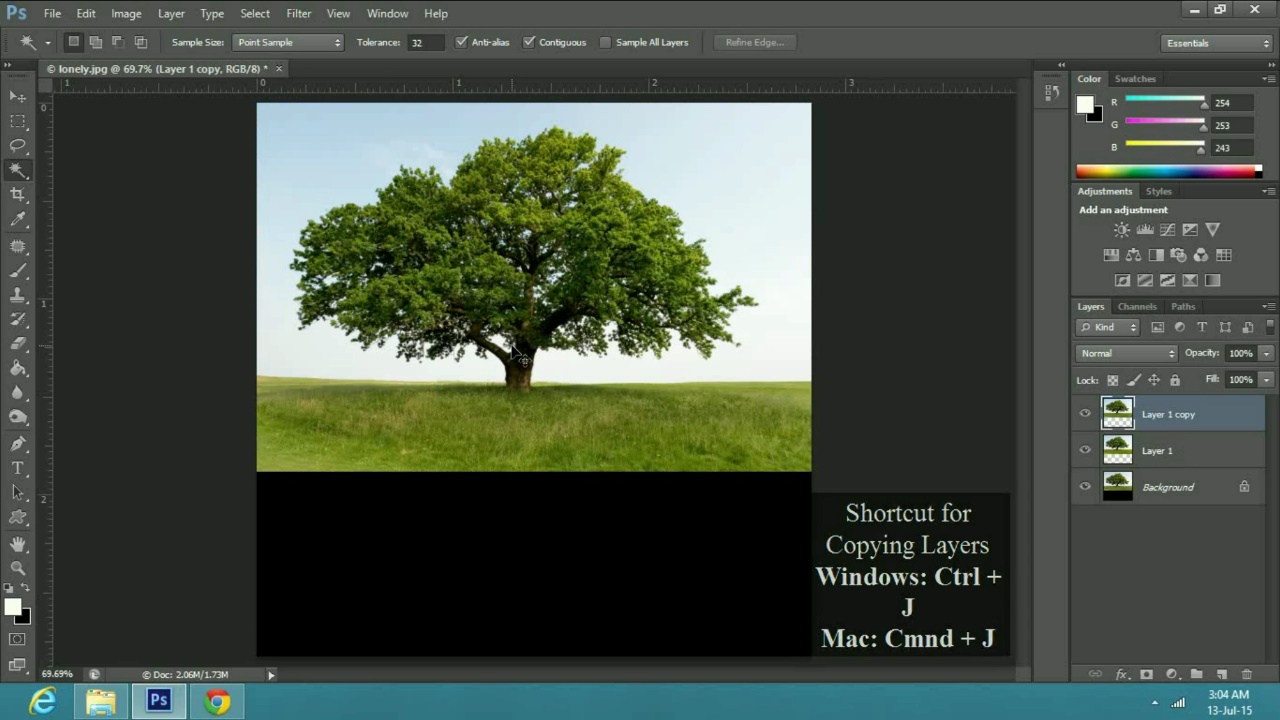
Now click on the extra added area which was created when we increased the canvas size. After selecting the area right click and select inverse, then make 2 copies of it by pressing Ctrl or Cmnd J on Windows or Mac respectively.
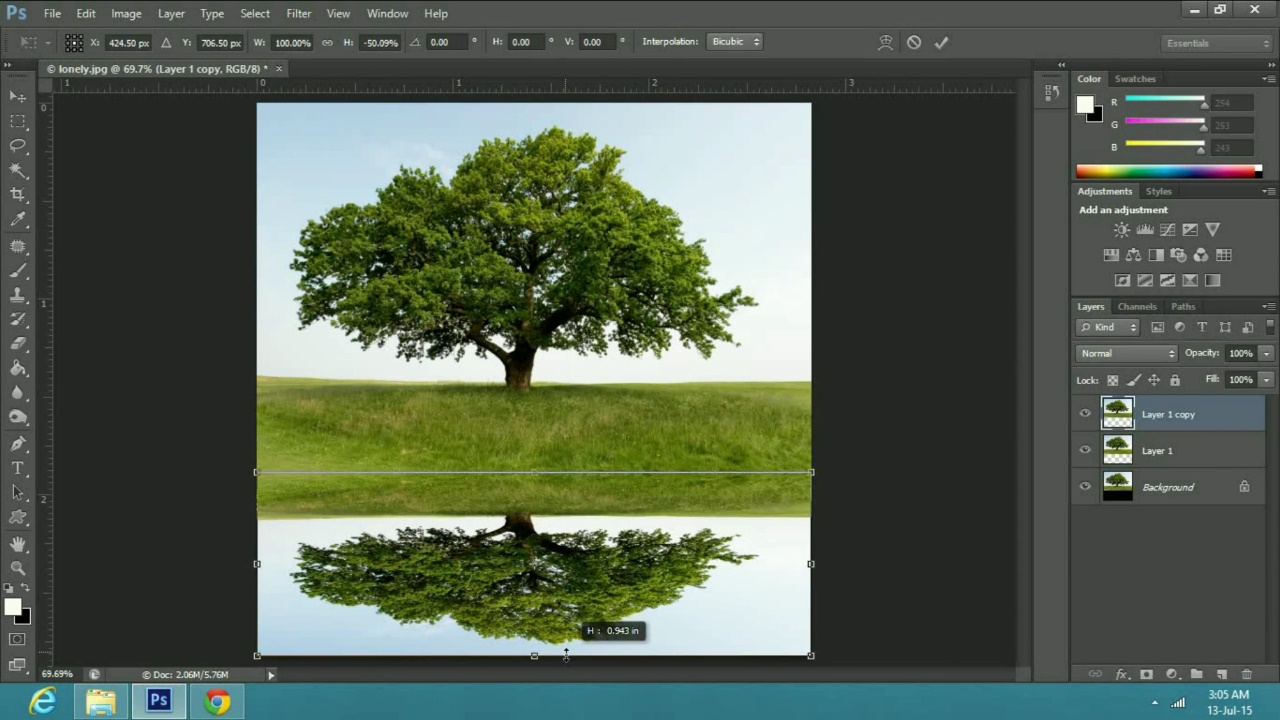
Now select layer 1 copy, go to view and see if snap is checked. Now to transform, press Ctrl or Cmnd T. Now go to the top center and drag the image down to the blank area.
Now create a new layer. Go to filter, render and select clouds. To bring up the levels window press Ctrl I, in the properties just change the greys to 2 and press ok. Now go to filter, distort and select twirl. In the properties change the angle to 200 and press ok.
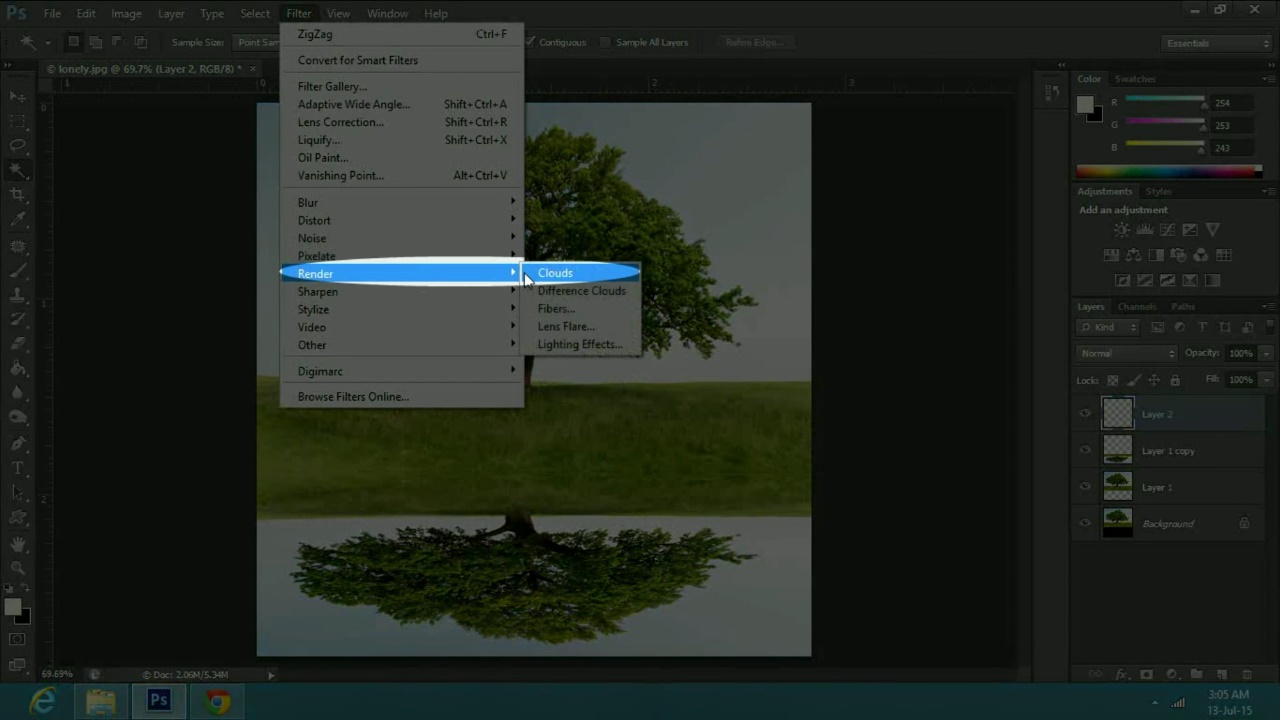
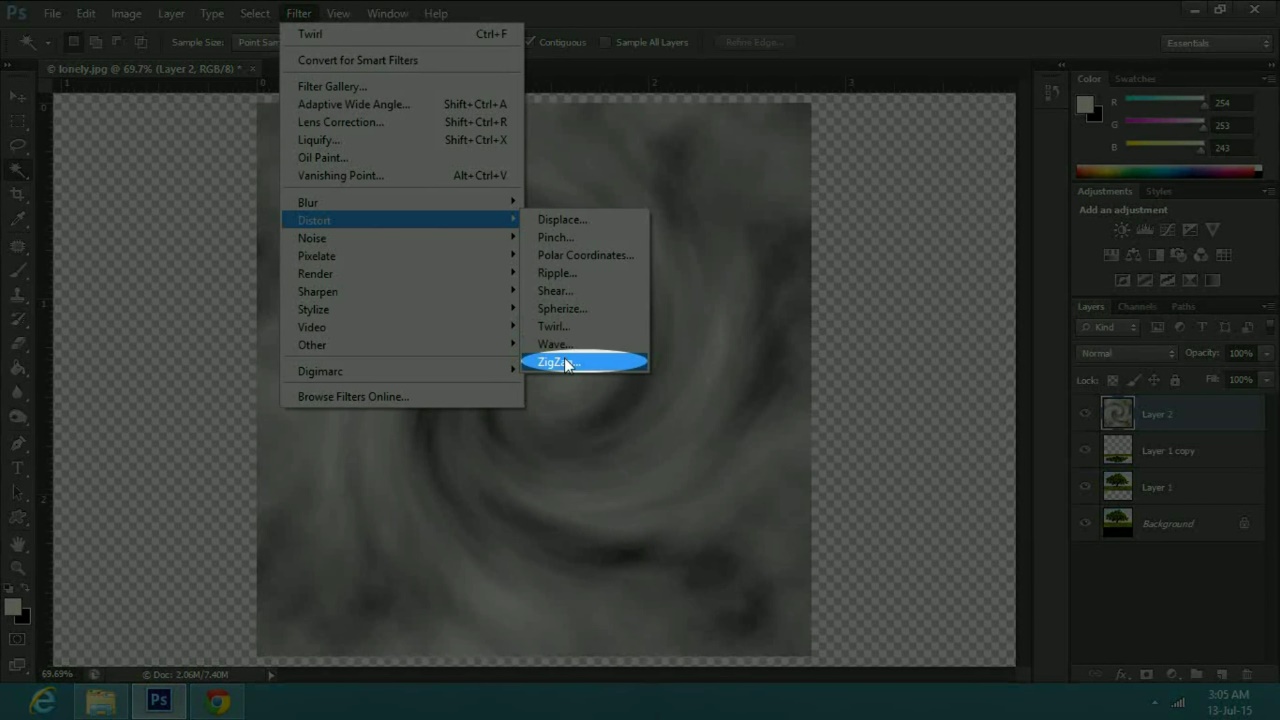
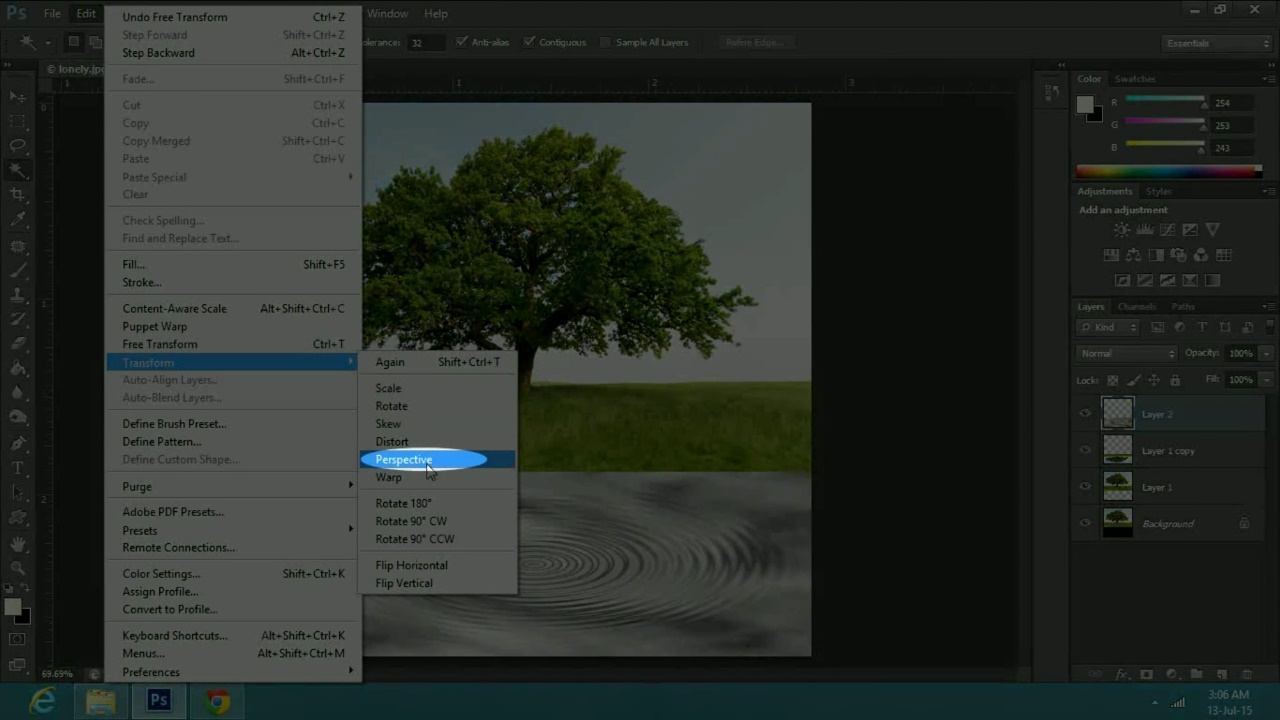
Next, go to filter, distort and select zigzag. In the properties change the amount to 85 and ridges to 18 and press ok. Now press Ctrl T and resize the image to match size of the upside down layer. Then go to Edit, transform and select perspective.
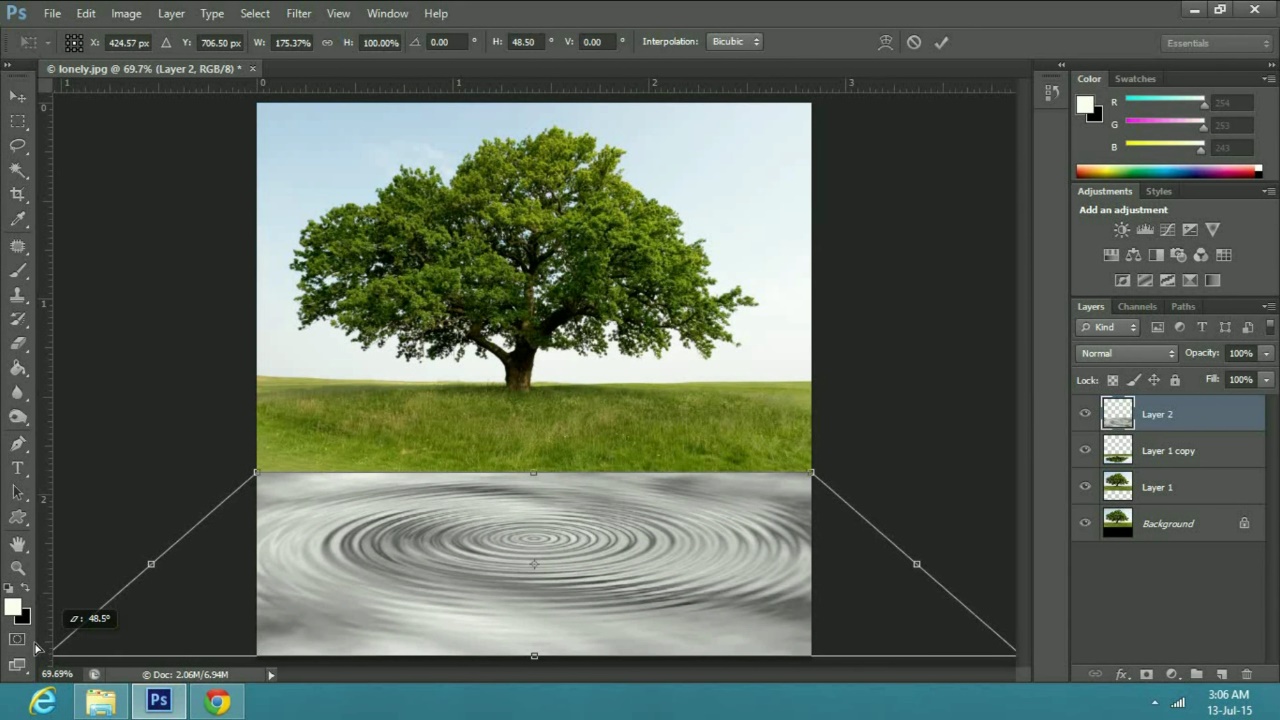
Now drag it from the bottom corner so that it does not look flat. Now go to the toolbar and select marquee or press M, and then select the whole image on the canvas from one corner to the other.
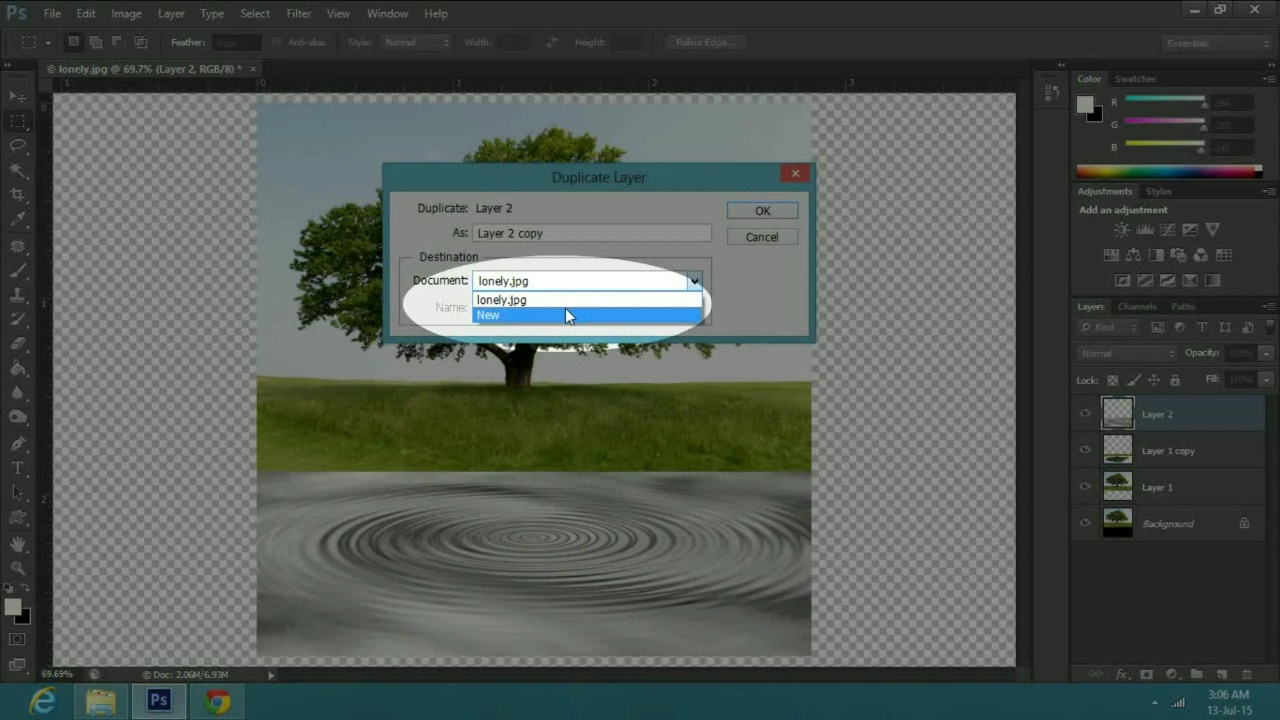
Now go to image and select crop, this will crop the parts of reflection surface which were out of the canvas when we changed its perspective. Now go to layer and select duplicate layer.
In the properties under document, click on the drop down menu and select new. Then type its name as displacement. Now cross this document and click yes when it asks to save it.
Save it on the desktop so it is easier to find when we need it later. Now select the top layer and bring it below the two cut out layers.
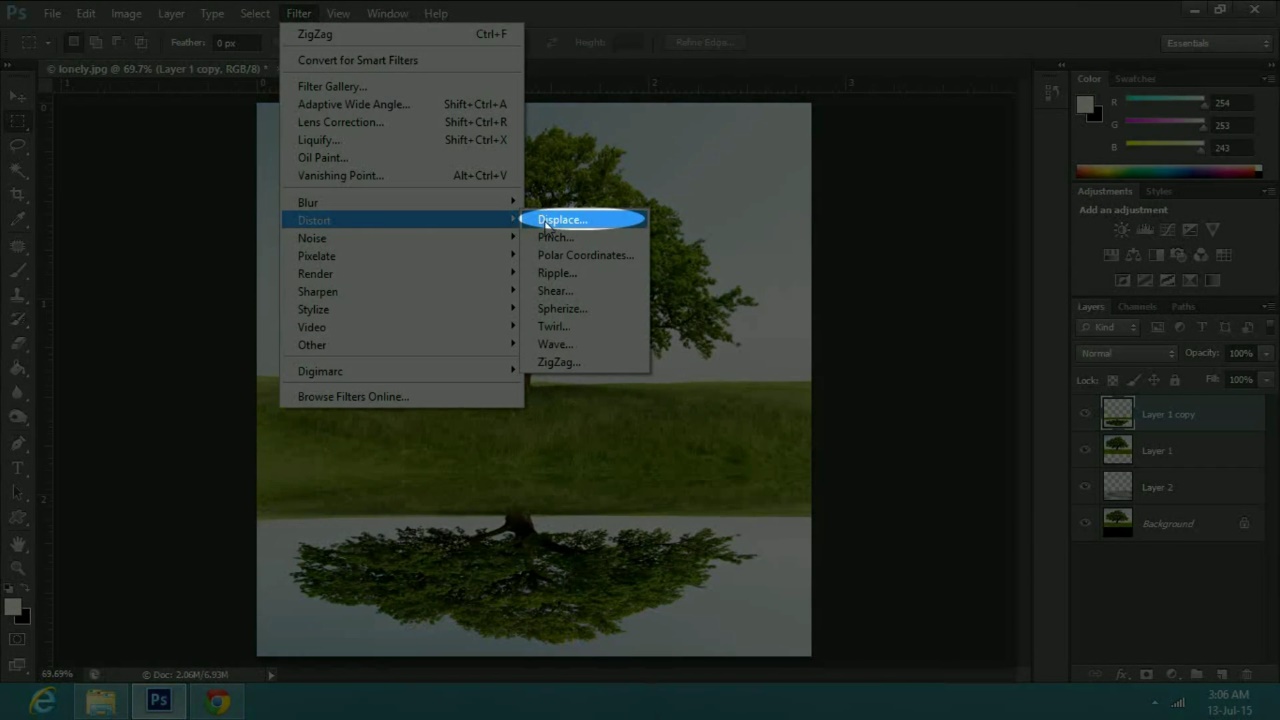
Now select the top layer which would be the upside down cut out, then go to filter, distort and select displace. Make the horizontal scale 5 and vertical scale 50 and press ok.
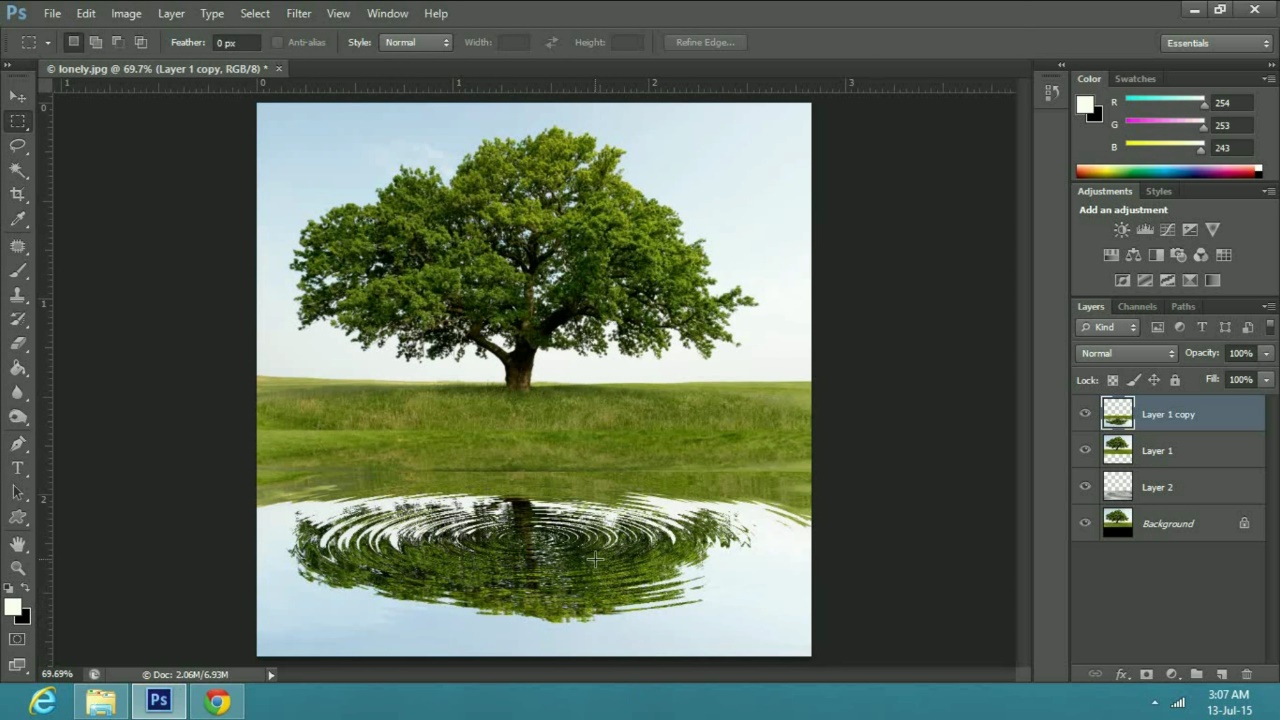
Now find the file you saved earlier by the name displacement and press open. This will give the pattern of a water reflection on the upside down cut out layer, you can try your own water reflections. Have fun.
 Home
Home