In this tutorial we will be talking about the retouching essentials and our focus will be on how to remove the face spots from images in Photoshop CS6. So here we have a picture that has a lot of face spots and could use some fixing. To get this done we can use either the ‘healing brush tool’ or use the ‘spot healing brush tool’.
Step # 1 – Use the ‘healing brush tool’
First zoom in by pressing ‘ctrl and +’ and then drag the picture by pressing the ‘spacebar’ key to get the perfect view.
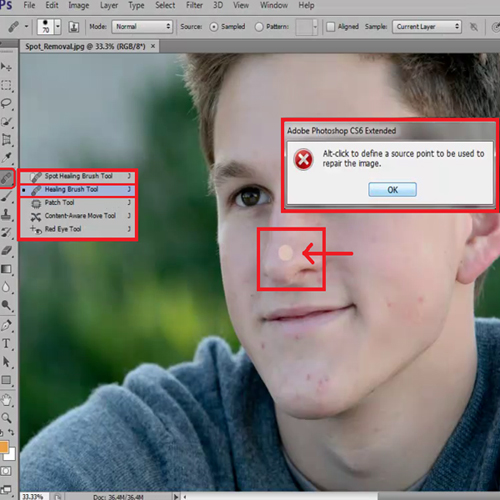
Select the ‘healing brush tool’ from the ‘brush tool’ menu on the left. Now you need to tell Photoshop what you want to use as a sample so as soon as you select this tool press ‘alt’ and click somewhere on the screen where the area is particularly clean. Photoshop will use that as a sample and will paste it wherever you click.
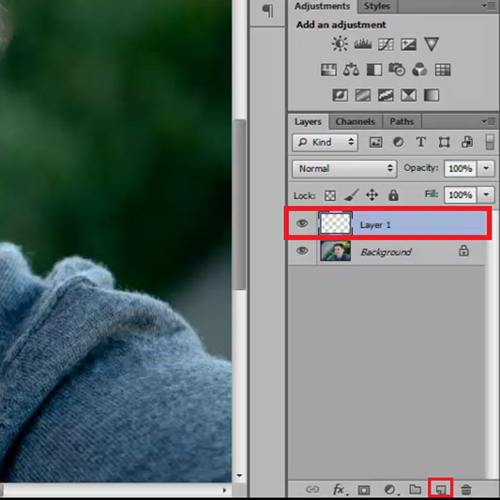
Step # 2 – Add a new layer
Add a new layer to the image so that we can have a before and after picture at the end. It’s always easier to know what’s happening on every layer when you’ve named them. Insert a new layer by clicking on the ‘create new layer’ button present at the bottom of the ‘layers’ panel.
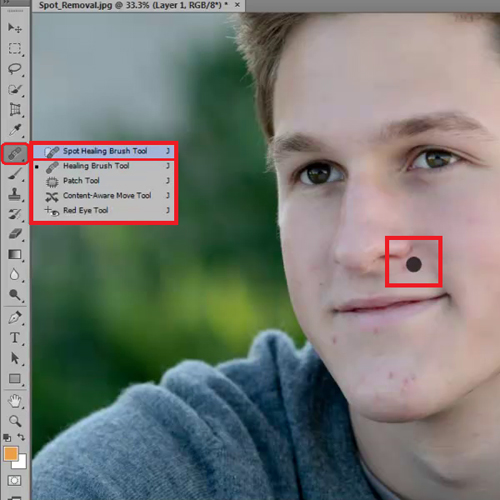
Step # 3 – Use the ‘spot healing brush tool’
The other way to remove face spots is through the ‘spot healing brush tool’. Choose it from the toolbar on the left. What’s special about this tool is that it samples and removes the spots itself without you having to select the sample area. Just click on these spots and Photoshop will remove them for you.
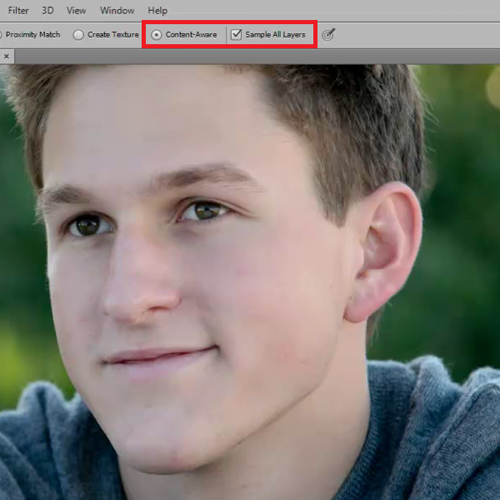
Step # 4 – Select the top options
Over here make sure that you have the ‘content aware’ option and ‘sample all layers’ options selected while you are working with this tool. You can turn off the new layers visibility to see how different the before and after images are.
You can see how clean and clear the face looks now. Effects such as these and more can be applied to images in Photoshop cs6.