Learn how to make clothes invisible in Adobe Photoshop
In this video tutorial we will show you how to make invisible clothes in Photoshop.
In order to make invisible clothes in Photoshop, open the Adobe Photoshop. Go to the “file” menu and click “open”. Select the photos and click “open”. Zoom in on photo with “Zoom tool”. Duplicate the “Background” layer by dragging it on the “Create a new layer” button. Click on the “Quick Selection tool”. Choose “add to selection”. Select the area around the model.
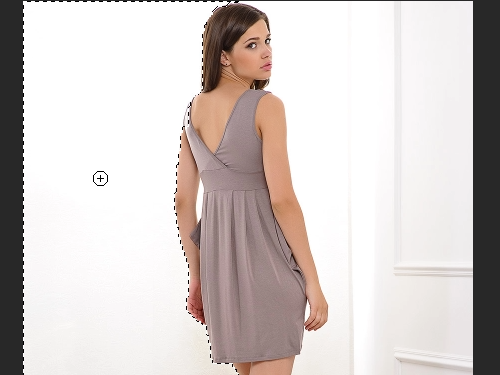
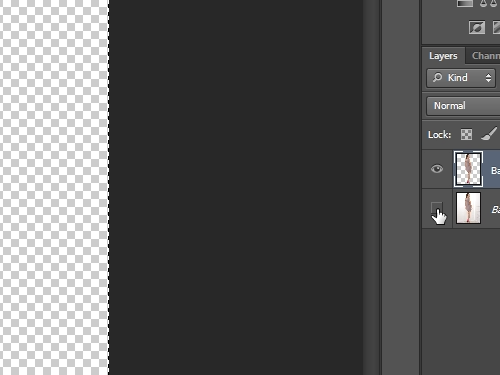
With the help of “remove from selection”, correct the selection. To see the selection, click on “eye” icon on “Background” layer.
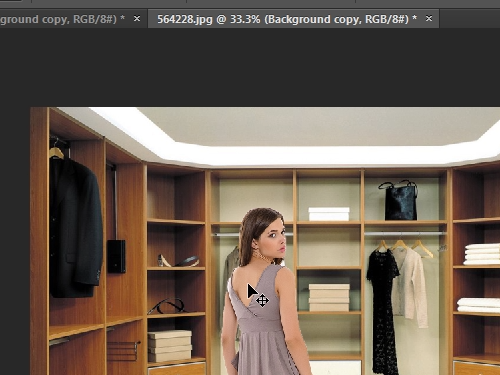
Choose the “Move tool”. Click with a left mouse button on model, hold and drag to another photo.
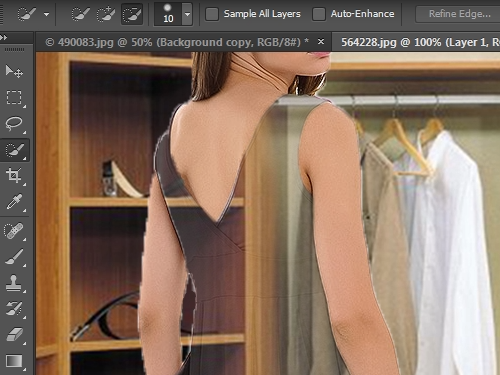
Select “quick selection tool”. Choose “add to selection”. Select the clothes on the model.
Choose “remove from selection” to correct the selection. When you are finished with the selection, transfer it on a new layer by pressing “Ctrl+Shift+J” on the keyboard. Set the opacity to “20%”.
Now, your clothes became invisible. Go to the “layer” menu and select “Flatten image”. Then, go to the “File” menu and choose “Save As”. Type a name for the new photo and choose “JPEG” format. In “JPEG options” window press “ok”.