When it comes to folder settings windows 7 allows a great deal of customization. This can make the whole system easier to use and this tutorial will show you how to change these settings.
Step # 1 – Expose the Menu Bar
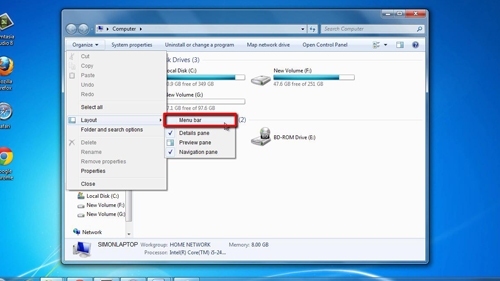
You need to access the “Menu Bar” first in order to get to folder settings. Click “Start” then “Computer” to open Explorer. Click on the “Organize” button in the top left. Navigate to “Layout” and click “Menu bar”. This will add a new bar to the top of the screen that reads “File”, “Edit” etc.
Step # 2 – General Folder Settings
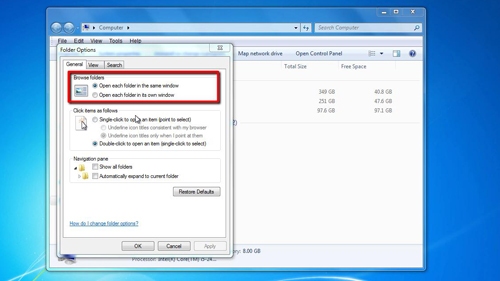
On this new bar click the “Tools” heading and then click on “Folder options…”. This will open a window that will allow you to change “General” settings for all folders in the first tab. This will allow you to adjust various navigation settings such as how new windows open.
Step # 3 – Changing a Folder’s View
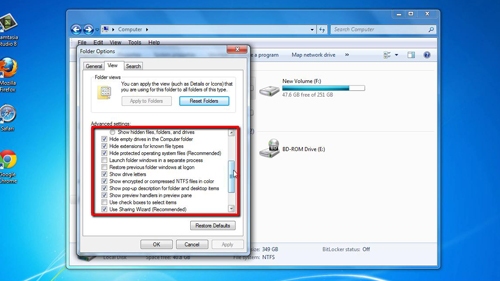
The second tab, “View” allows you to change the appearance of this folder, such as selecting what type of files you want to be able to view, or whether you want to view drive letters. To save any changes you have made click, “OK”.
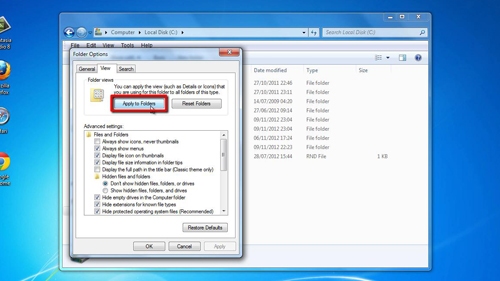
Step # 4 – Changing all Folders on a Drive
To change all folder settings windows makes the process simple. You first need to go a root directory. Go to computer and then select a drive, such as “C:”. Click “Tools”, then “Folder options…”. The same window as above will appear, click the “View” tab, make any changes you want and before and then click the “Apply to Folders” button, click “Yes” on the dialogue box that appears, this will change all folder settings within the C: drive.