In this video tutorial we will show you how to photoshop airbrush skin.
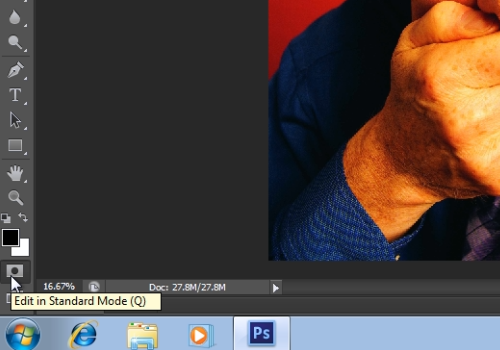
Launch the Adobe Photoshop. Go to the “File” menu, press “Open” and select the image you want to edit. Then go to toolbar and press onto the “Edit in Standard Mode” with the “Brush Tool” mode.

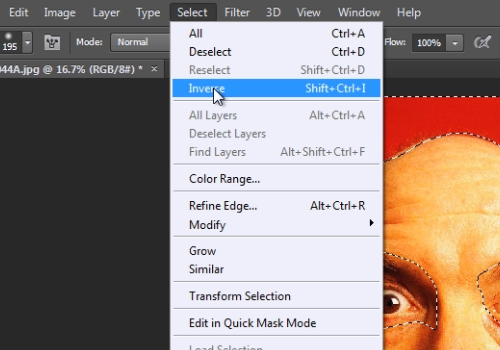
Choose the color in the Swatches tab and start to draw on a skin you want to edit. If you want to correct something, choose the “White” color and draw the edges. When you done, click on the “Edit in Quick Mask Mode” from the toolbar. Go to the “Select” menu and choose the “Inverse” option from drop down menu.

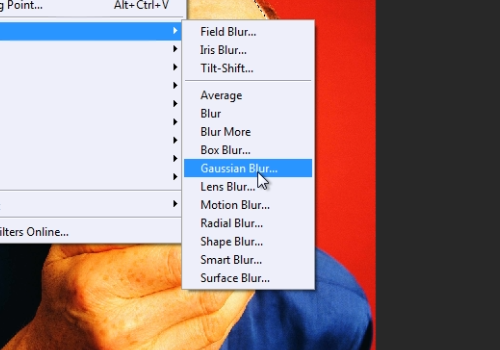
Then go to the “Select” menu, click the “Modify” option and choose the “Feather” option from the submenu. In the appeared Feather Selection window set the Feather Radius onto the “5 pixels” and press the “Ok” button. Go to the “Filter” menu, select the “Blur” option and choose the “Gaussian Blur” option from submenu.

In the following Gaussian Blur window adjust the “Radius” in the pixels with the slider and press “Ok”. Then go to the “Select” menu and choose the “Deselect” option.
 Home
Home