In this video tutorial we will show you how to apply After Effects green screen keying.
Launch the “Adobe After Effects”.
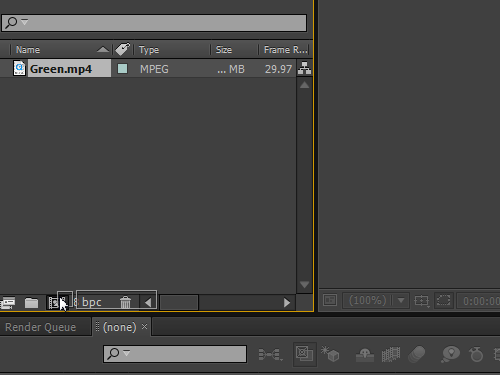
Go to the “Project” tab and double click inside it.
In the appeared window select the prepared video with green screen and press “Open”.
Go to Project window and drag and drop the imported video file onto the “Create a new Composition” icon.

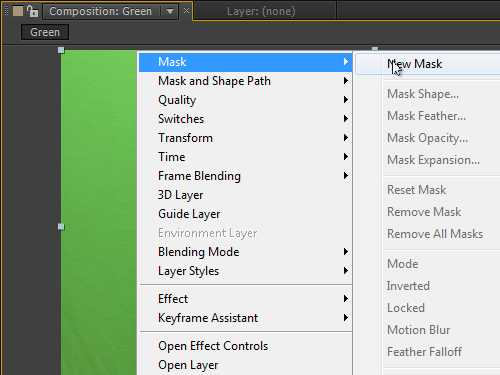
Then move the cursor into the composition window and right click on the video. Choose the “Mask” option from the appeared menu and select the “New Mask” option from the submenu.

In the next step select and move the points of the frame border while holding the “Shift” key.
Go to the time line window and right click on the video.
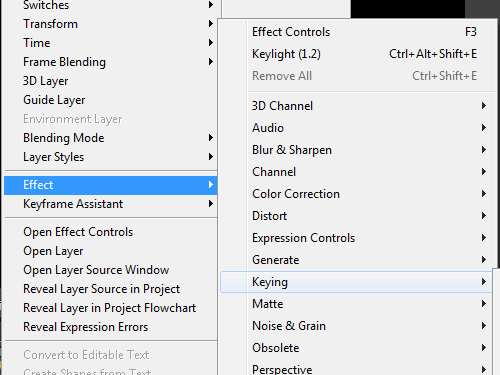
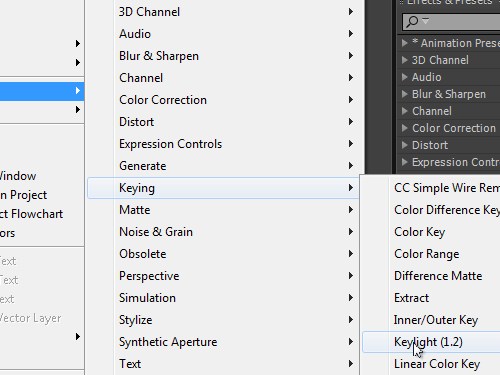
In the appeared menu choose the “Effects” option and select “Keying” Choose “Keylight”

Then go to the “Effects Control” tab and change the screen color with “Eyedropper” tool. Open the “Screen Matte” tab and clear the artifacts with the “Clip Black” and “Clip White” options.

Then smooth the silhouette border with the “Screen Pre-blur” option.
Check the video by moving the playhead inside the time line.
 Home
Home