Adobe Photoshop provides tools that you can use to remove the unwanted background of a subject and replace them with more desirable backgrounds. This tutorial is to help you learn how to change image background in Photoshop so as to make it something more interesting. There are many ways of getting this done, but the technique explained here is probably one of the easiest and most effective.
There follow this Photoshop tutorial, to understand how to change the background of an image.
Step # 1 – Load an Image
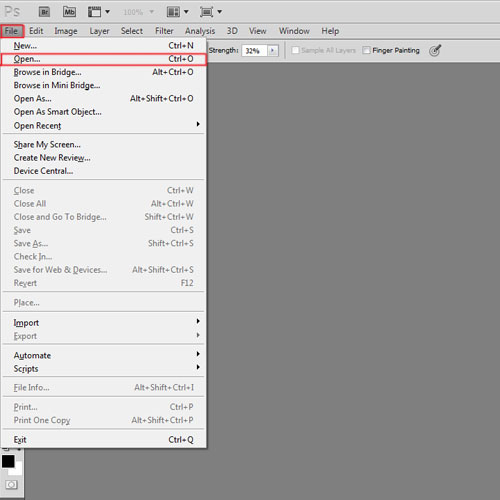
First of all open the image in which you want to replace the background. Go to the “file” options and then select “Open” from the list. When the window appears, browse the image on which you want to work.
Step # 2 – Draw a path around the object
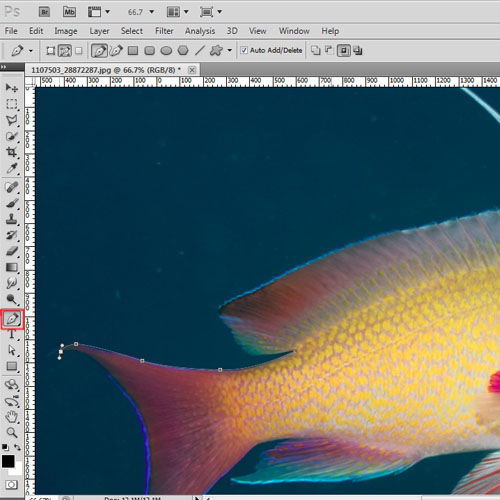
Once the image is open, we will create a selection area around the object which we want to keep. Use the “pen tool” to carefully draw a path around the object. There are other ways of creating the selection area as well. You can use the “lasso tool” or the “quick mask mode” to create the selection. “Pen tool” is a better choice when the selection needs to be very precise.
Step # 3 – Create a Selection
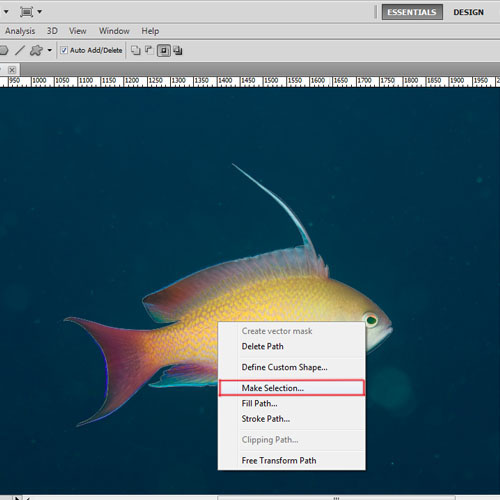
Once we have created the path, we will right-click on the path and select “make selection” from the list. This will convert the path into selection area.
Step # 4 – Make a duplicate of the selection area
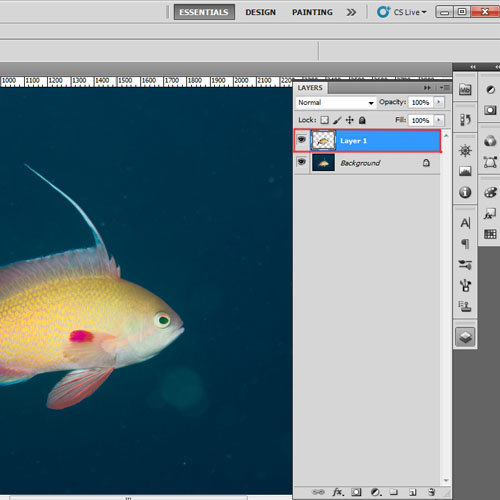
When the selection area is created, we will press “Ctrl+J” to create a duplicate layer.This will only make a copy of the selected area and paste it on a new layer.
Step # 5 – Remove the background
Now we will go to the “layer panel” and select the background layer. To change the image background in Photoshop we need to remove the background so we will press the “delete” button.
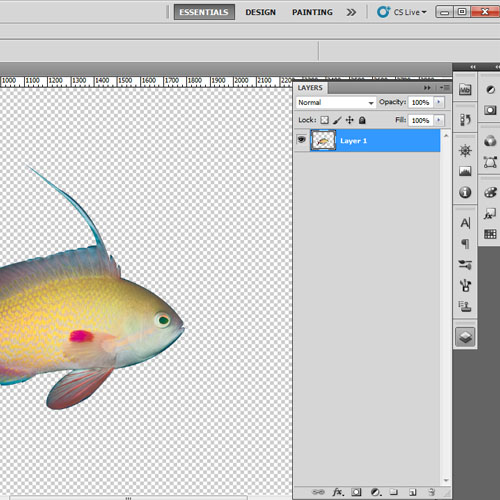
Step # 6 – Load a new background image
Now we will open the image which we will set as a background. You can choose any image which seems appropriate as your new background.
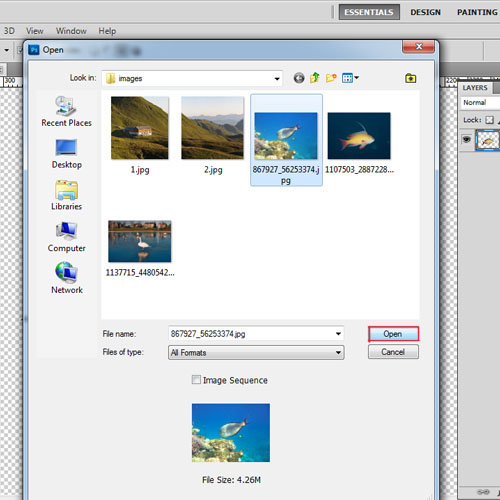
Step # 7 – Create a new background
When you will open the image, it will be over “layer 1” so you need to drag the image layer below the object layer to make it the background.
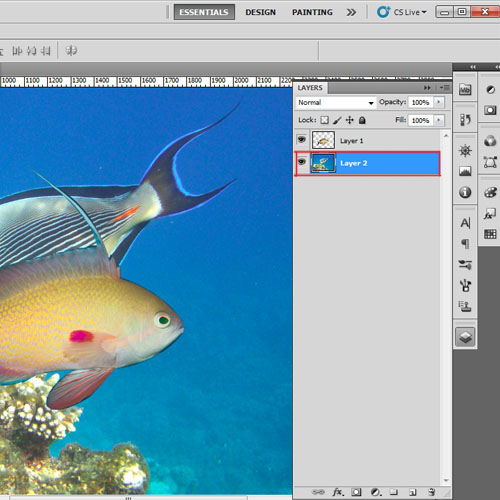
Step # 8 – Adjust the size and placement of the object
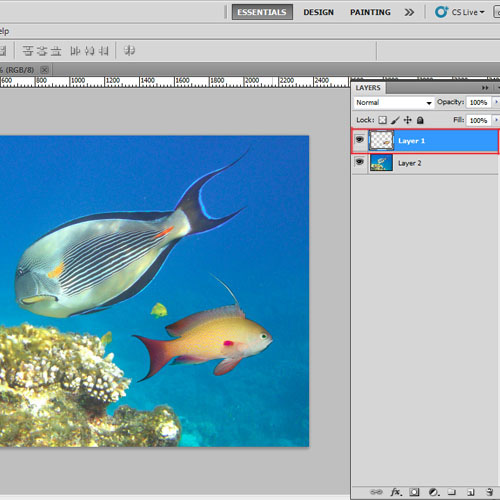
The last step of this Photoshop tutorial will be to adjust the placement of the object according to the new background. Click on “layer 1” and then press “Ctrl +T” to adjust the size of the object. Move the object around the canvas to adjust its placement.
 Home
Home