In this video tutorial we will show you how to combine faces in the Adobe Photoshop.
In order to combine faces with Adobe Photoshop you have to launch the program. Go to the “File” menu and choose “Open”. In the appeared window, select the images you want to edit while holding the “Ctrl” key on the keyboard and press “Open”. Select the “Zoom Tool” in the toolbar and zoom in the image for easy viewing. Then select the “Polygonal Lasso Tool” and select the part of face on the image.
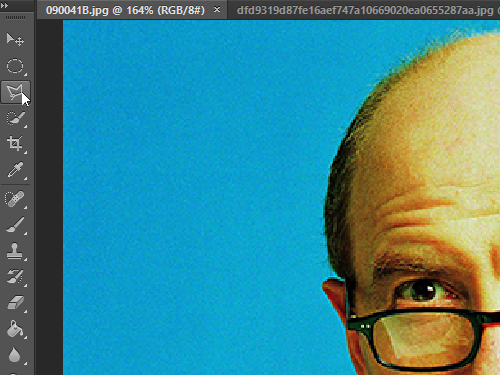
Copy the selected area onto the clipboard while using the “Ctrl+C” key combination then switch onto the another image and insert the copied area with “Ctrl+V” key combination.
Go to the “Edit” menu, choose the “Transform” option from the drop-down menu and select the “Flip Horizontal” option in the submenu.
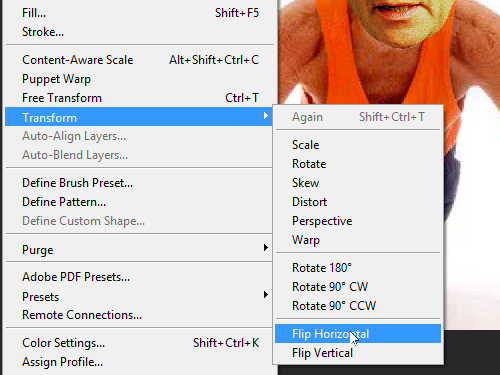
Resize the image with “Free Transform” option from the “Edit” menu and double click on the image to apply the transformation. Switch to the “Zoom Tool” in the toolbar and zoom in the image if you need it.
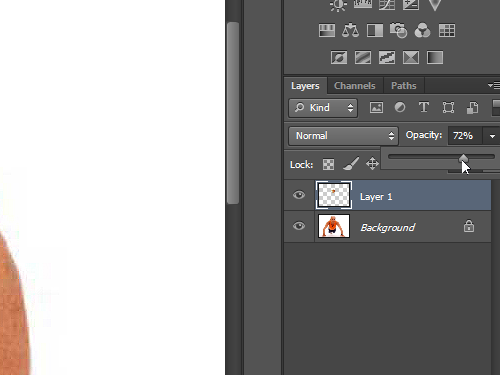
Then switch onto the “Move Tool” and go to the “Layers” palette and change the opacity of the image as you need.
Then select the “Brush Tool” and select the “Clear” mode from the “Mode” drop down menu.
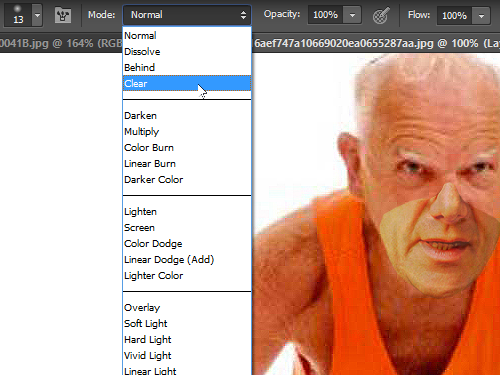
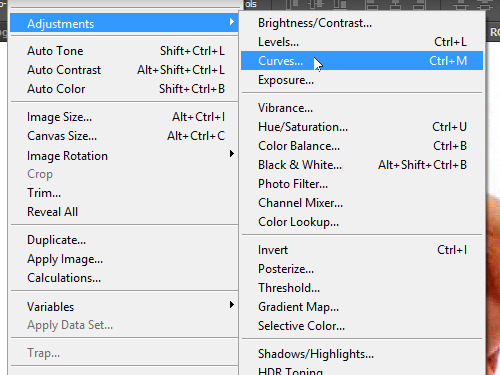
Remove the excess from the face. Then go to the “Image” menu, choose the “Adjustments” option from the drop down menu and select the “Curves” option from submenu.
In the appeared window adjust the image channels as you need. and press “OK”. Then select the “Brush Tool” and remove any excess that remained. Select the “Dodge Tool” and сhange the level of the face illumination if you need it. Now the faces from two different images has been successfully combined in one with the Abobe Photoshop.
 Home
Home