Adobe Premiere Is a time-line based video editing software. The cs6 tools present in this software provides users with options they can use to edit their videos. This allows videos edited by using this software to have an edge over others of its kind. One can increase or decrease the tempo of a shot using the stretch rate in order to make the shot appear in a different manner. The speed at which the shot goes will automatically change the overall appearance of the video and thus this technique is used.
Adobe Premiere cs6 tutorials allow you to learn about various features of this software. In this tutorial we will guide you on how to increase or decrease the tempo of a shot by using the rate of stretch tool in Adobe Premiere.
Step 1 – Syncing the sequence with frame
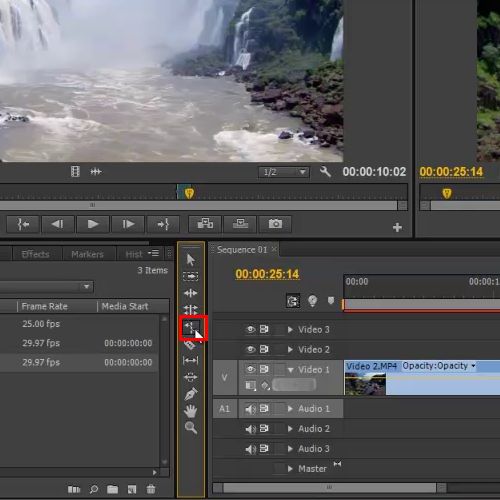
Here you can see a sequence where every frame is synced with each other on the timeline. Now if we want to replace the second clip with any other, it should be of the same length otherwise it will exceed the time frame of the sequence.
In order to sync the sequence according to the time frame we have, you will be required to pick up the rate of stretch tool from the tools menu present towards the left side of the timeline.
Step 2 – Changing duration and speed of clip
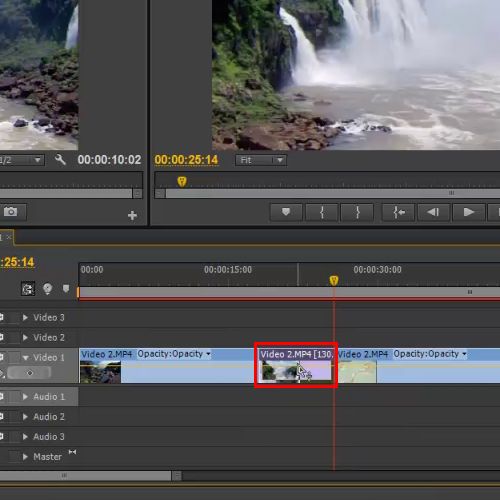
Now, click on the clip from its end and drag it towards the left side in order to reduce its length. This will not clip the frames but instead speed up the clip, which in this case is up to 130%. If you drag the clip towards the right, it will increase the duration of the clip and reduce the speed of the clip.

Step 3 – Syncing clip in available gap
Now your clip is ready to be synced in the available gap. You can drag the clip on the first layer.
Step 4 – Pressing the “enter” key
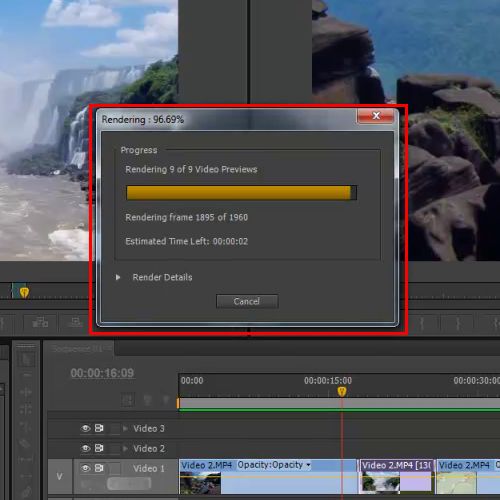
Now, you will simply need to press the “enter” key on your keyboard in order to render the sequence. You can now move on with the process.
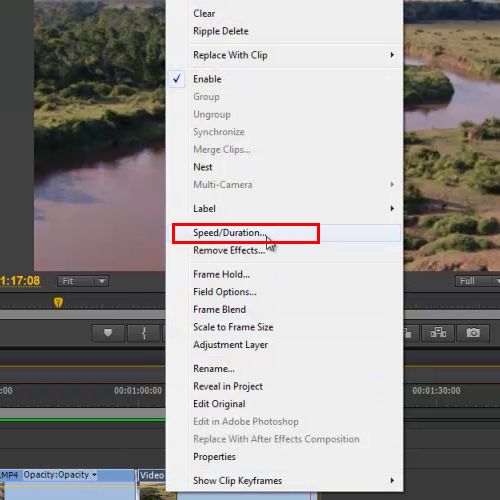
Step 5 – Using the “speed duration” option
You can also speed up and speed down any clip by right clicking on any frame and selecting the speed duration option
Step 6 – Inputting values
Once the new window pops up, you will be required to input the values according to your need. Click on the “Ok” option once done.
Follow the steps of this and other Adobe Premiere CS6 tutorials so as to understand the different tools and features of this software much better.
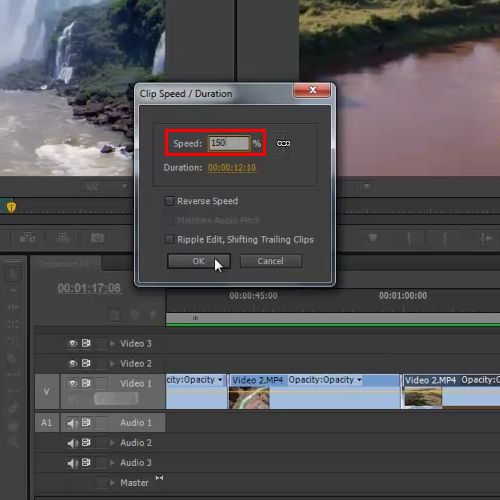
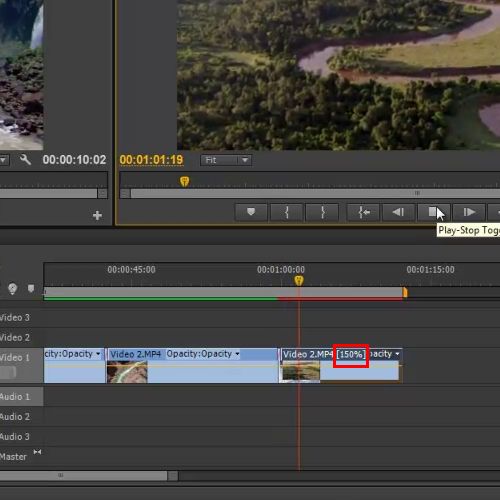
Step 7 – Increasing/decreasing percentage
Increasing the percentage will reduce the length of the shot and speed up the clip while decreasing the percentage will increase the length of the clip and decrease the speed of the clip.
Hence, with the help of Premiere CS6 tools you can control the tempo of your shot.