In this tutorial you will learn how to create a glamorous skin-glow effect in Adobe Photoshop.
Go to the adjustment panel, and create a new channel mixer adjustment layer.

Then create two copies of the channel mixer layers, by dragging it down to the copy option, or press control ‘J’ on a windows, or command ‘J’ on a Mac. Now select the first channel mixer layer and check on monochrome, in its properties panel.
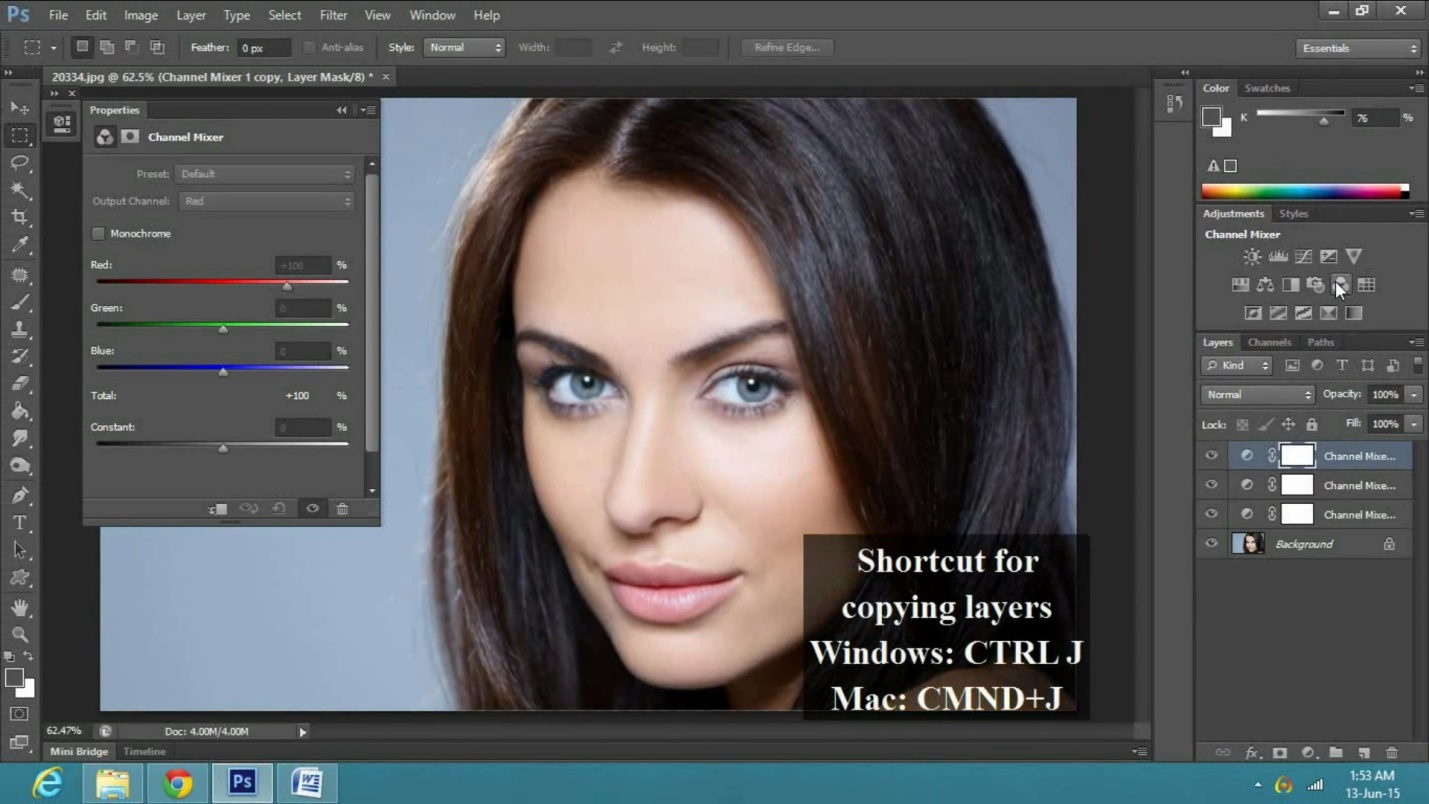
Then just play with the opacity by decreasing it, in this case I will decrease it to 15 percent. Now select the second channel mixer layer and select screen in the blending options.
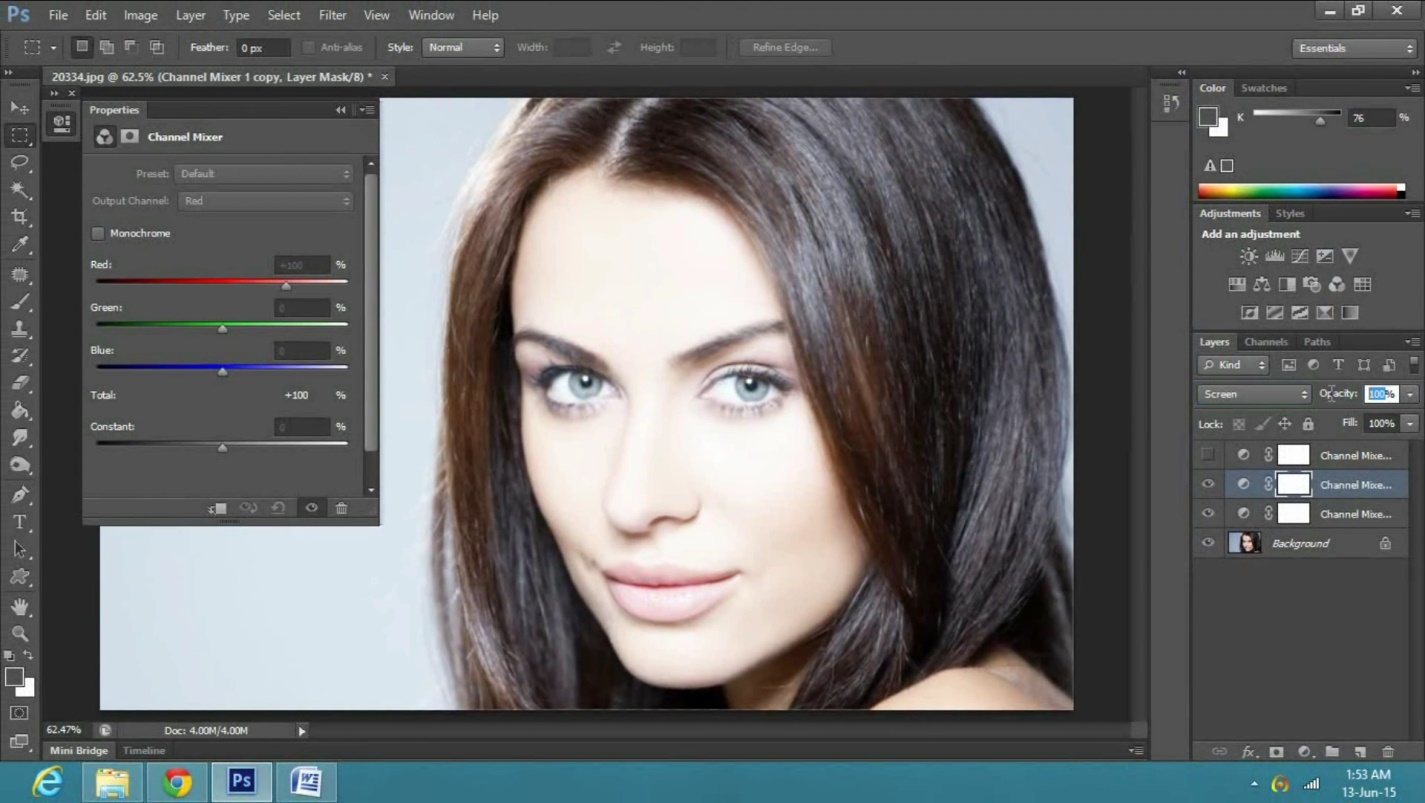
Decrease the opacity to forty percent, or according to your image. For the third channel mixer layer, select soft light in the blending options.
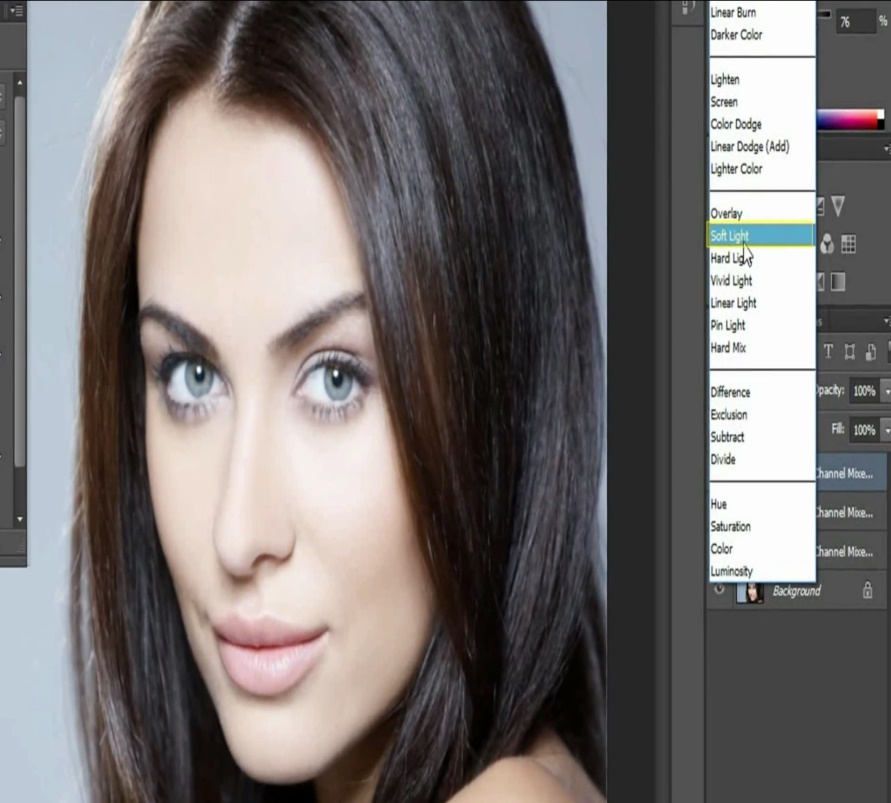
In the channel mixer properties, just drag the constant to a proportionate amount.
Now create a new layer.
Zoom in to the lips and select the brush tool or press B.
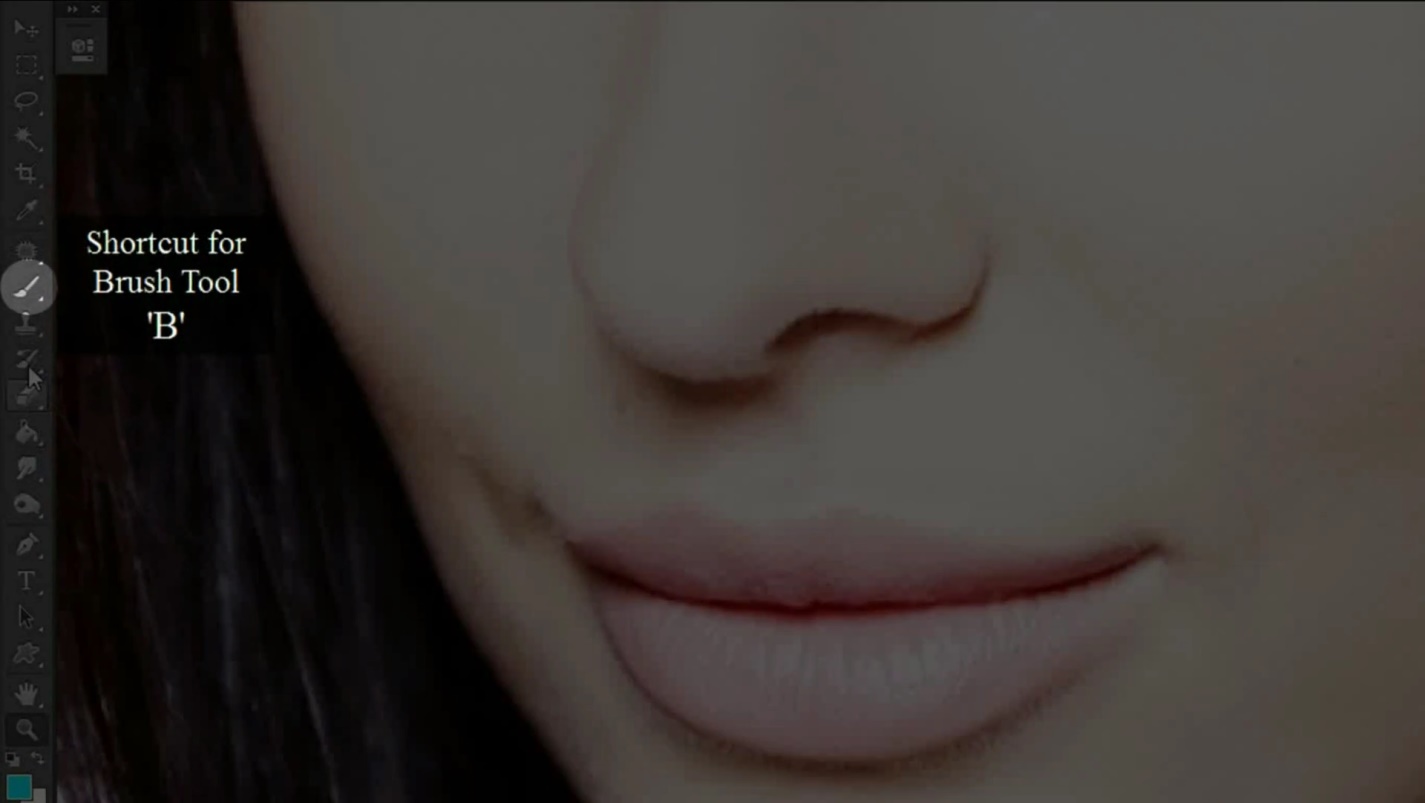
Select red color from the color picker, you can try different shades and colors. Apply it on the lips.
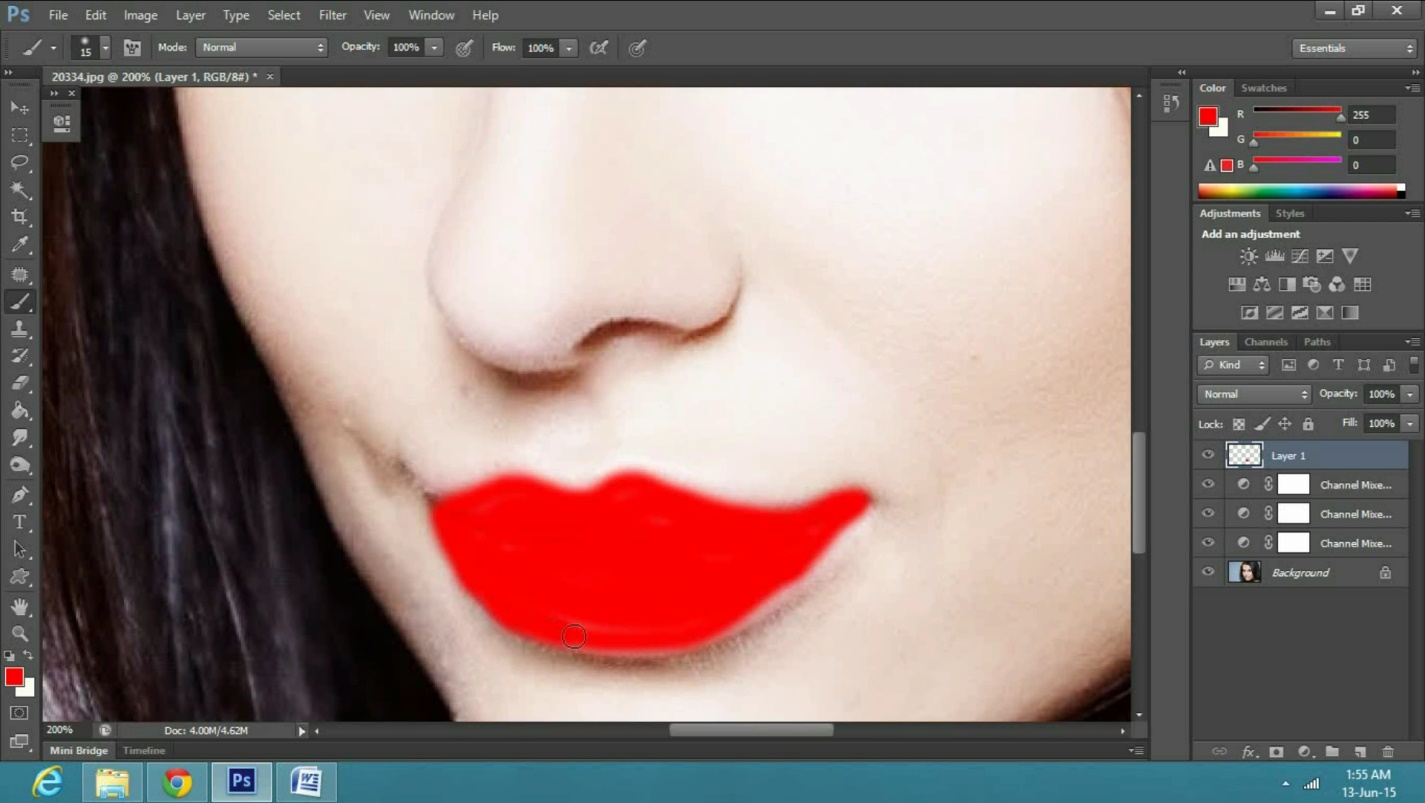
Now go the blending options, and select soft light. Now decrease the opacity according to your liking.
And there you have it, from dull skin to this brighten skin glow.

 Home
Home