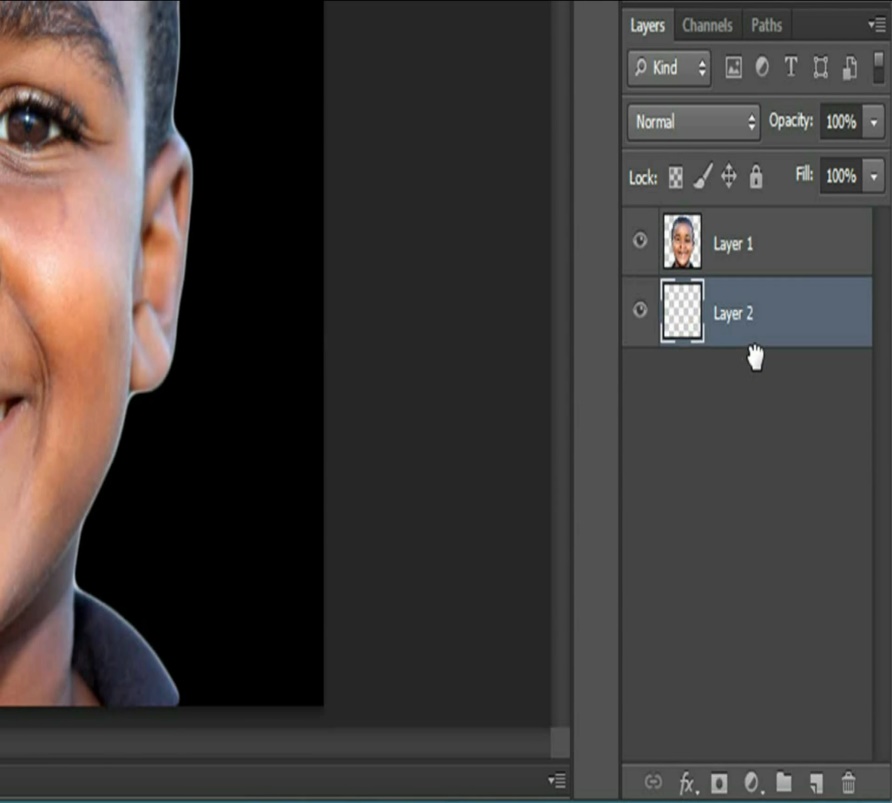
Create a new layer, and drag it below your image layer. Then, go to the toolbar, and select the gradient tool.
Click on the arrow above, and select foreground to background. Then click on gradient, to open the editor.
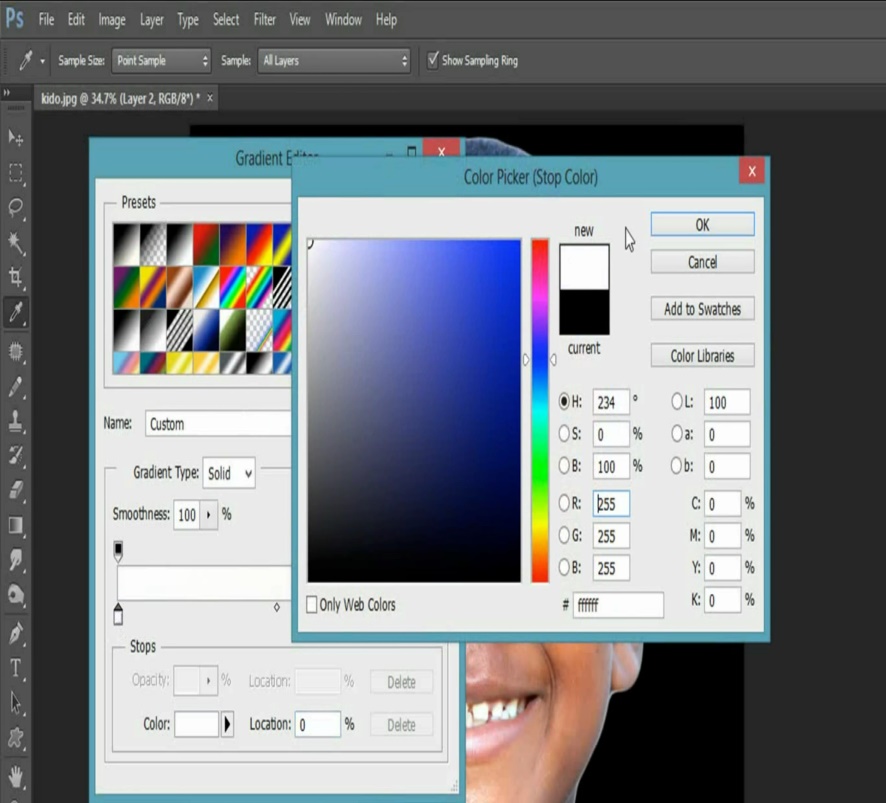
Double click on the first color stop, and select white color. Then, double click on the second color stop, choose a blue that looks something like mine, and press okay.
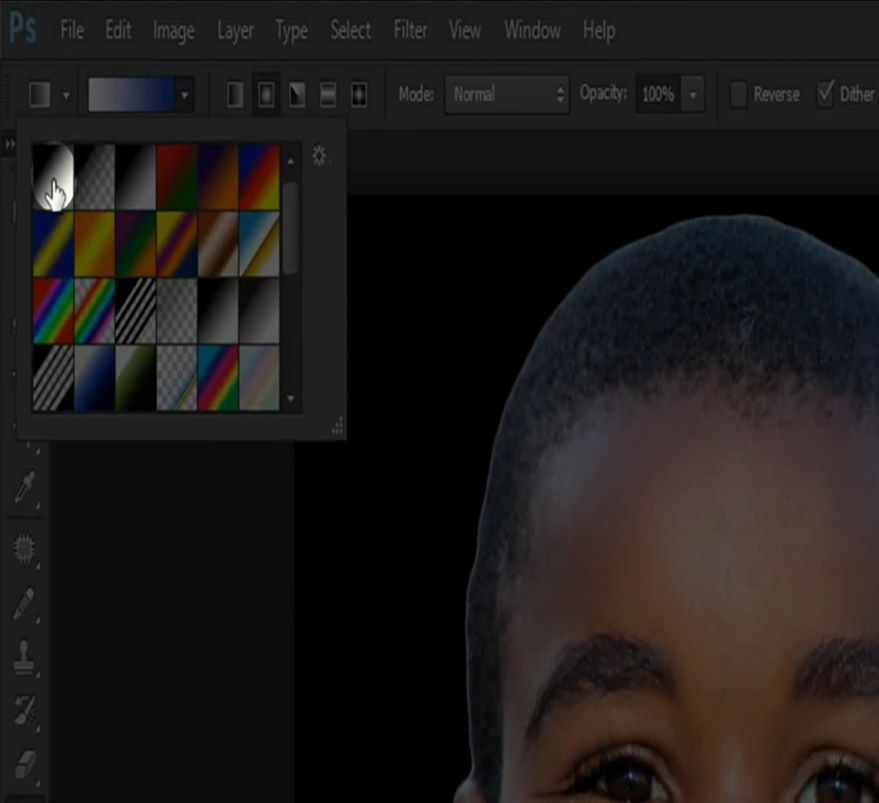
Make sure your have radial gradient selected, and the reverse mode is unchecked.
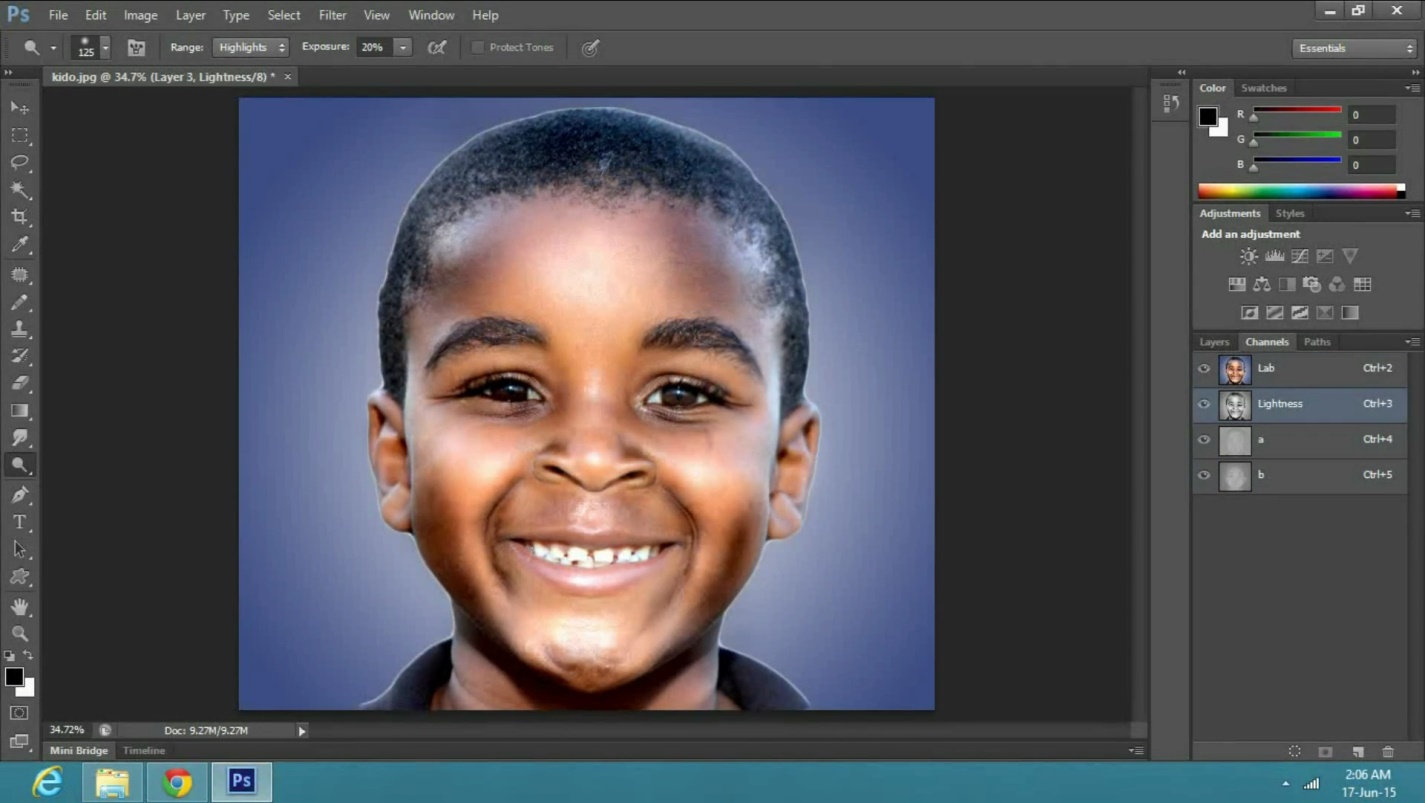
Now, bring your cursor in the middle of the image, click and drag to any side to an amount, where the white part of the gradient gives a glow effect from behind the image. Now, go to image, mode and select lab color.
Click on merge when the above shown dialogue box appears. Click on channels and select lightness. Your image will now appear in grayscale.
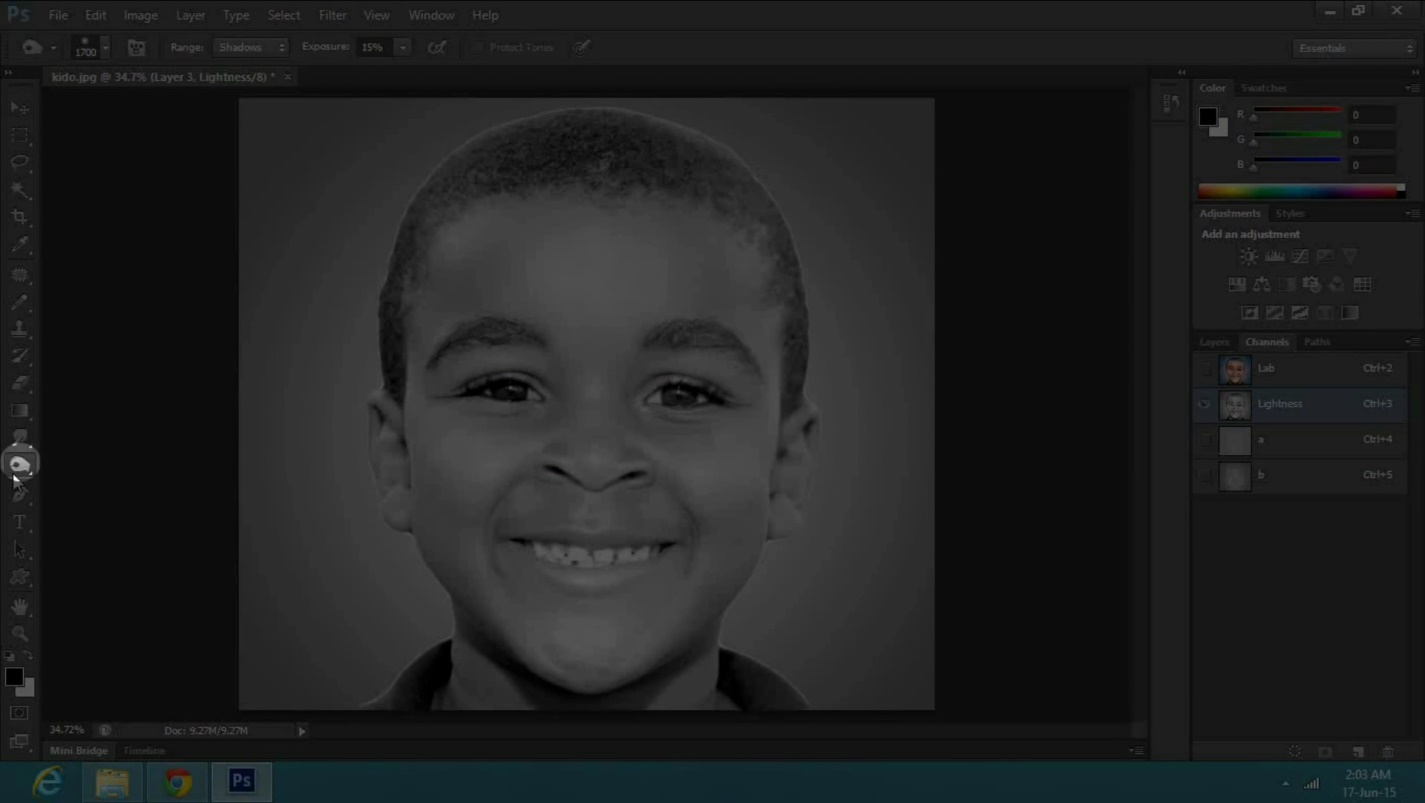
Then, go to the toolbar, and select the burn tool. Change the range to shadows, and decrease the exposure to fifteen percent.
Now, apply the burn on areas which are in shadows, and are not directly exposed to light. Then, select the dodge tool from the toolbar.
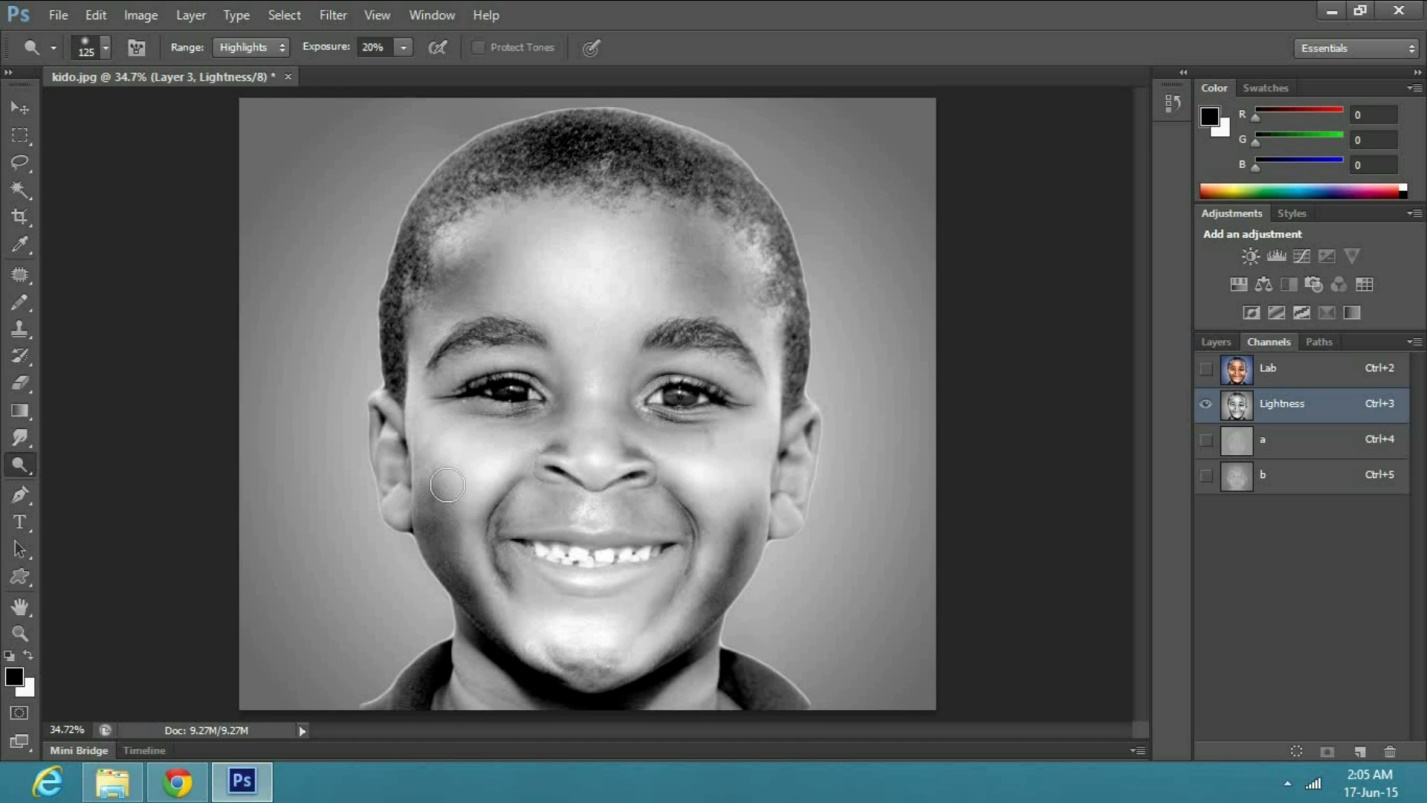
Change the range to highlights, and decrease the exposure to twenty percent. Apply it on areas which are directly exposed to light. Now click on lab to see the final result. And there you have the Jill Greenberg’s effect.
 Home
Home