In this video tutorial we will show you how to create a matrix effect in Photoshop.
Launch the Adobe Photoshop. Go to the “File” menu and press “Open”.
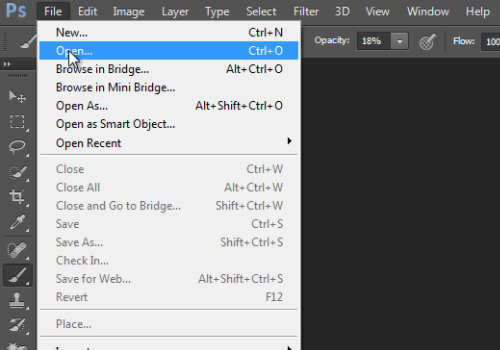
In the opened dialog box, select a photo you want to edit. Then go to the “Image” menu and select the “Hue/Saturation” option from the “Adjustments” submenu.
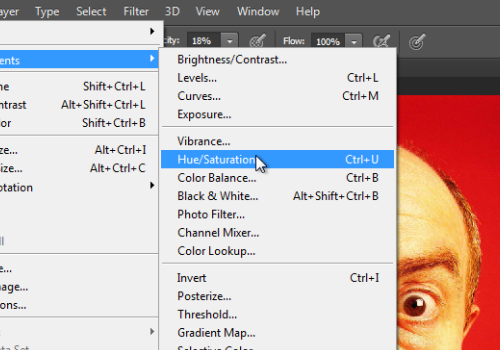
In the following window check the “Colorize” checkbox and set the “Hue” value to 120 and the “Saturation” value to 50. Click on the “OK” button to approve changes. Then, click on the “Create new layer” icon in the “Layers” palette.

Select the “Fill” option from the “Edit” menu.
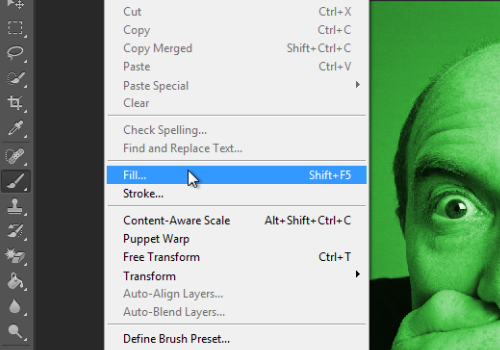
In the following window select to use “White” in the “Contents” section and press “OK”. Go to the “Filter” menu and select the “Filter Gallery” option.
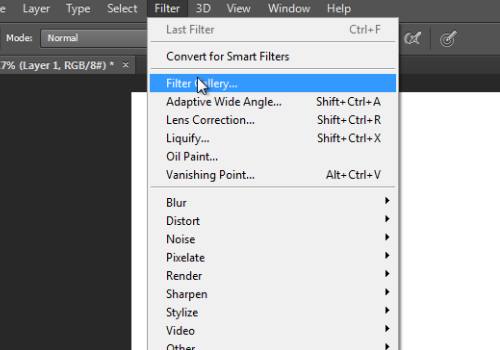
In the following window, go to the “Texture” menu and click on the “Grain” option. Set the “Intensity” and “Contrast” values to 100. Change the grain type to “Vertical”. Go to the “Filter” menu and select the “Filter Gallery” option. In the following window, go to the “Artistic” menu and choose the “Neon Glow” option. Set the “Glow Size” value to 5 and the “Glow Brightness” value to 20. Set the “Glow Color” to green and press “Ok”. Go to the “Filter” menu and click on the “Filter Gallery” option again. In the following window go to the “Stylize” menu and select the “Glowing Edges” option.
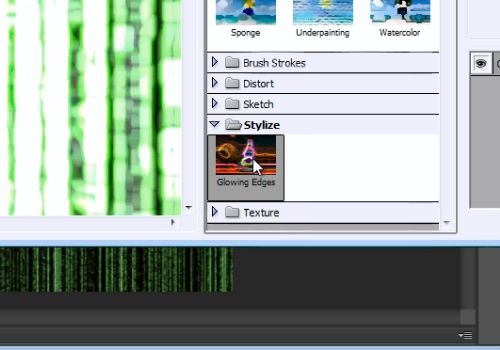
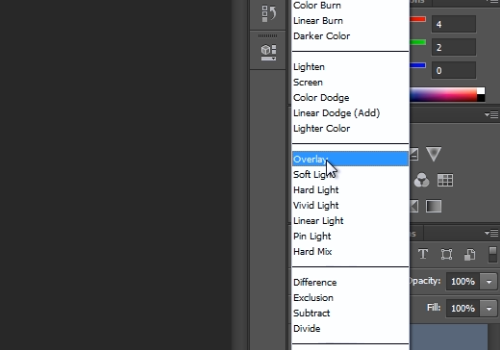
Set the “Edge Width” value to 1, the “Edge Brightness” to 7 and the “Smoothness” to 1. Then press “OK”. Go to the “Blend mode” drop-down list and select the “Overlay” mode.
Now you have created a matrix effect.
 Home
Home